Gluten-free Pear Rosemary Galette

by autumn on September 20, 2010

I tend to equate fancy with fussy. Galette sounds too damn fancy for me, like something that has to be tended to. I don’t know about you, but I like my treats to tend to ME, not the other way around. Not so. A galette is just a more impressive way of saying rustic, freeform tart and rustic, freeform tart is a nice way of saying “let’s all celebrate the wonkiness of this baked good together!” SO not fussy.

As maybe you remember, I’ve been raving about the wonders of the New York Public Library system recently. Thanks the the NYPL, I was also able to read Ratio, by Michael Ruhlman, after listening to everyone talk about it for a year. I was underwhelmed. The impression I got from the hype was that this book tried to make fussy cooking accessible to anyone who can do math (a category that I only sometimes fall into). I didn’t feel like much was being demystified. I wanted more “damn the man,” from Ruhlman.

It does, however, contain useful information. Nothing that can’t be googled, but useful nonetheless. Like 3-2-1 pie dough. 3-2-1 refers to the ratio of flour to fat to liquid, by volume. In a particularly cavalier moment, I decided to use this ratio to write a recipe for basic gluten-free tart dough. Not a big deal, you’d think, except I don’t own a kitchen scale. So I used this and this and did some math. When buttery, golden gluten-free tart dough is your reward, a little multiplication of fractions doesn’t seem all that bad.

Gluten-free Rosemary Pear Galette
I had some small seckle pears on hand,  but any type would do as long as they’re not too ripe. As much as you can, try to slice them to uniform thickness.

1/4 cup tapioca starch
1/4 cup oat flour (make sure it’s from certified gluten-free oats)
1/2 cup millet flour
1/2 t xanthan gum
pinch salt

1/3 cup cold butter
2 T ice water

about 2 cups pears, sliced
2 T sugar
2 sprigs rosemary

1. Remove rosemary leaves from the sprig. Combine with pears and sugar in a large bowl. Set aside.
2. Stir together oat flour, millet flour, tapioca starch, xanthan gum, and salt.
3. Prepare a cup of ice water.
4. Cut the butter into chunks then incorporate it into the flour. If you don’t have a pastry cutter (I don’t!) just use a fork. You’re done when the butter is evenly blended and you have mostly small pea size chunks of flour/butter.
5. Using a tablespoon, gradually add cold water, just until the dough comes together. For me, 2 T was exactly enough.
6. Refrigerate the dough for 20-30 min. Preheat oven to 350 degrees.
7. Roll out the dough to somewhere between 1/4 and 1/8 inch thickness using your preferred method. I rolled it out between two sheets of floured wax paper.
8. Sprinkle cornmeal (if you have it) on a baking sheet and transfer the rolled out dough to the baking sheet.
9. Spoon the pear mixture into the center of the dough and gather the edges up around the fruit however works best. You could pinch it together or fold small sections over.
10. Bake at 350 degrees until golden, about 30 minutes.


{ 6 comments }
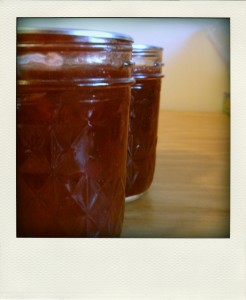
Plum Cardamom Jam

by autumn on September 11, 2010

I’ve always had a knack for messing up words. Well, not really messing up words as much as improving upon them. It runs in the family. My mom once referred to online social networking with the impressively utilitarian word “spacebook.” I have always called cardamom “cardamon.” And even after I knew the right way to say it, I kept saying it the wrong way because it didn’t sound as weird.

I say it a lot; it’s one of my favorites. I get corrected and stick with my version. I’m stubborn (that runs in the family too). That’s why canning is good for me. I can’t do it my way, I have to follow the rules. I did sneak in a little customization here–after my canning gurus said it was ok–the cardamon cardamom. Stubborn, I tell you.

Plum Cardamom Jam

I adapted this recipe from the National Center for Food Preservation. If you’ve never canned before, I’d suggest you can for the first time with someone more experienced and definitely visit the National Center for Food Preservation site.

2 lbs plums, chopped with skins on
3 cups sugar
3/4 cup water
1/8 cup bottled lemon juice
1t ground cardamom

1. Place plums, sugar, water, lemon juice, and cardamom in a medium pot over med-high heat.

2. Use a potato masher or the back of a slotted spoon to crush the plums as they heat. Don’t worry if you don’t get them completely mashed. They will break down further as the mixture cooks.

3. Bring to a boil and heat until mixture reaches 220 degrees. Stir to prevent burning and turn it down a bit if you need to. If you’re like me and don’t have a thermometer, use one of these methods to check if you’ve reached the jellying point (220 degrees).

4. Process in a water-bath canner according to these instructions. Makes 4 half-pints.

{ 7 comments }

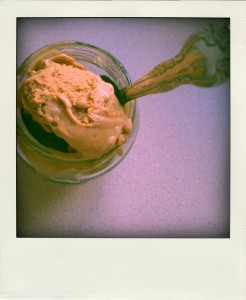
Small Batch Molasses Ice Cream

by autumn on September 9, 2010

My friend Katie left the city recently and to celebrate/mourn the occasion, I made her going-away ice cream. This isn’t that ice cream. BUT! The addition of Katie’s ice cream to the freezer meant that I had four different flavors of ice cream available to me at once. I am only one woman; I needed to scale back.

By scale back I certainly don’t mean stop making ice cream, I just mean making smaller batches. In that spirit, I made this ice cream. It is a slightly smaller batch, inspired by the leftover milk and cream from Katie’s ice cream.

It certainly isn’t apparent from the amount of ice cream that I make, but I am kind of lactose intolerant. Long story short, I keep dairy products as a treat in my diet and don’t really use them day to day. Naturally then, the only thing to do with leftover milk and cream from making ice cream is make more ice cream.

Small Batch Molasses Ice Cream
I think molasses is hugely underrated as a flavor, but it gets its day in this ice cream. It’s very molasses-y!

1 cup whole milk
1 cup cream
3/4 cup sugar
2 T molasses
4 egg yolks
1 t vanilla
pinch of salt

1. Combine milk, cream, sugar and molasses in a small saucepan. Heat over med-low heat, stirring regularly.
2. In a medium bowl, whisk together egg yolks and salt.
3. Just before the milk mixture begins to bubble, reduce the heat to low. Slowly stir some into the egg yolks. This raises the temperature of the yolks so they don’t cook when added to the hot milk.
4. Stir a little more of the hot milk mixture into the egg yolks. I would say I added about a half cup of hot liquid to the yolks in 2 or 3 additions, stirring during each addition.
5. Now you’re ready to add the yolks to the saucepan. Add the egg yolk mixture, stirring constantly.
6. Continue stirring constantly until the mixture thickens enough to coat the back of a spoon.
7. Pass through a mesh strainer and let cool to room temperature. Stir in the vanilla.
8. Refrigerate until cold, preferably overnight, and process in an ice cream maker according to the manufacturer’s instructions.

{ 0 comments }

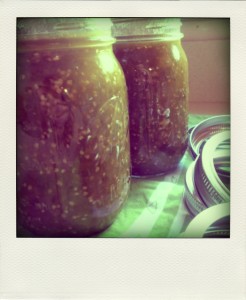
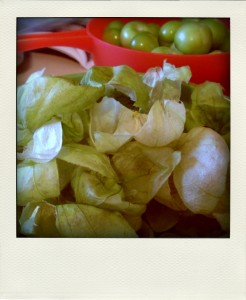
Tomatillo Sauce

by autumn on September 5, 2010

Lately, I’ve been feeling all grown up. I started my first real grown up job. Up until two weeks ago, my professional life consisted of graduate school and two years of full-time national service (not that there’s anything wrong with that! SERVICE IS AWESOME!). Now, I have a salary and health insurance. It’s weird.

My 26th birthday is in a few days. I have been living in the New York area on and off since I was 19 and up until a few days ago, I didn’t have a New York Public Library card. For someone else, this might not be a big deal, but I LOVE the library. I went weekly when I lived out in the country (aka Westchester). For me, not having a library card meant not making time to enjoy the stuff that I know I enjoy.

So I got a library card. And with my library card I got the book Well Preserved, by Eugenia Bone. Well Preserved is a great little book, full of small batch recipes for preserving seasonal foods. And with that book I made tomatillo sauce, which gets me back to the “all grown up thing.” Eugenia’s tomatillo sauce is the first thing that I canned all by myself.

I’ve canned before, under the watchful eyes of Kate, Audra, and Marisa. Well Preserved is so thorough that even as a VERY beginning canner, I only felt a little terrified. Good terrified, though. First-day-of-work-at-your-new-grown-up-job terrified. I am not going to rip-off Eugenia’s recipe and reproduce it here. It’s a really phenomenal book and worth tracking down, even if it means growing up and getting a library card. ESPECIALLY if it means growing up and getting a library card.

{ 1 comment }

Hand Shaken Butter

by autumn on September 3, 2010

In my high school biology class we took water samples from the creek outside our school and tested them for pollution. Not my kind of science. Shaking heavy cream until butter emerges: my kind of science. I love the idea of making your own butter, an inspiration I got from the lovely Jane. It’s a treat and a lesson. You get butter and you get to learn a little about what butter really is. (Besides a lethal weapon.)

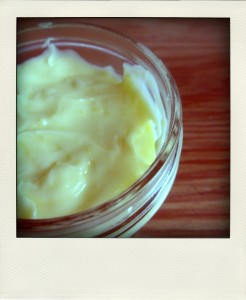
No, you probably won’t do this every week instead of buying it in the store. Yeah, I said every week. Every once in a while though, you’ll want an apron, you’ll want a big ol’ jar, and you’ll want to shake your ass and make some butter. It’s a two-word recipe, kids: shake it. Because I’m that girl, I took pictures of what it will look like when it’s done. I’ll tell you how to get there.

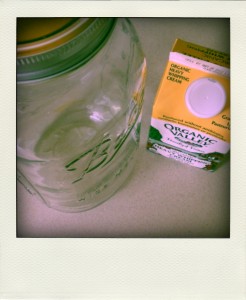
I poured a pint (2 cups) of room temperature cream into an 8 cup container. This container to cream ratio isn’t absolutely essential, but keep in mind before the cream becomes butter it will become whipped cream and increase in volume. Make sure the lid to your container is secure and start shaking. You could put on some music if you wanted. I was going for a little zen thing so I kept it quiet.

First, you’ll have whipped cream. It will fill the container and make you feel like you aren’t shaking hard enough. Keep shaking. Next, you’ll start hearing stuff mucking around inside. This is the fat beginning to separate from the liquid part of the milk. KEEP SHAKING. You’re done when the butter has come together and looks like a blob of butter should. I found differing opinions online about how long this ought to take. Mine took about 12 minutes.

Remove the butter from the buttermilk. You can discard the buttermilk or use it to bake (so I’ve heard), but this is not the cultured buttermilk you’re used to. As well as you can, rinse the liquid buttermilk off of the solid butter (the buttermilk spoils faster). I found this to be a tricky endeavor. I put the butter in a mesh strainer and ran it under the faucet, sort of gently pressing it around to get off as much of the liquid as possible. Do what you can. I would also store this in the fridge and use it a little quicker than you would normal butter.

Finally, because I like you, I’ll tell you that I added 1t chopped, dried lavender and 2t honey to half of my butter to make lavender honey butter. You could also make basil butter, just like you know who.

I’m not the only one crazy enough to make butter:

{ 7 comments }

Gluten-free Bourbon Brown Sugar Ice Cream

by autumn on August 25, 2010

I am a pretty extreme relativist on food choices: I think they’re deeply, deeply personal. I am confident that it is 100% correct for some folks to eat a vegan diet, while is just wrong for someone else. In my book, everyone ought to eat what makes them feel physically and emotionally well. I am personally comfortable eating eggs from the greenmarket, but tend to avoid buying my eggs in the supermarket.  After a lot of reading and thinking, I have found a way of eating that is right for me right now.

That was a long way of saying, it was Thursday and I wanted to make ice cream. I would typically buy eggs on Friday or Saturday at the greenmarket, but it was Thursday and I wanted ice cream. And there’s this. So I made ice cream without eggs.

In high school, my friend and I played a game called “Who Would Win in a Fight?” It consisted of inventing hypothetical fight pairings and deciding who would win. In a fight between no ice cream and ice cream without eggs, ice cream without eggs always wins. And a fight between ice cream with bourbon and ice cream without bourbon, well…

I was really happy with the finished texture of this ice cream. I am not ashamed to admit that it’s better than a lot of custard-based ice creams that I have made. I am definitely going to use this (more economical!) eggless ice cream base in the future.

Bourbon Brown Sugar Ice Cream

2 cups heavy cream
1 cup whole milk
1 cup brown sugar, packed
2 T arrowroot starch
pinch of salt
1 1/2 t vanilla extract (confirm that it’s gluten-free)
2 T bourbon (I used Maker’s Mark)

1. Place the arrowroot in a small bowl. Measure out the milk and pour enough of it into the bowl of arrowroot to make a pourable mixture.

2. Put the remaining milk into a small saucepan, along with the heavy cream, brown sugar, and salt.

3. Heat over med-low.

4. When it is just about to bubble, stir in the arrowroot/milk mixture and remove from heat as soon as it begins to thicken. This is a pretty quick process and I’d recommend continuing to stir for a bit–even after you’ve shut off the burner–until you remove it from the pan. You shouldn’t need to strain it, but if it seems a little lumpy, press it through a sieve.

5. Let cool to room temperature. Add bourbon and vanilla and refrigerate until completely cool, ideally overnight.

6. Process in your ice cream maker according to the manufacturer’s instructions. If you don’t have an ice cream maker, don’t despair. I’ve included some links below for making ice cream at home without a machine.

Making Ice Cream at Home Without an Ice Cream Maker

{ 2 comments }

Tortillas and Thanks

by autumn on August 20, 2010

If you know me in real life, you probably know that I don’t heart New York City. Of course, it’s way more complicated than that. I think it’s damn hard to live here. DAMN HARD. Sometimes I think I’m just way more of a baby about it than everyone else, but in my darker moments I am sure that everyone here is miserable and unhappy and I am the only one who is big enough to admit it. So. There are those times.

But, I’m still here. I plan to be for a while and–as far as I can tell–there’s really no explaining why. There are those things that, when they pop up, seem like insignificant spots of light in your day. Taken together, they are the stuff that ties you to a place.

Today, I got tortillas. Not just any tortillas. Everyone has been talking about these tortillas, with good reason too. Tortilleria Nixtamal is the only place in NYC that makes corn tortillas and fresh masa by soaking and grinding the corn rather than using pre-made masa flour. More exciting still, they only produce corn tortillas on their little production line and they verified that their tortillas are gluten-free. Also, they’re in my borough. Also, THEY’RE HEAVENLY. I know it’s just a corn tortilla, but I plowed through three before I could even bother to make something with them.

Earlier this week I was at Roberta’s: the pizza place with a garden on its roof and a radio station in its back yard that I walk by all the time, but hadn’t before found an excuse to go into (it is a pizza place, after all). I was charmed when Nicole, the lovely host of the Heritage Radio Network show “Hot Grease,” invited me on to chat about blogging gluten-free. I am a huge fan of HRN, so it was a treat to get to see the studio and talk with Nicole. You can listen to it here. It will probably be less awkward for you than it was for me when my voice came on my iPod.

These were the little bits of New York that I didn’t want to do away with this week.

Other people talking about Tortilleria Nixtamal:

Village Voice

Serious Eats

NY Mag

Martha Stewart


Heritage Radio Network shows I enjoy:

Hot Grease

Cutting the Curd

Let’s Eat In

Why We Cook

{ 2 comments }

Ice Cream in a Jam Jar

by autumn on August 19, 2010

For the past few months, everyone and their mother on the internet has been making OIAJ (Oats in a Jar). See below:

“OIAJ: Oatmeal in a Peanut Butter Jar,” Serious Eats

OIAJ Tutorial,” Carrots n’ Cake

I get it. I can relate to the satisfaction of getting a peanut butter jar completely clean–you’re talking to the lady who likes the surface of the hummus to be eaten down to a smooth, even layer before she puts it back in the fridge. Kind of weird, but it could be worse.

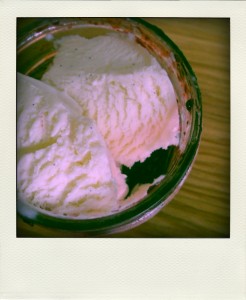
Oats (certified gluten-free!) are my staple cool-weather breakfast. I haven’t bought them in months. However, in the spirit of Oats in a Jar, today I used some homemade vanilla ice cream to get the last of Kate’s blackberry vanilla jam out a its jar. In the name of thrift and delicious jam, I would recommend you do the same.

{ 0 comments }

Rose Water Marshmallows

by autumn on August 11, 2010

Usually, I’m a path of least resistance sort of girl. To get to my old job, I rode a train that took longer so that I didn’t have to transfer and would always get a seat. I avoid a mob scene at the Union Square Farmer’s market by getting there as early as possible. I wouldn’t want to have to throw elbows at the parrot lady (you know who I’m talking about) to get my peaches. Crotchety? Maybe. But when was the last time you smelled lavender in an almost empty Union Square?

So when I saw this classy recipe for rose water marshmallows from Food & Wine and this considerably easier recipe for plain homemade marshmallows from Slashfood, I took a short cut to the fancier treat and combined the two recipes. I get on fierce food kicks and ever since I made this Sour Cherry & Rose Water Ice Cream a while back, I have been trying to scheme up something else to spike with rose water. Let me tell you, you can’t go wrong with candy that tastes like flowers.

Before I give you the recipe, I have to give you a warning. In the comments on the Slashfood recipe, someone says something along the lines of “THIS RECIPE KILLED MY HAND MIXER!” Thus, my warning is the following: this recipe might kill your hand mixer. I don’t own a stand mixer, so I had no choice but to risk it and my hand mixer (which is a piece of junk, btw) did just fine. Ideally, you would use a stand mixer for the 12 minutes of whipping that this recipe requires, but I found it was not necessary.

Rose Water Marshmallows

A 9×9 inch square pan lined with oiled plastic wrap works best for these, although an 8×8 will work fine too. Adapted from here and here.

3 T rose water
1/4 cup + 1 T cold water
3 packets Knox unflavored gelatin (.75 oz)

2 cups granulated sugar
2/3 cups light corn syrup
1/4 cup water

confectioner’s sugar and corn starch, as needed

1. In a large bowl (or in the bowl of a stand mixer if you are using one) combine the 1/4 cup + 1T water and the 3 T rose water. Sprinkle the gelatin over the liquid and let set while you do step #2 below. A gelatin tip: Try to evenly distribute the gelatin over the surface as much as you can. This will help the gelatin dissolve evenly and prevent you from getting little gelatin clumps in your final product.

2. While the gelatin is dissolving, heat the sugar, corn syrup, and water in a saucepan, stirring occasionally. Bring to a boil and let boil for 1 minute. (PS: Careful dears, hot sugar is hot!)

3. Remove the syrup from the heat and carefully pour into the gelatin.

4. If you are using a stand mixer, use the whisk attachment to beat on high for 12 minutes.

5. If you are using a hand mixer, again, be careful of hot splatters. If you have gloves, it would make me feel better if you wore them. I started my hand mixer on low and increased the speed gradually, stood back, and didn’t get much splashing at all. I also used a bowl with high sides.  Beat the mixture on high for 12 minutes.

6. Pour into the oiled, plastic wrap lined pan.

7. Oil another piece of plastic wrap and press it on top of the marshmallow. You want the wrap touching the surface of the marshmallow. Allow to set for a few hours or up to overnight.

8. Mix equal parts cornstarch and confectioner’s sugar in a small bowl. Start with a little and make more if you need it. I began with 2 T of each and didn’t need a lot more than that.

9. Sprinkle a sheet of wax paper (or Silpat mat, if you’re fancy) with the sugar/cornstarch mixture. Remove the top layer of plastic wrap. Unmold the marshmallow, upside down, onto the wax paper, by lifting up on the plastic wrap that lines the pan.

10. Remove the sheet of plastic wrap that was lining the pan and spread some sugar/cornstarch mixture on top of the marshmallow.

11. Use a knife to cut into your desired marshmallow size and dredge the remaining sides of the marshmallows in the excess sugar/cornstarch mixture that is on the wax paper. Add more if needed.

12. Store in an airtight container.


{ 3 comments }

Chille Rellenos with Potato and Anchovies

by autumn on August 9, 2010

Since I began cooking for the boyfriend, I have tried to be GGG in the kitchen and make the spicy things that his Arizona-born heart desires. This has gone really badly in the past. I have little to no experience with the relative heat of different peppers, which resulted in a chipotle celeriac puree that was scorchingly inedible. I’ve had poblanos before and feel comfortable taming them, so when I spied some at the farmer’s market this week, I knew the time was right for chile rellenos.

This recipe on the Rancho Gordo blog really intrigued me. I love the versatility of pairing potatoes and with a salty fish like sardines. My mashed potatoes this past Thanksgiving included anchovies and heavy cream and were a huge hit. Maybe you are skeezed out by anchovies. I get it. With the little tin can and all, they kind of remind me of cat food, but they add a complex, salty, and not overly fishy flavor when mixed into a blank canvas like potatoes.

As the Rancho Gordo blog mentions, the credit goes to Diane Kennedy for this flavor combination. I departed from her preparation and fried the rellenos. I took a shortcut and just dipped them in frothed egg whites, although next time I would go with a more traditional egg batter. I also skipped the pickling step because I only had harsher vinegars on hand. I found this to be a really good, unique dish that I will definitely make again and continue to play with.

Chile Rellenos with Potato and Anchovies

Adapted from My Mexico via the Rancho Gordo blog

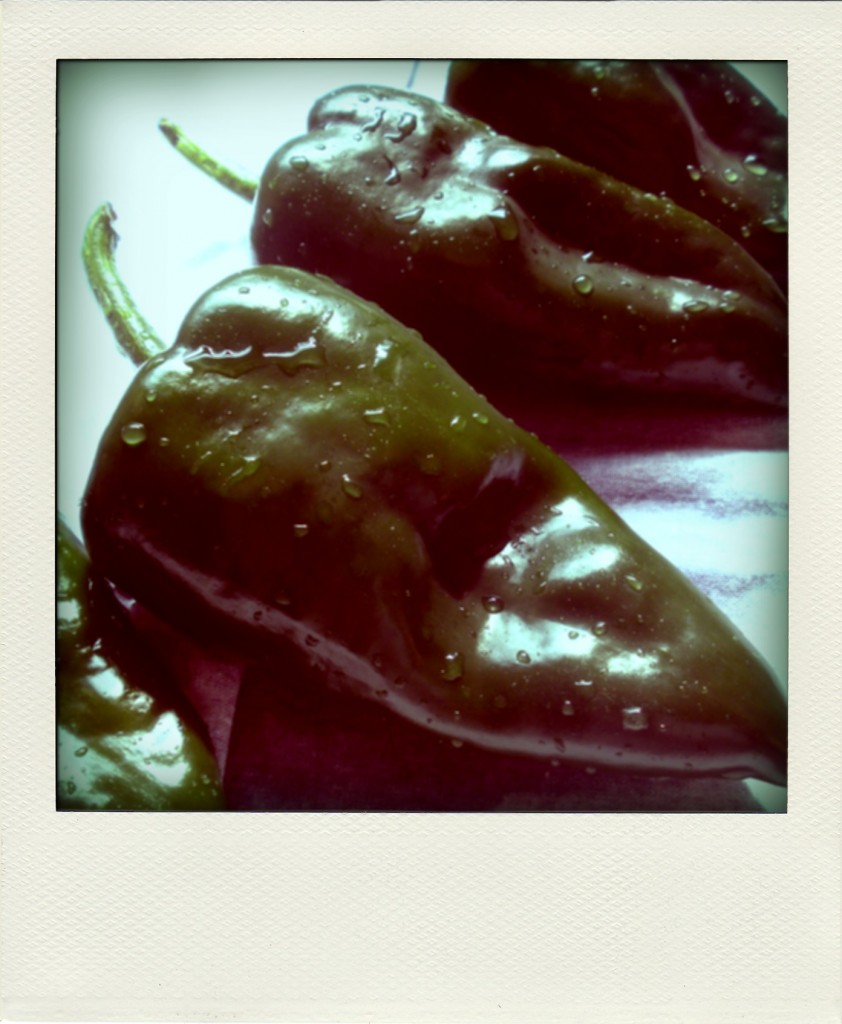
4 poblano peppers
1 potato, peeled diced and boiled
2 canned anchovy fillets (are they even called fillets?)
1 small clove garlic, finely chopped
2T (or more) fresh goat cheese
1 egg white, beaten until frothy
oil for frying

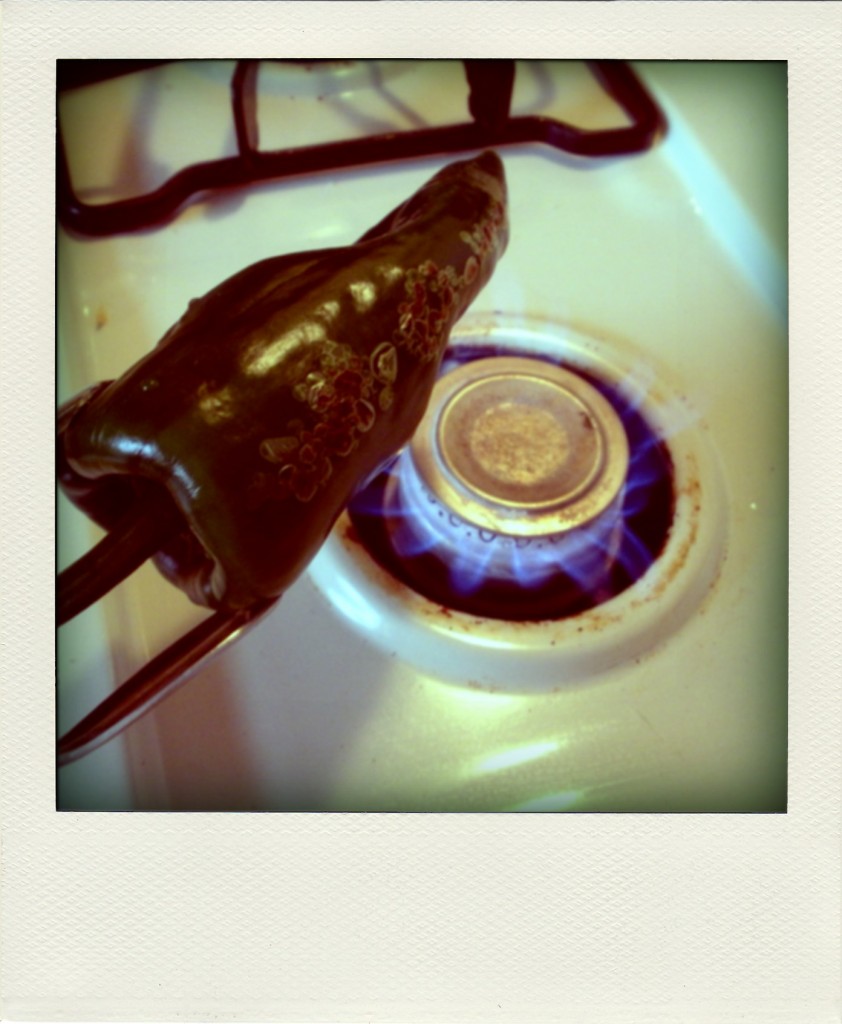
1. If it isn’t hot as hell where you are, I think the easiest way to roast peppers is in the oven. I talk about how to do it here. The oven-less option for roasting the peppers (the one I chose this time around) involves holding them over the open flame of your gas burner. Use tongs! Roast each pepper until the skin is black and blistery, then place it in a sealed ziploc bag while you roast the remaining ones. Let them cool in the sealed bag.

2. While the peppers are cooling, mash the minced garlic and anchovies into the cooked potatoes with a fork.

3. Once the poblanos are cool, scrape the blackened skin off. Cut about a 3 inch slit (depending on the size of your peppers) down the side of each one and gently remove the seeds from inside. There’s no exact science to this. I found that putting the pepper under running water and scraping/rinsing the seeds out simultaneously was pretty successful. Once cleaned, remove the excess water and set aside.

4. Evenly distribute the goat cheese into the four peppers and do the same with the potato/anchovy mixture. I found that filling one side of the pepper then the other worked well, but do whatever lets you not rip the little poblano to shreds.

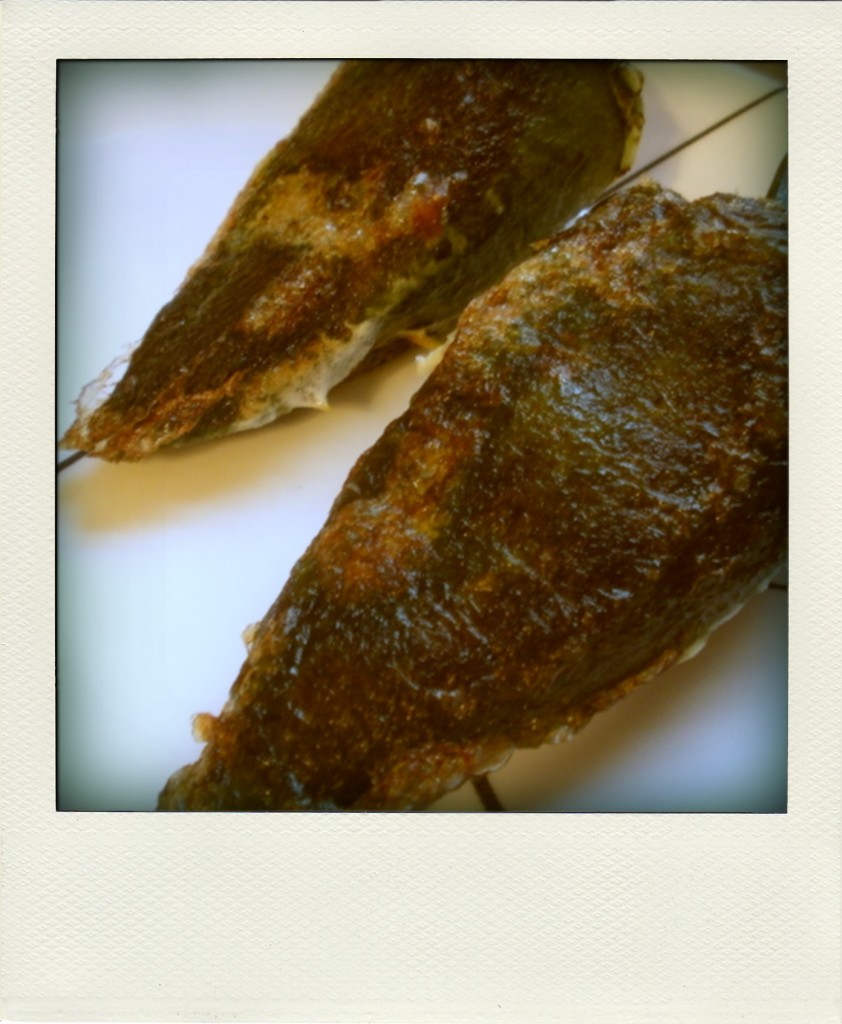
5. Once filled, dip the poblano in the frothed egg white until it is covered and fry in 1/8-1/4 in of oil on each side until brown and crispy. I don’t have a deep fry thermometer, but would suggest using one if you have one–especially if you decide to use more oil and actually deep fry them. I used a cast iron skillet and having the burner on low kept the oil plenty hot. Remove the rellenos to a paper towel to soak up excess grease and serve.


{ 0 comments }