by autumn on May 13, 2012
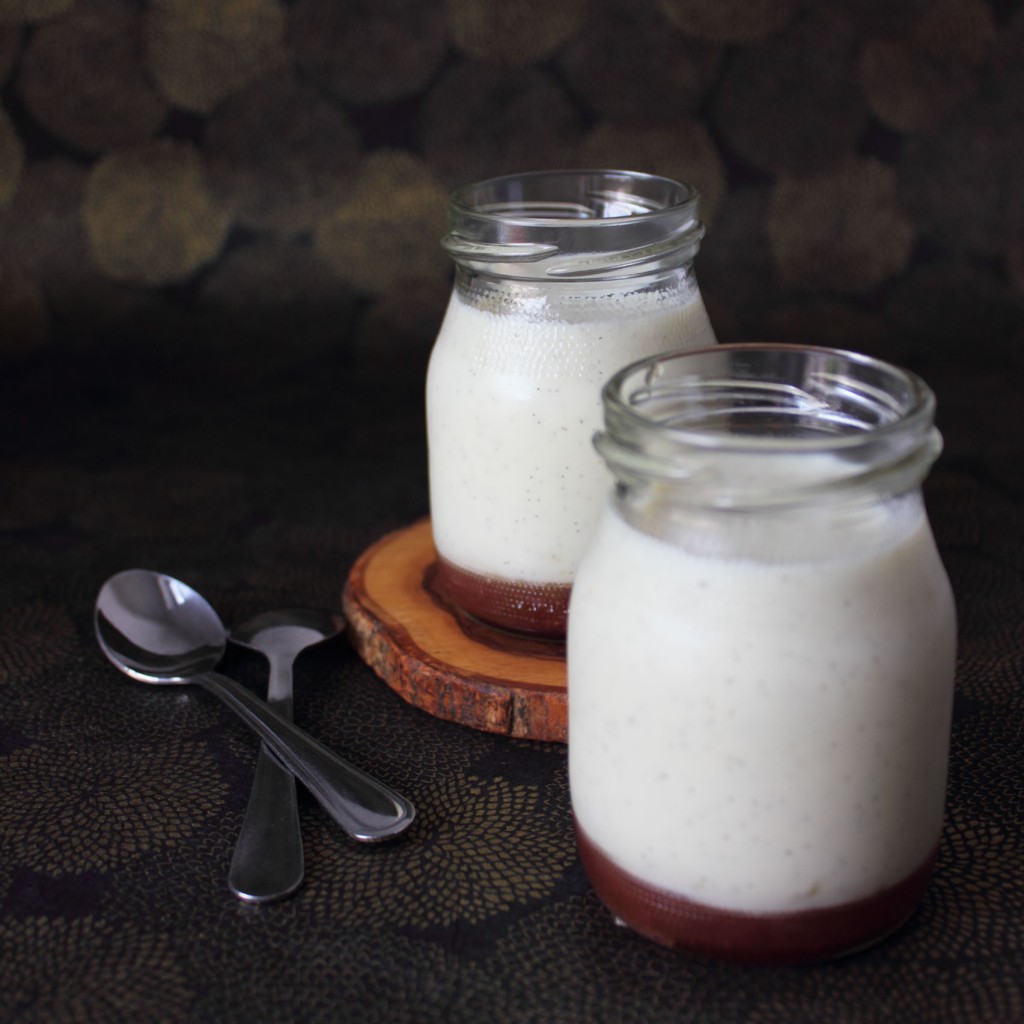
Growing up, I preferred the plainest possible iteration of every food, yet my mom always liked to tell me that I had “champagne taste on a beer budget.†She was right. These two tendencies were at their neurotic best in my devotion to vanilla ice cream with “vanilla bean specks.†It was classy and unadorned, which somehow made me feel like it was ok to settle in on the couch with a gallon bucket-full from Costco and a spoon.
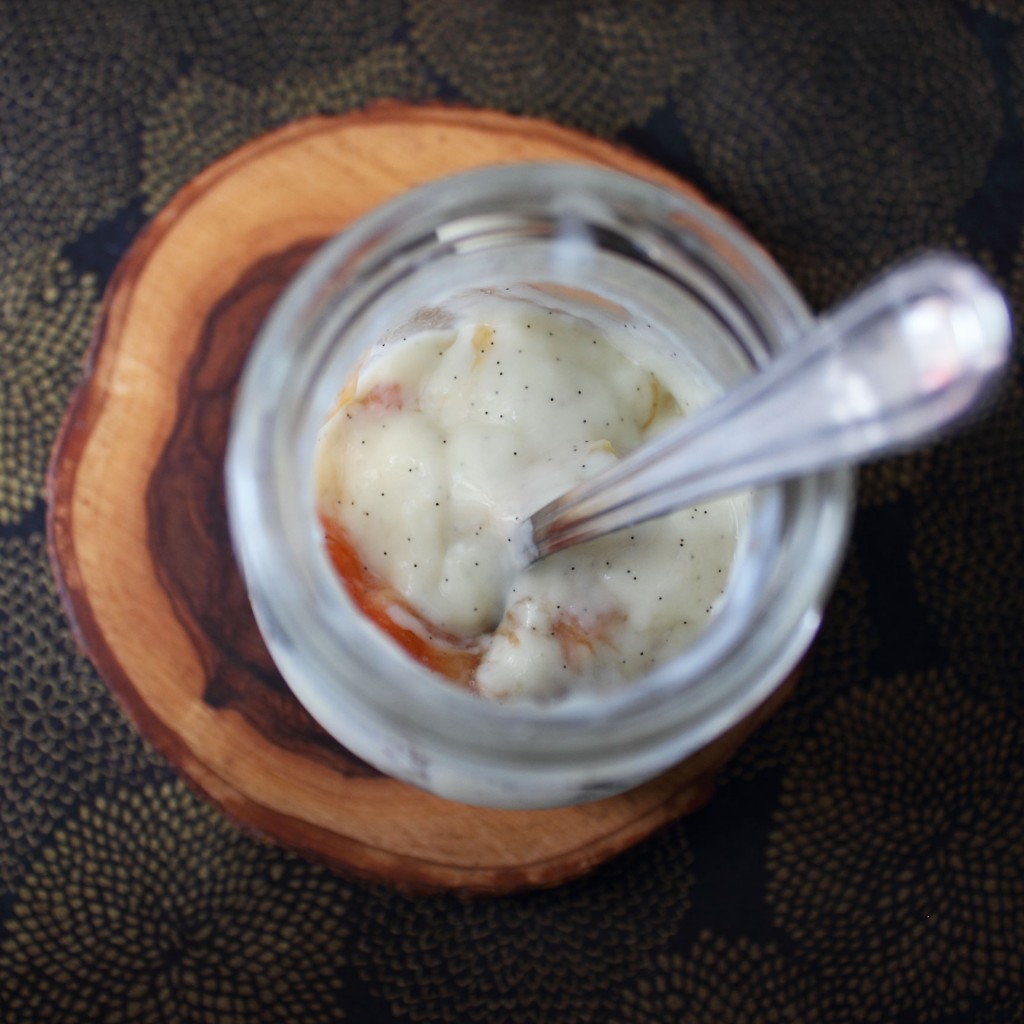
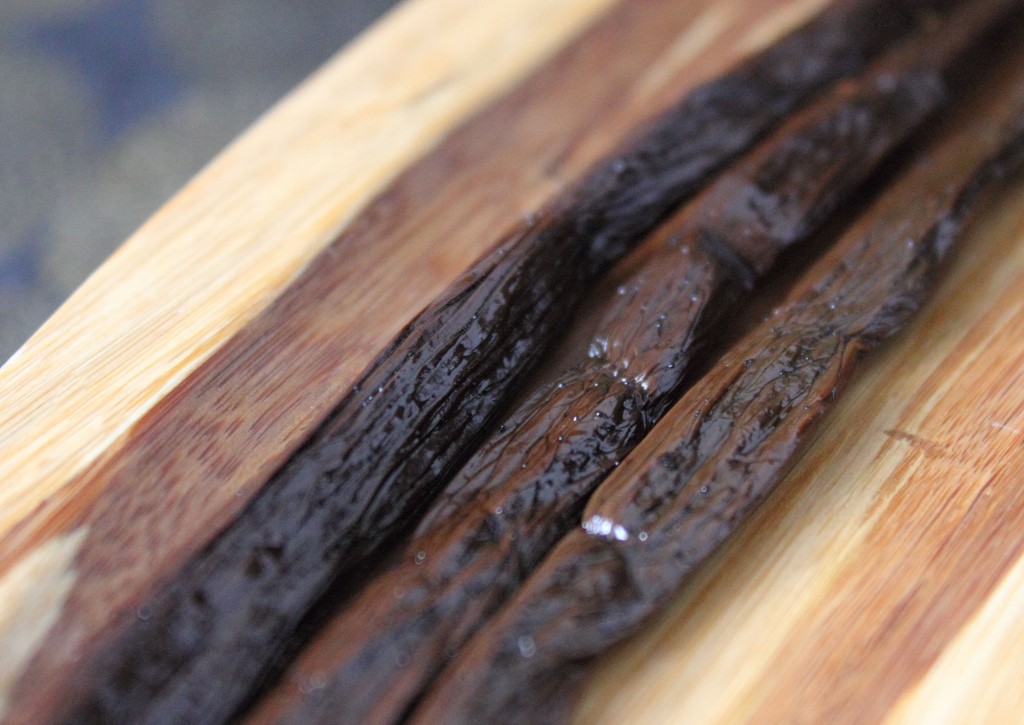
Thankfully, my palate and I both matured, but I never got over my thing for vanilla bean specks. Recently, after losing my source for vanilla beans, I convinced myself it was both prudent and economical to order what seemed like an inordinate amount of them online. Surprise! I’ve had no trouble getting through them and having them on hand has meant that simple things like this cornstarch pudding are much more likely to be gussied up with a vanilla bean.
This recipe followed a windy road to its inception—from a failed custard (totally my fault), inspired by the pots de crème in the La Tartine Gourmande cookbook, to an unapologetically simple recipe for vanilla pudding from the New York Times.
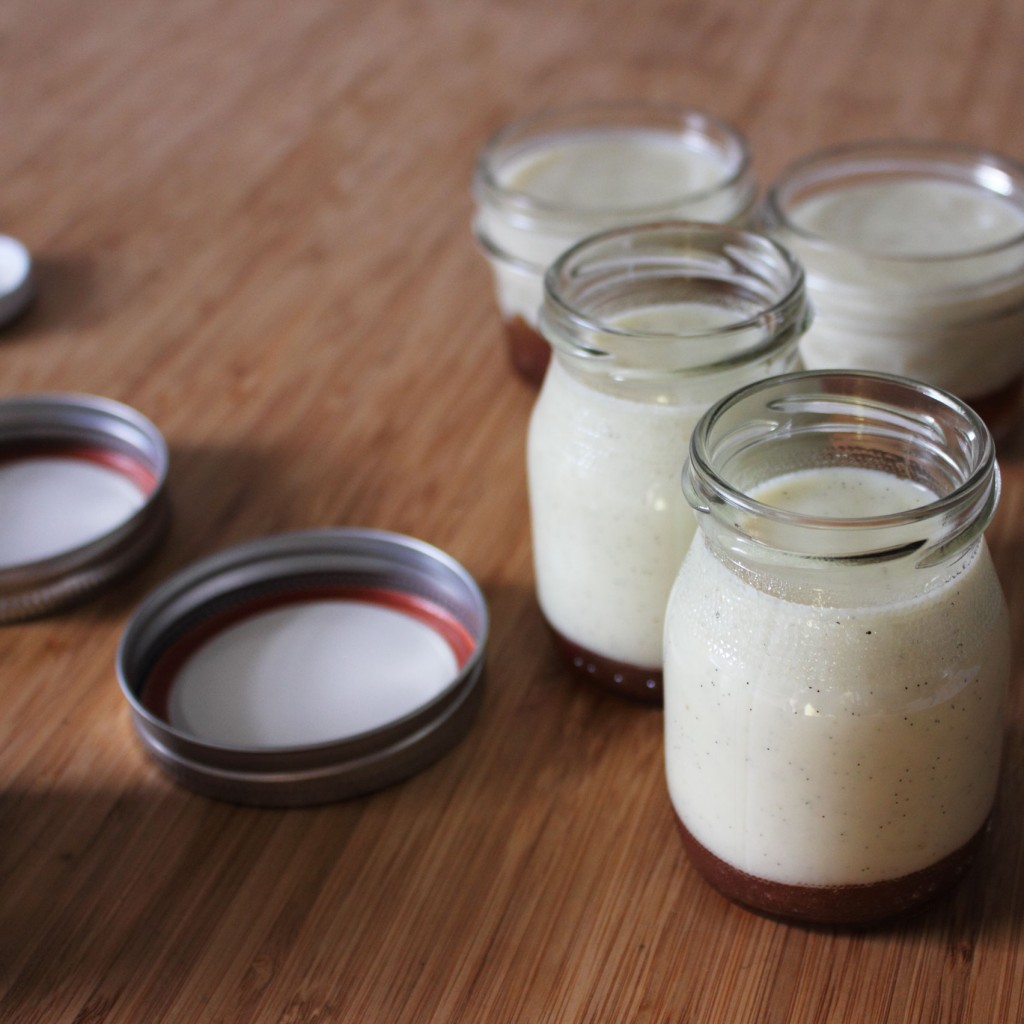
Milk & Honey Pudding with Stewed Rhubarb
Ingredients
- 2 cups whole milk, about 1/4 cup reserved
- 1 vanilla bean, pod split and seeds scraped
- 1/3 cup honey (I used a mild spring honey)
- 3 T cornstarch
- pinch salt
- 2 T unsalted butter
- 6 oz (about 1 1/2 cups) diced rhubarb
- 4 oz (about 1/2 cup) sugar (I used organic cane sugar)
Cooking Directions
- Prepare 6 small jars or bowls and set aside.
- Toss together the rhubarb and sugar in a small saucepan and let it sit until juice just begins to develop.
- When there's a bit of juice at the bottom of the pan, turn the heat on low. As the rhubarb breaks down and releases more juice, gradually increase the heat to med-high.
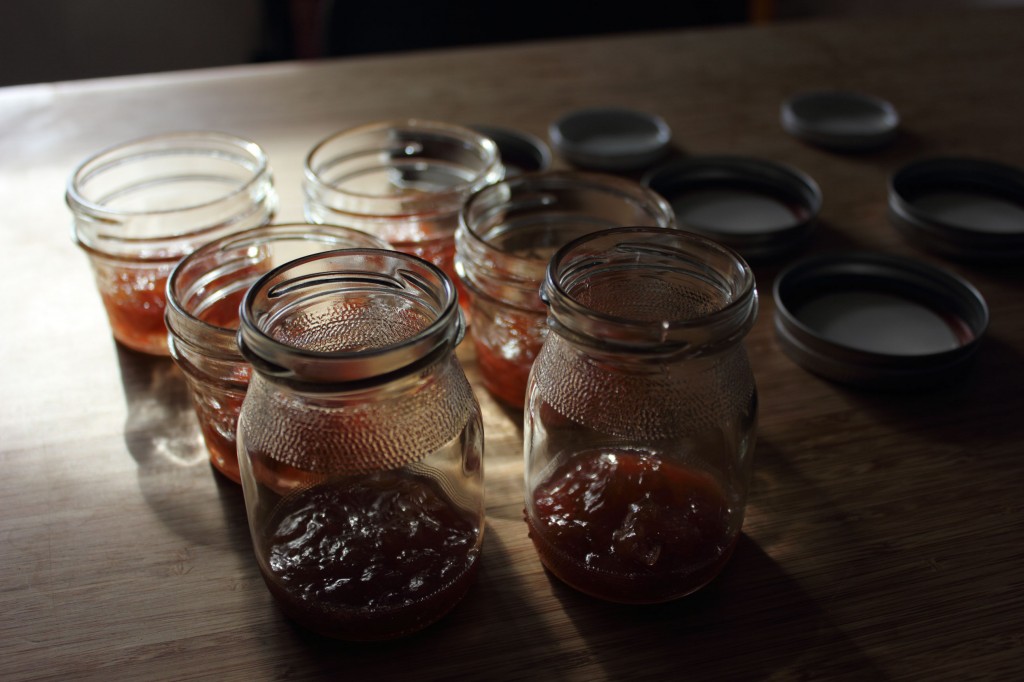
- Cook until all the rhubarb is broken down and the mixture thickens slightly. Remove from heat and divide evenly among your 6 jars, putting about a heaping tablespoon in each.
- Next, whisk together the reserved 1/4 milk and cornstarch in a small bowl and set aside.
- In a small saucepan over med-low heat, heat the remaining milk, honey, pinch of salt, and the vanilla bean until the mixture steams and just begins to start a gentle boil. Remove the vanilla bean.
- Reduce heat to low and add the cornstarch and milk mixture in a steady stream, stirring constantly. Continue to stir and cook on low for about 5 more minutes.
- Remove from heat and add butter, stirring until melted. Pass through a fine mesh sieve to remove any lumps.
- Pour the strained pudding into the jars, on top of the rhubarb, and refrigerate until set.
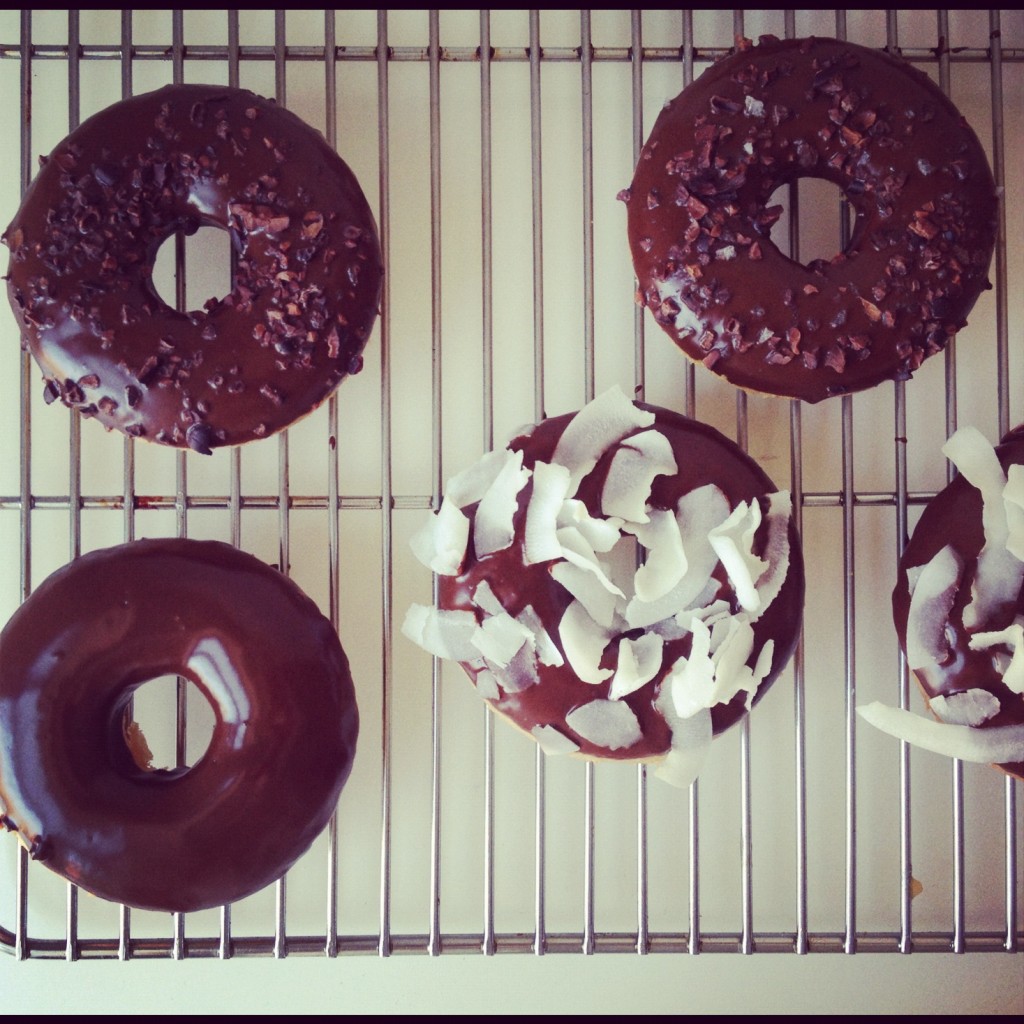
Is there such thing as a mass craving? I imagine this would be something like mass hysteria, with a much more delicious outcome. Listen gluten-free friends, I think we’re having a mass donut craving. In just the past week or so, gluten-free donuts are kind of taking over the internet. I’m sharing my recent finds here and inviting you to link to the gluten-free donut recipes that you love (or even just have your eye on) in the comments.
My go-to gluten-free donut recipe has been this one from from Babycakes Covers the Classics. In the pic above, they’re all done up with cacao nibs and my favorite flake coconut.
Which gluten-free donuts do you love and which would you love to try?
I have been thinking about affection. I got my hands on a lecture that Wendell Berry gave last week called “It All Turns On Affection.†I won’t do it the injustice of a summary; I’d much rather you read it yourself. I will say that what really stuck with me was the idea of letting affection be what compels you.
I read the speech on my train ride to the greenmarket on Saturday morning. I struggle with explaining my weekly farmer’s market ritual, which contains many seemingly unsavory elements: leaving my apartment before 8 am on a weekend, an hour on the subway, and a whole lot of schlepping. The language of commitment never feels quite right for something that brings me such pleasure, something that I have such an affection for.
The first time I bought buttermilk it was because I found some at the greenmarket from the little town in Sullivan County where my mom was born. I will risk culinary shame and tell you that I didn’t much care about buttermilk before that. Now, I buy it a couple times a month and seek out recipes, like this one, that let it shine. A deep, complex affection brought me the simple joy of buttermilk too early on a Saturday.
I’ve been picking out other places where affection is at work in my life and places I could let it work. I think there may be some undoing involved. Ponder it over Rhubarb Spoonbread and let me know what you come up with.
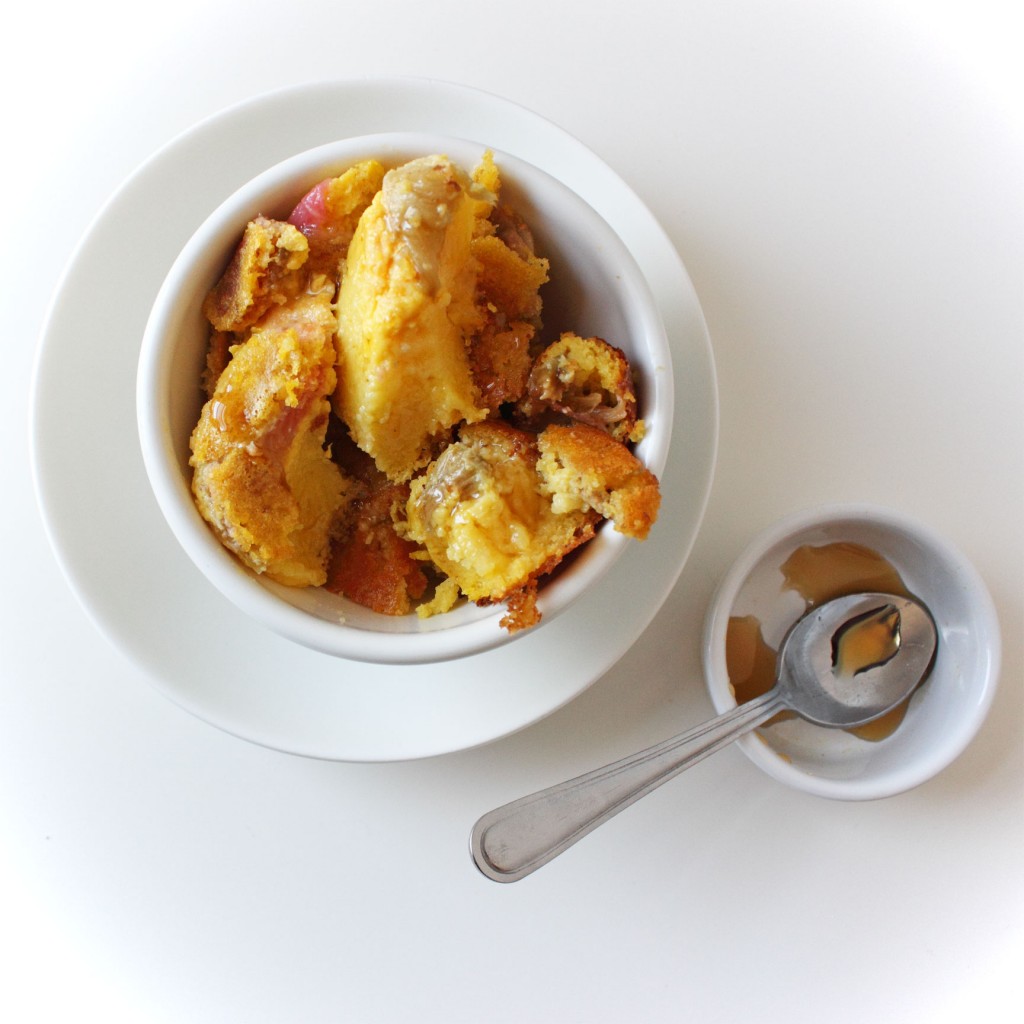
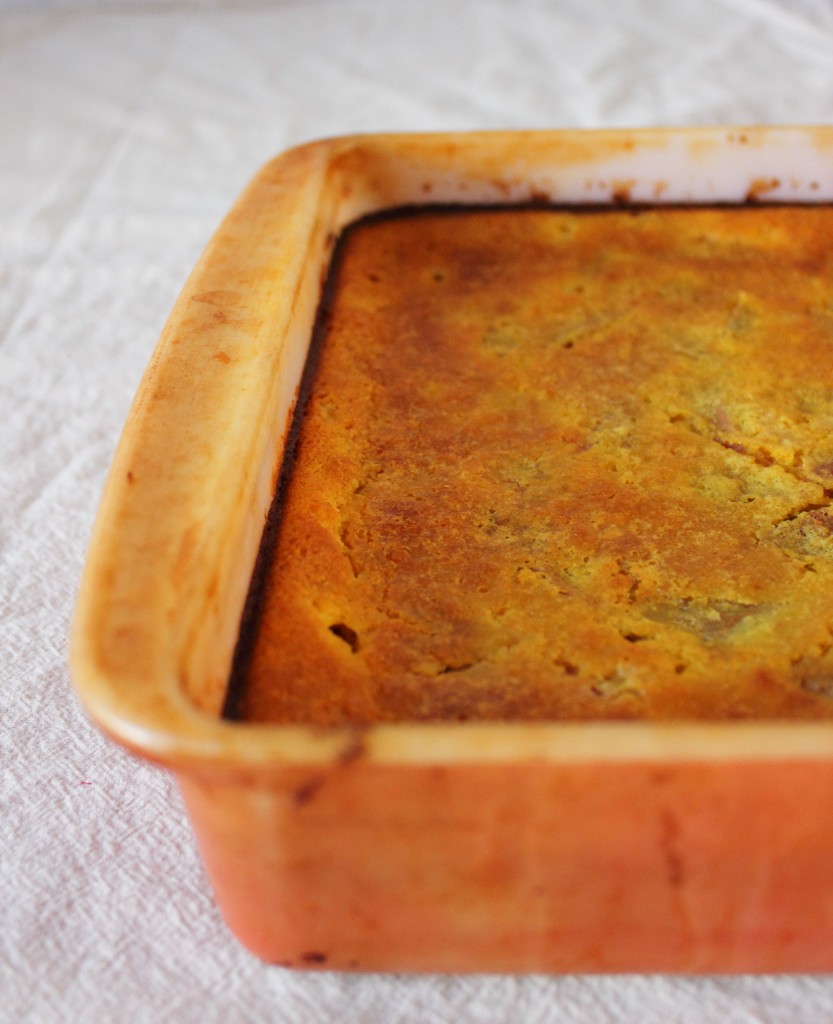
Rhubarb Spoonbread
Ingredients
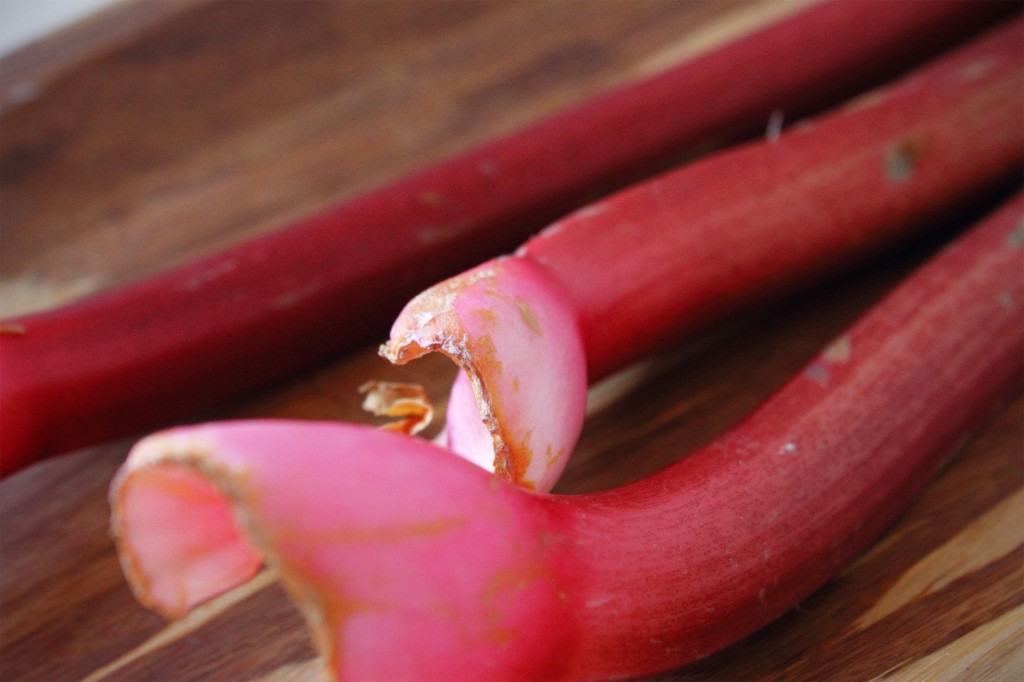
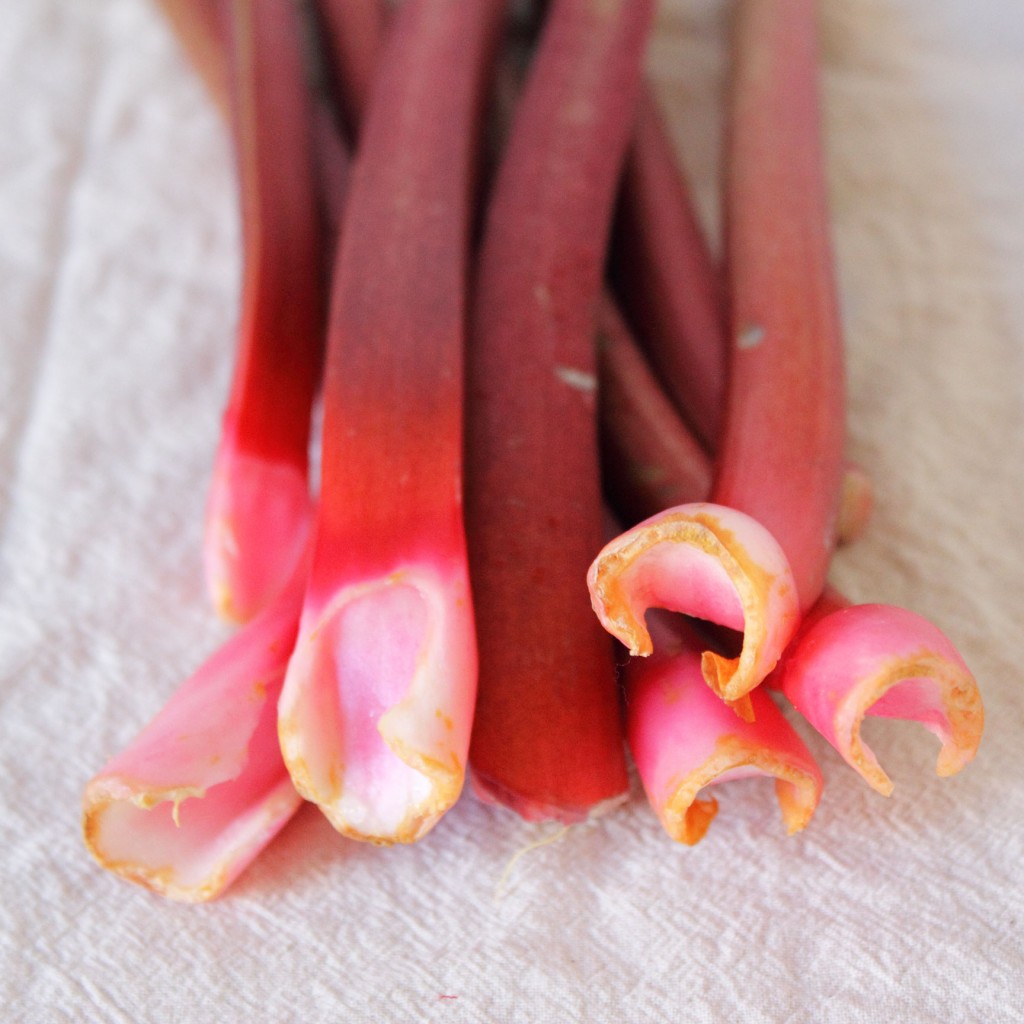
- 6.5 oz (about 2 cups) rhubarb, sliced about 1/4 thick
- 2.5 oz (1/3 cup) sugar (I used organic cane sugar)
- 2 T maple syrup (preferably grade B), plus more for drizzling
- 4.5 oz (1 cup) yellow cornmeal
- 2 t baking powder
- 1/4 t baking soda
- 1 pinch salt
- 2 cups buttermilk
- 3 T butter, preferrably unsalted
- 3 eggs
Cooking Directions
- Place chopped rhubarb, maple syrup, and sugar in a small bowl. Stir together and set aside while you gather the remaining ingredients and complete the following steps.
- Preheat the oven to 400.
- Place the butter in an 8 x 8 inch square pan and put the pan in the pre-heating oven.
- Whisk together the cornmeal, baking soda, baking powder, and salt. Make a well in the center. Add the eggs, but do not stir, set aside.
- Check on the butter. Take it out of the oven when it's completely melted. Allow the oven to continue preheating.
- Now, stir the eggs into the cornmeal mixture and add the buttermilk. Stir briskly until completely combined.
- Swirl the butter around the hot pan and pour any excess into the batter. Stir to combine.
- Stir the rhubarb sugar mixture into the batter and pour into the buttered 8 x 8 pan. Bake for 35-40 minutes, or until the center no longer jiggles.
- Serve warm drizzled with more maple syrup.
Notes:
- Adapted (just barely) from this Edna Lewis recipe on Leite’s Culinaria and inspired by this sweet spoonbread over at Homesick Texan.
- If you need this to be strictly gluten-free, make sure to select a cornmeal that is labeled “gluten-free.” Some brands are not considered gluten-free due to cross-contamination.
- This was my first time making spoon bread and I immediately regretted not making it long ago. The texture is firm, but custard-y.
by autumn on April 29, 2012
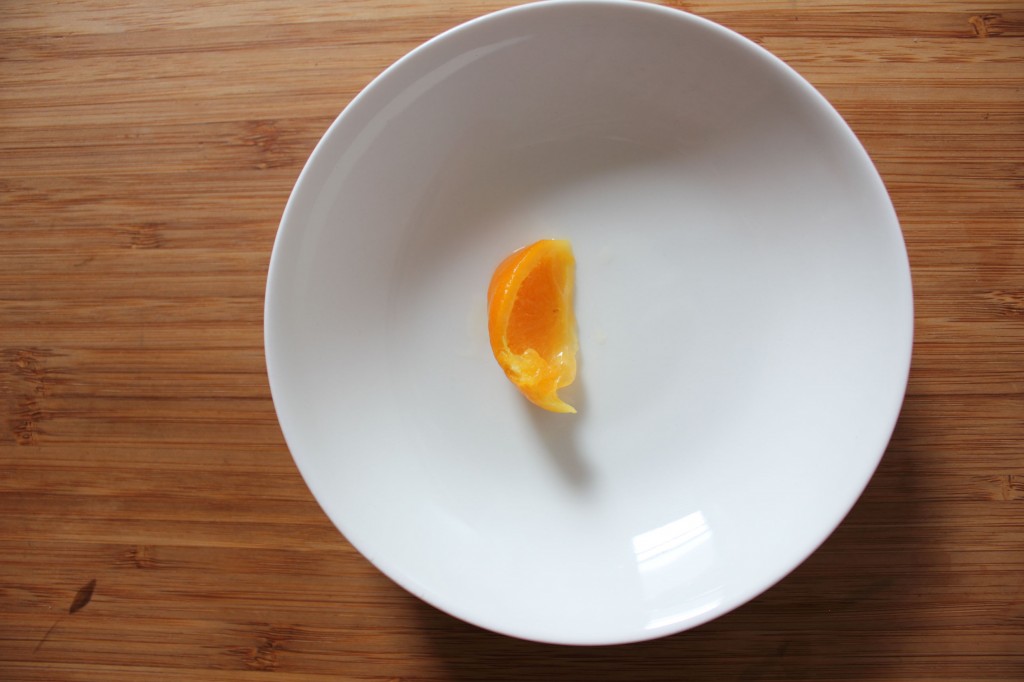
As I write this it’s before 7 am on a Saturday and I’m enjoying some treasured morning alone time. Does it count as alone time if you’re emoji-ing with your sister? That’s happening too. Soon I’ll put on some absurd combination of clothing that can only seem like a good idea when it’s too early on a Saturday and head to the greenmarket.
I once encountered Bill Cunningham (!) at the market, which made me acutely aware of the fact that I was dressed like a lunatic. Have I told you about this before? Looking back, I’d swear to you that his eyes stalled on me for at least three seconds. I’d also tell you I was sure he had considered adding me to his annals that morning, if only I had decided against that hideous tote bag.
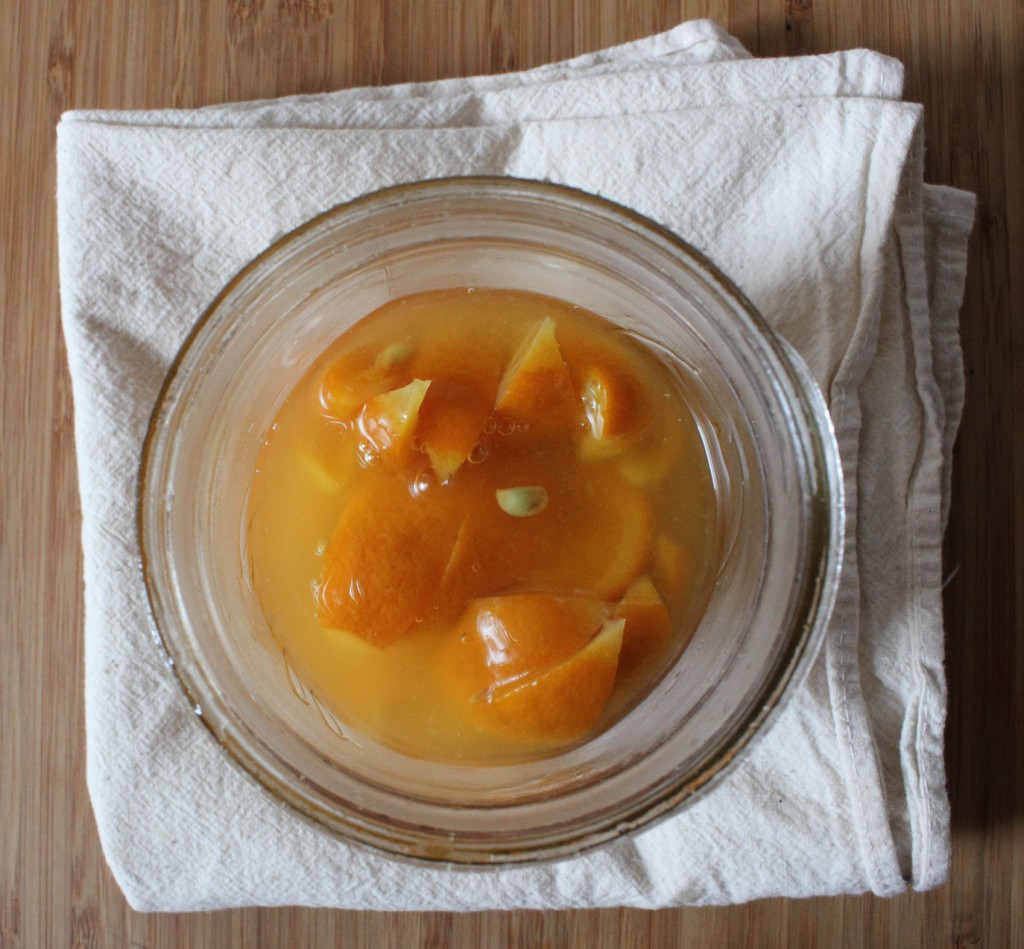
Really, my early mornings are for anything but fashion. They’re for catching up with the world and, let’s be honest, catching up with my fridge and that parsley I forgot about. Preserved citrus is one of the rare things—maybe the only thing—that you want to forget about in your fridge. I stashed some away to cure a couple months ago and now it’s time to report back.
Here’s my original post on preserving rangpur limes two ways. After two months in the fridge, they had developed a nice syrupy brine, just like I wanted them too. The jar with aromatics (bay leaf, lavender, and juniper) was dominated by the show-stealing lavender so I’d probably add less if I made these again. The plain jar wasn’t as tart as I expected. If anything, the bite mellowed and their musky complexity came through even more.
So far, I’ve used them just how I use preserved lemons, which is most often chopped up and added to salads. Salads with buckwheat! I am looking forward to following Food in Jars’ lead and pairing these preserved limes with some avocados for guacamole.
by autumn on April 23, 2012
There’s a strange poetry to flat rate boxes, a mathematics of love via the US Postal Service. For years, my mom has sent me flat rate boxes of food. Rather, I’ve always had a horrible habit of leaving my belongings like a trail of breadcrumbs wherever I go and my mom is great about making sure I get them back.
It starts with a favorite pair of boots forgotten at home, but the beautiful thing about a flat rate box is the potential. Not since a childhood refrigerator box has cardboard seemed so boundless. Somehow, everything fits: the three cans of Rosarita refried beans, the Reese’s, the inexplicable pair of Valentine’s Day napkins, and (hey, it’s flat rate after all) the five pound Costco bag of quinoa.
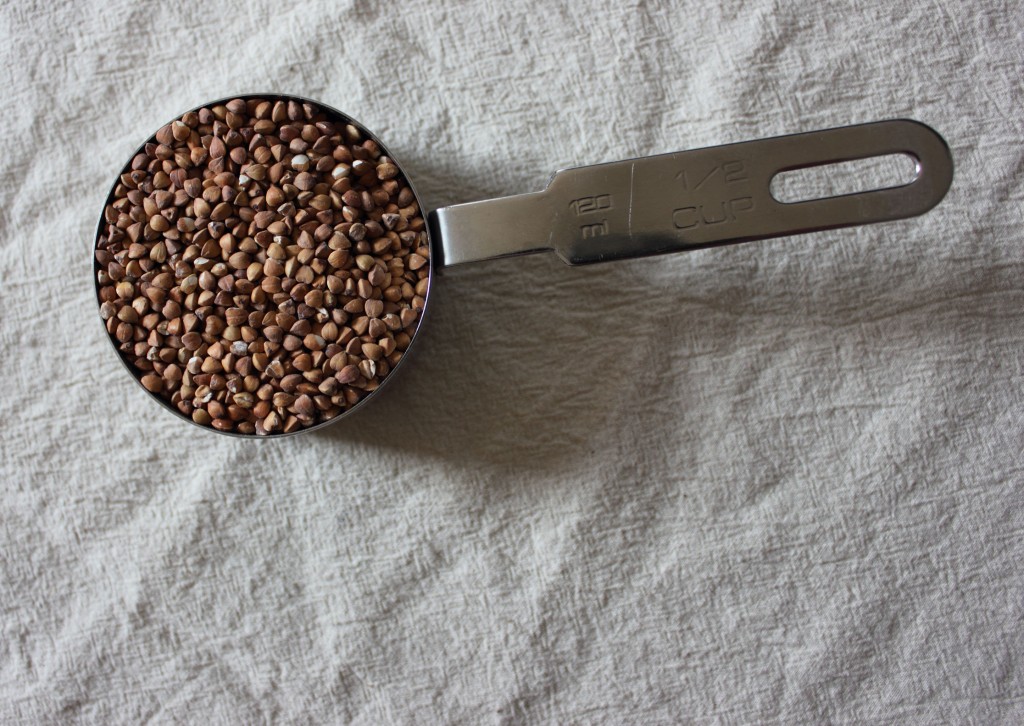
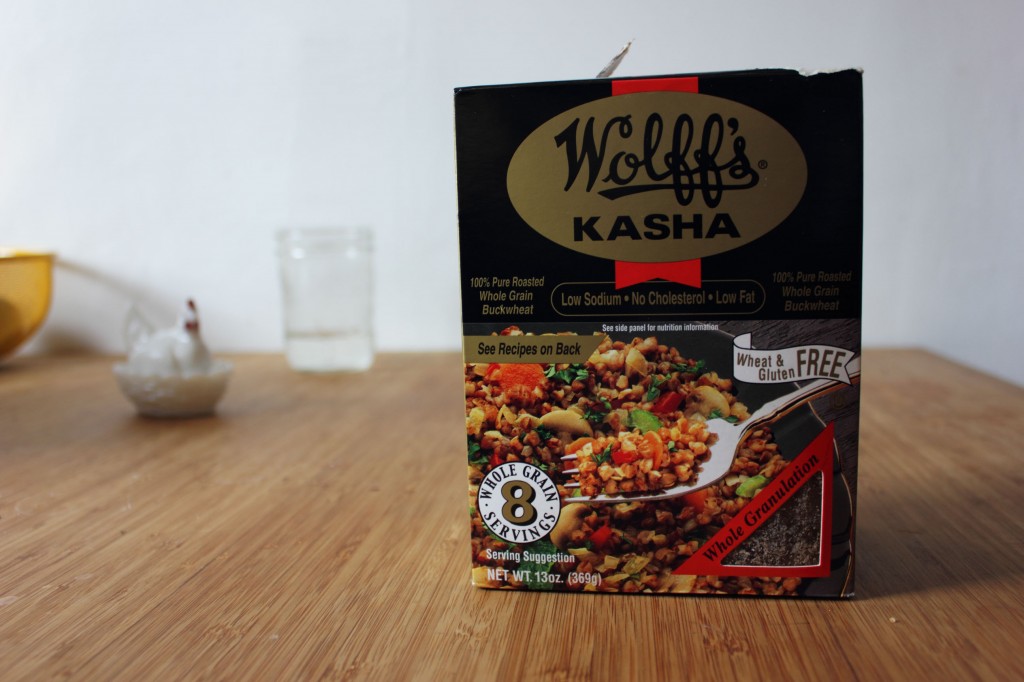
Maybe you’re not also working your way through 10 pounds of quinoa, but are looking for a new whole grain in your life. Allow me to introduce you to buckwheat. The first time I cooked buckwheat, it went straight in the trash. It was a brown mushy mess. I had no plans to ever make or eat it again, but now we have it at least once a week. I learned that the way you cook buckwheat makes all the difference, so I’m here to tell you how to end up with a nutty, toothsome, and super-versatile thing instead of the alternative.
Buckwheat basics:
- Go whole: Buckwheat is sold in different “granulations,” which just means it’s ground up in varying degrees of fineness. Look for “whole granulation,” which is not ground up at all.
- Make it a staple: My regular old neighborhood grocery store carries it.
- Weeknight potential: It cooks very quickly, without much heat, but it’s also great cold. Cook a bunch and have it on hand.
- Toast it: This improves the texture and deepens the flavor. Toasting is totally necessary.
- Rhubarb: It’s related to rhubarb (!), not wheat, so it’s a great gluten-free stand-in for things like barley, farro, and wheat berries.
How to Cook Buckwheat
Yield: enough for 2 as a main, easily doubled.
Ingredients
- 1/2 cup whole buckwheat
- 1 cup water
- 1 pinch salt
Cooking Directions
- Place the water and salt in a small stainless pot, but do not turn the water on just yet.
- In a bare stainless skillet, toast the buckwheat over med-high heat until some grains begin to darken and you smell a nutty, popcorn aroma.
- About one minute into toasting the buckwheat, begin heating the water on high. This little delay will help your buckwheat and water be ready closer to the same time.
- When the water boils and the buckwheat is toasted, remove the buckwheat from the heat and reduce the water to low heat.
- Slowly add the buckwheat to the water, being careful because it will boil up. Cover the pot and cook on low for 10 minutes, or until no water remains.
Now eat it! Get inspired:
by autumn on April 18, 2012
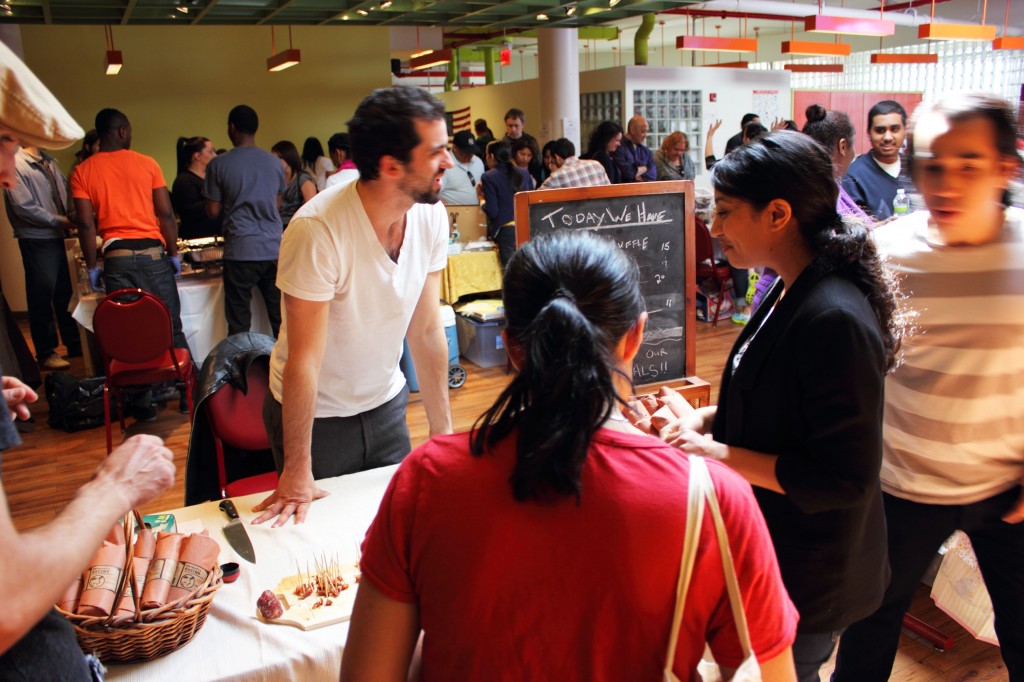
This past Saturday was pretty great—one of those days that strikes an ideal balance between productivity and indulgence. First I sat down with Carrie Murphy to record the next episode of Alphabet Soup (Did you listen to episode 13 yet? I’m pretty darn proud of it.) Like me, Carrie is a poet with a food blog. We talked about her new book (!), New Mexican food, girlhood, and more. Keep your ears peeled (and subscribe in iTunes) because it’s good talk.
After Carrie hopped on a bus back to DC, the boyfriend and I walked over to the first Queens County Market, a pop-up food market right in our neighborhood. The market has been getting a ton of great press, so I won’t double up on that, but I do have to say that I hope Saturday’s great turnout means that there will be another Queens County Market soon. I’d happily become a regular. I wanted to share some of my photos from the event.
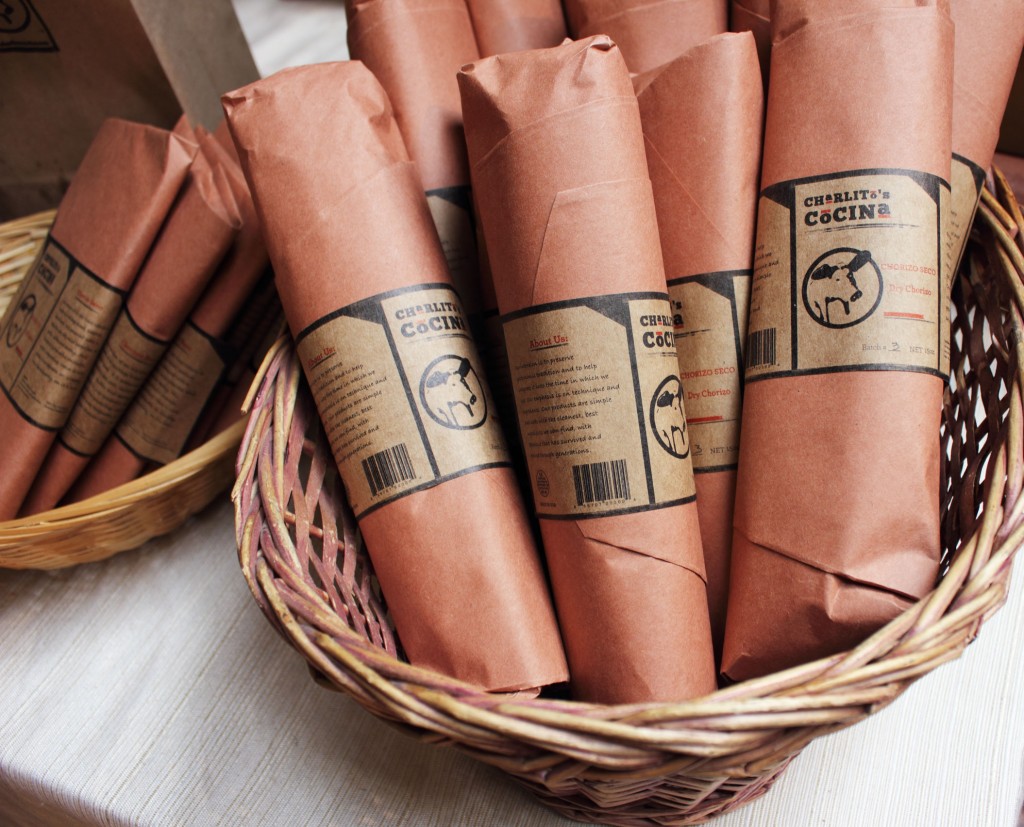
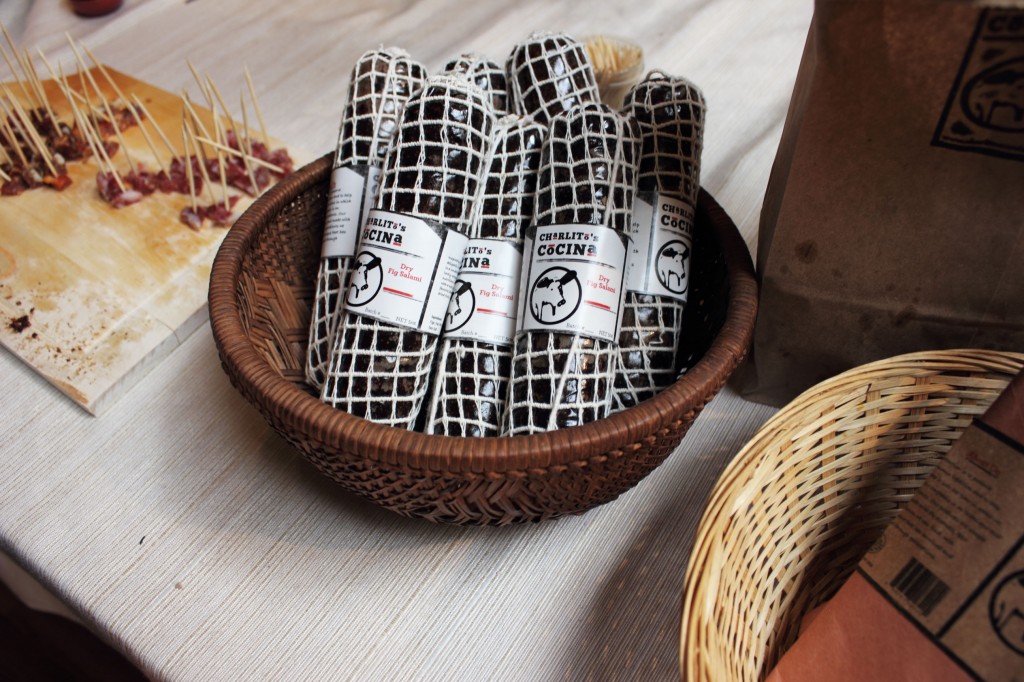
The boyfriend got some chorizo from Charlito’s Cocina, but they also had this phenomenal fig “salami” (pictured above). It’s a super-smart idea for a meatless number and the depth of flavor (there’s both bourbon and port in it) was really impressive.
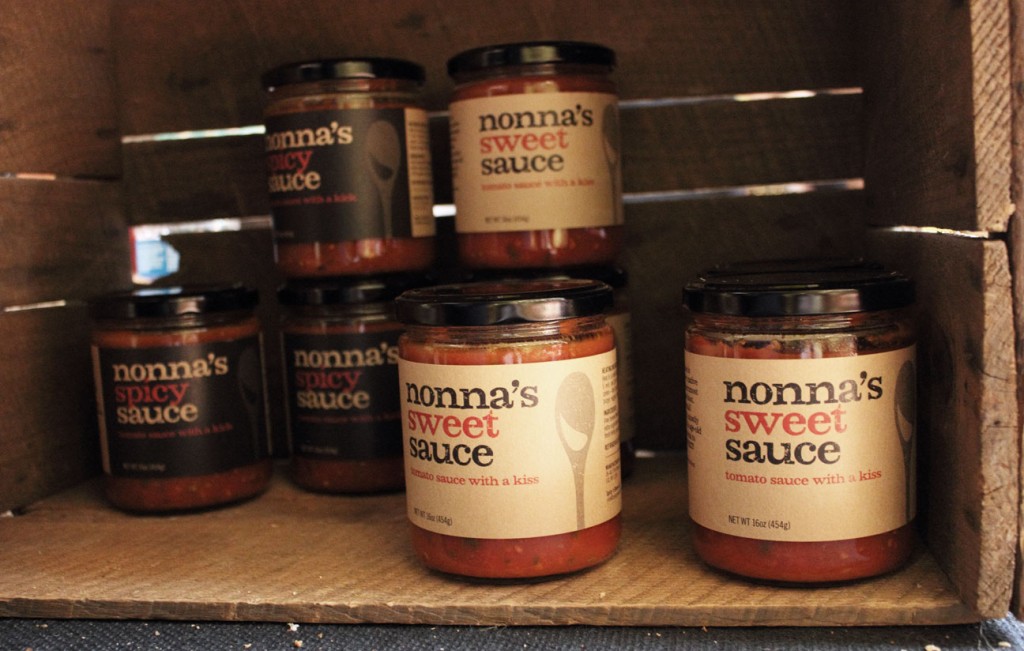
Nonna’s sauces from Spicy & Sweet.

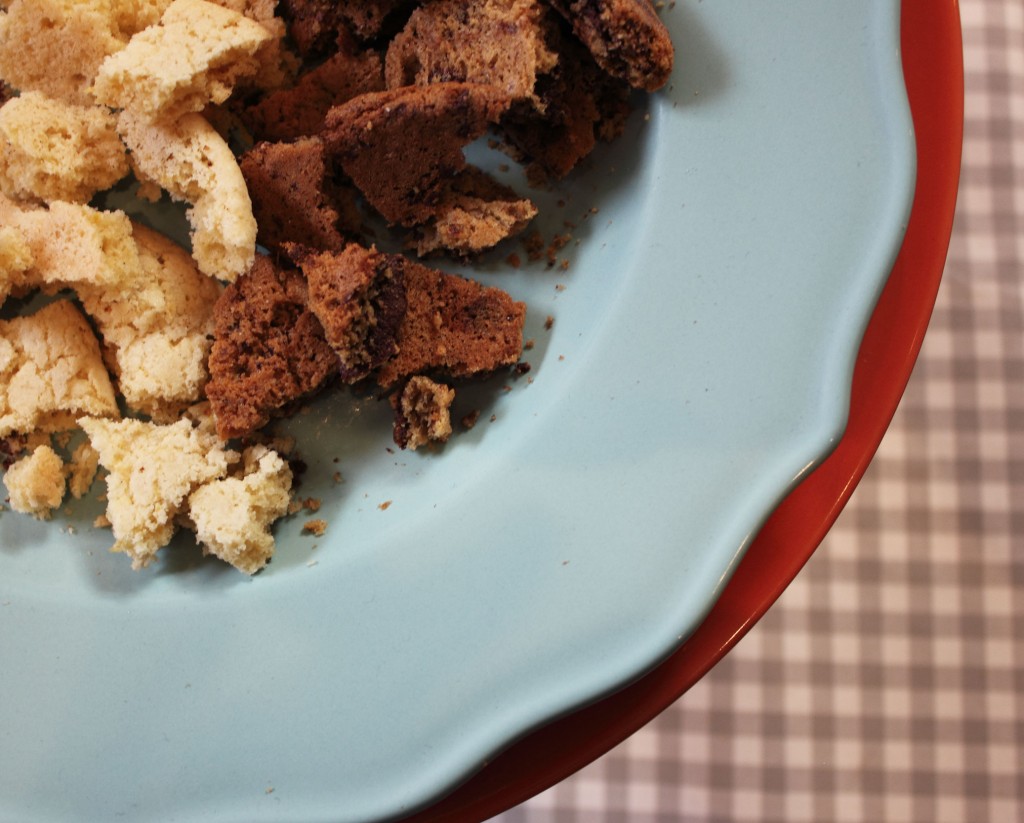
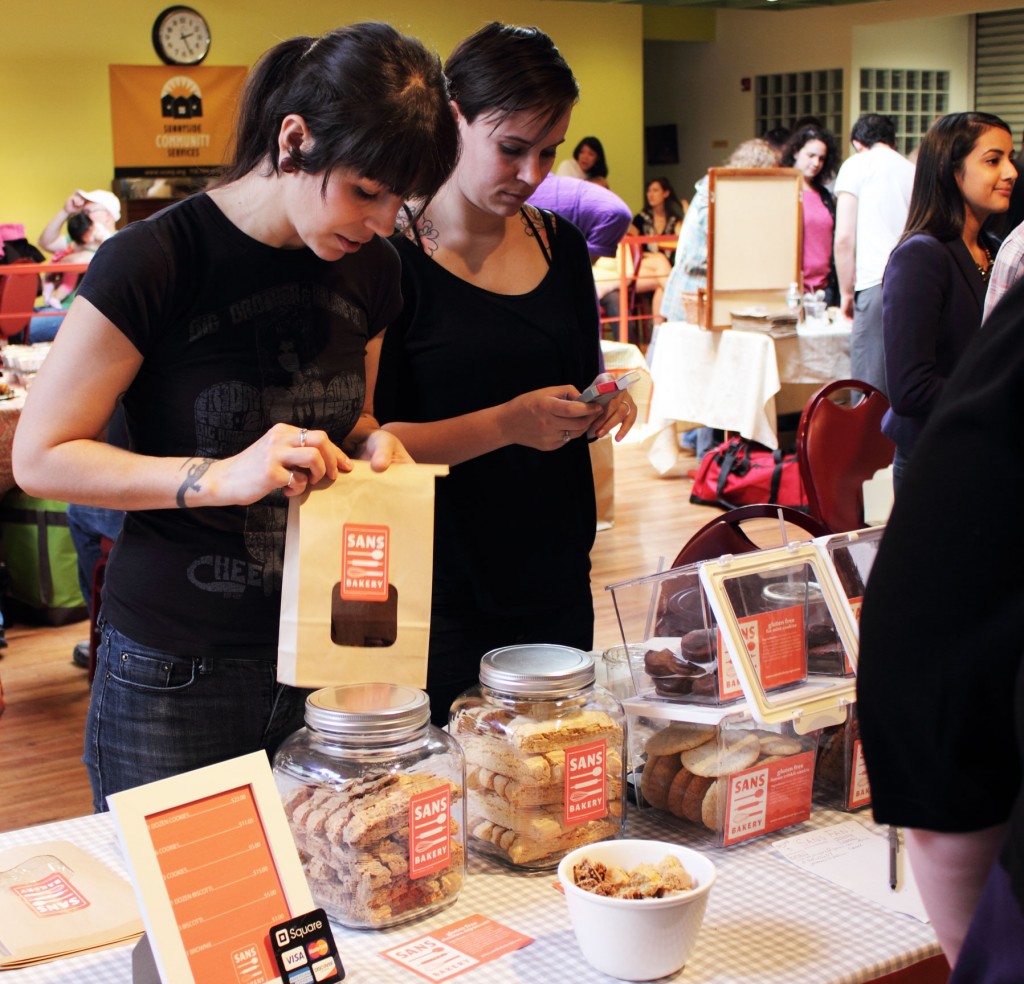
I was so happy to see the lovely ladies from Sans Bakery at the market. They call themselves “the gluten-free bakery you’ve been waiting for,” and I had literally been waiting all week to try their gluten-free “fat mint” cookies after hearing about them on twitter. Girl Scouts of America, you’re on notice because this former girl scout prefers the “fat mints” to the thin.
Be sure to follow Queens County Market on twitter to stay up to date during this exciting time for the market.
by autumn on April 15, 2012
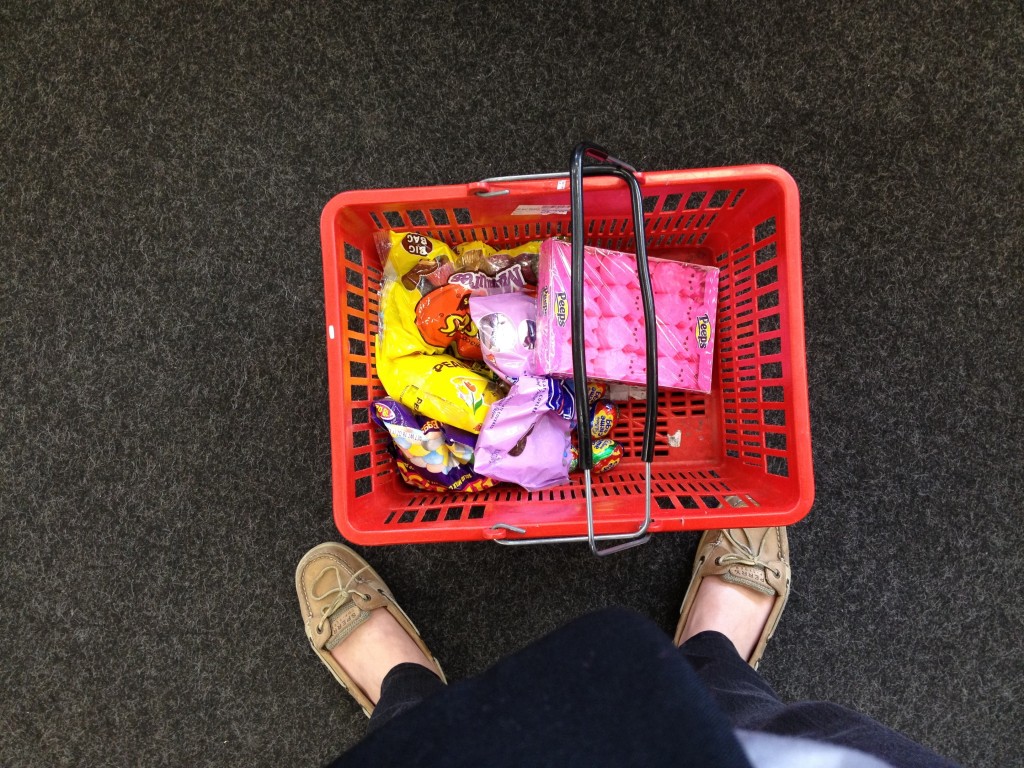
At least candy doesn’t have an agenda. Sure, it can be processed, full of sugar, preservatives, scary chemicals, and artificial colors, but for the most part it doesn’t claim to be anything other than all those nasty things. And if it does, I don’t want anything to do with it. I am skeptical of foods that have a lot to say about themselves. You’ll understand then why I initially gave chia seeds the stink eye. Chia seeds think they’re pretty darn great.
Just because I’m stubborn, I really didn’t want to like them. Well, I’ve been totally delighted with them. When combined with liquid they’ve got magical gel-inducing properties, dry they have a nice snap. They’re quite beautiful close up and have added a science experiment-like quality to my cooking lately. I’ve loved mixing them into stuff and just seeing how they behave. As for the health benefits, I’ll let you decide for yourself. The lady with the CVS basket full of discount Easter candy is hardly qualified to be giving health advice. I will tell you that they’re pretty and fun.
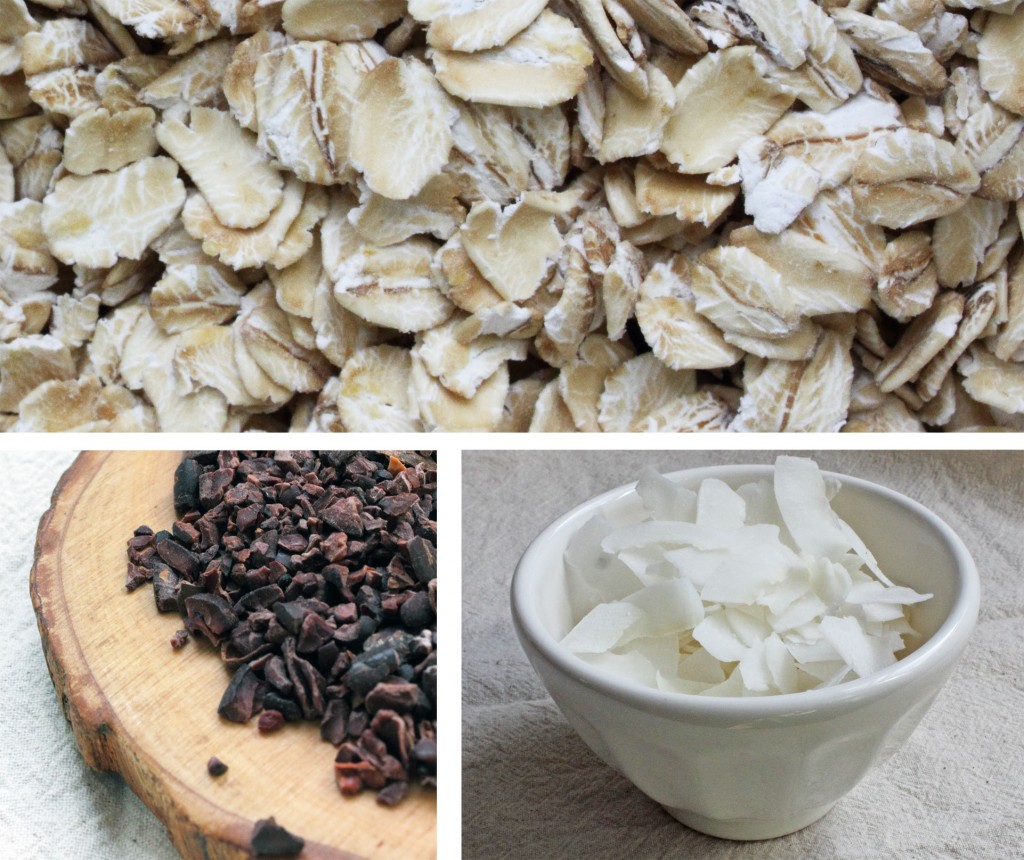
Thanks to this granola from Orangette, I’m currently in a granola phase. Because store-bought gluten-free granola is both expensive and mostly blah, I think I had forgotten how good granola could be. Inspired by the “grown-up” characteristics (olive oil?!) of Molly’s recipe, I made my own granola with sophisticated tastes: cashews, those darn chia seeds, the coconut flakes I’m obsessed with, and finally cacao nibs, which take on an amazing savory depth when baked.
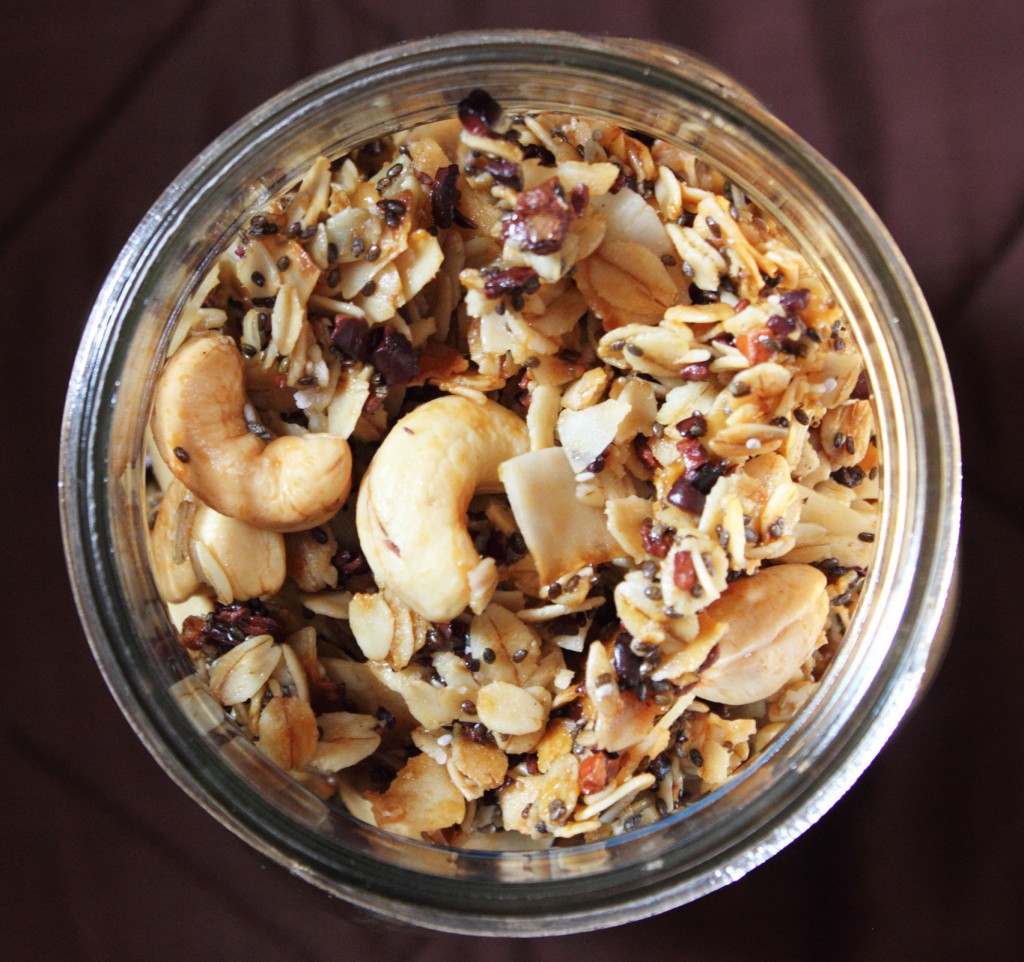
Coconut, Cacao, and Chia Granola
Ingredients
- 1 1/2 cups (150 g) gluten-free rolled oats
- 1 cup (50 g) coconut flakes
- 1 cup (125 g) unsalted cashews
- 1/4 cup (30 g) cacao nibs
- 2 T (20 g) chia seeds
- 1/4 cup liquid coconut oil
- 1/4 cup agave
- 1 t vanilla extract
Cooking Directions
- Preheat the oven to 300 and line a large baking sheet with parchment paper.
- Stir the dry ingredients together in a large bowl.
- Whisk the wet ingredients (the coconut oil, agave, and vanilla extract) together in a small bowl.
- Fold the wet ingredients into the dry until everything is evenly coated.
- Bake for 15 minutes then stir.
- Bake for another 25-30, or until golden brown then remove from the oven and let cool completely without stirring.
- Store in an airtight container.
Notes:
- While making this, I discovered that my spare jar of coconut oil on my top cupboard shelf was liquid, while the open jar on my bottom shelf was closer to solid. I wish I could call that a pro-tip, but it was a complete accident.
- Letting the granola bake then cool without stirring makes it clumpy just like store-bought. If you don’t like the clumps, stir away!
- I didn’t try making this with another liquid sweetener (ie: maple or honey), so let me know if you try it. My guess is that they would also yield great results.
by autumn on April 9, 2012

I was running a work errand in Tribeca a couple weeks ago, a neighborhood that’s still unfamiliar enough to surprise me. I rounded a corner and was stopped in my tracks by, of all things, a ballfield. Not a stadium or anything noteworthy, just an astro-turf colored hole in the city. I couldn’t help but stop because it was truly stunning to be in the presence of that much open space in Lower Manhattan.
We spent the day in Fort Tryon Park on friday, which I’m drawn to for the same reason. It’s open-space porn: cliffs, rock ledges, and overlooks. A grid dweller can forget about up and down when her days are full of back and forth. It’s the place to go when you’ve got a hankering for trees.
I bought this Clear Creek Douglas Fir Eau De Vie for the same reason; I was wanting for trees. This is good brandy infused with spring Douglas fir buds. It’s fancy, but not pretentious because there’s forest involved. I was just sipping it straight until I got some cocktail inspiration from Bitters, by Brad Thomas Parsons . I pared down his super well-crafted version to make create my “In the Trees” cocktail.
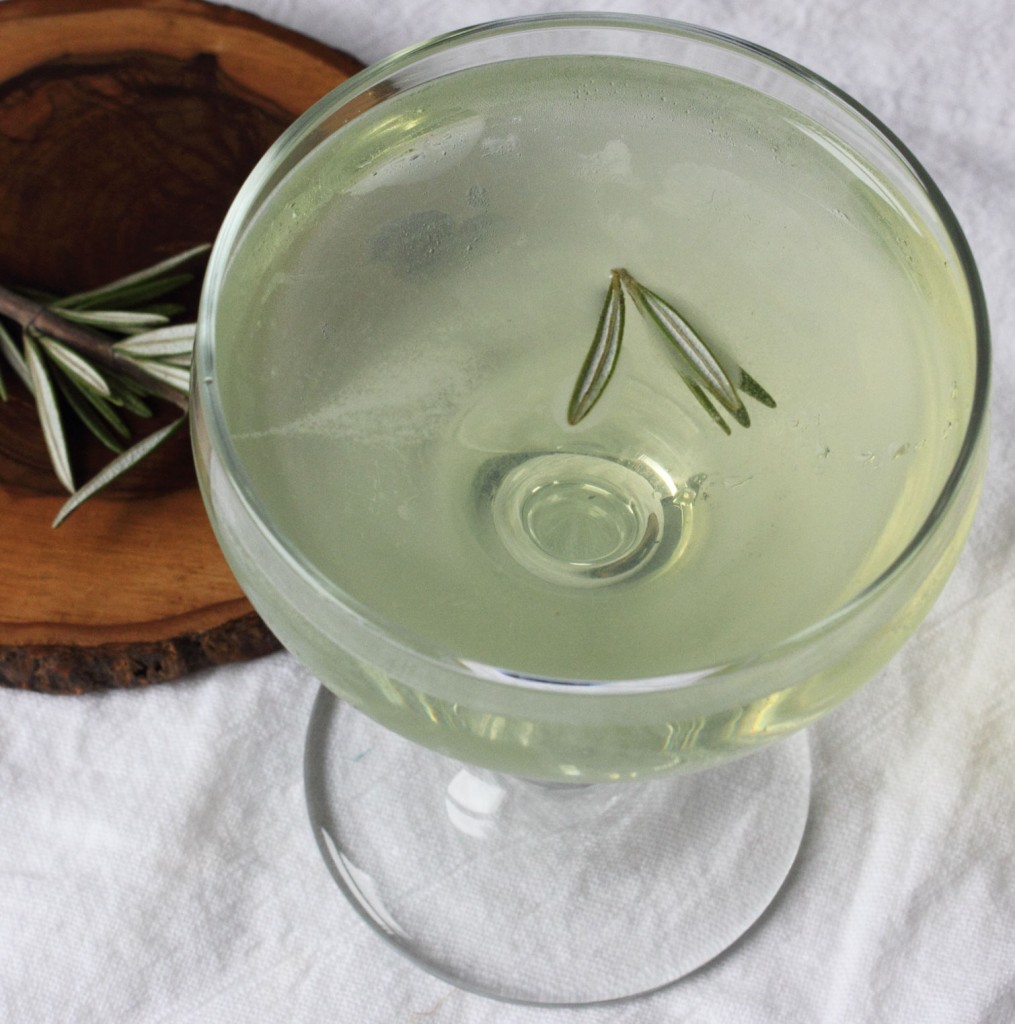
In the Trees Cocktail
Yield: 1 cocktail
Ingredients
Cooking Directions
- Combine everything in a cocktail shaker with ice. Shake.
- Strain into a coupe glass and serve. Garnish with fresh rosemary if desired.
Notes:
by autumn on April 2, 2012
The first album I remember getting really, really excited about was The Velvet Rope . I’ll give you a minute with this video where she rips off her shirt and somehow makes a push-up bra classy to figure out why. I perfected a clothes-on version of the “I get so lonely” dance. My recognition of The Velvet Rope for what it is—brilliant—was a rare moment of good taste in my youth. Unfortunately, the next album I got really excited about was River of Dreams. As young people, isn’t it our job to know what music is cool? I just wasn’t cool; I was no Janet.
The only TV show I truly loved growing up was Jeopardy, I rode the school bus much later than was socially acceptable, and I had horrific taste in ice cream. As a person who now takes ice cream very seriously, that last one breaks my heart the most. There’s a particularly florescent, fat-free (why do those always go hand in hand?) Baskin Robbins flavor called Daiquiri Ice that has exactly nothing delicious in it, which I was nonetheless mysteriously fond of. “Fond of,” is putting it mildly.
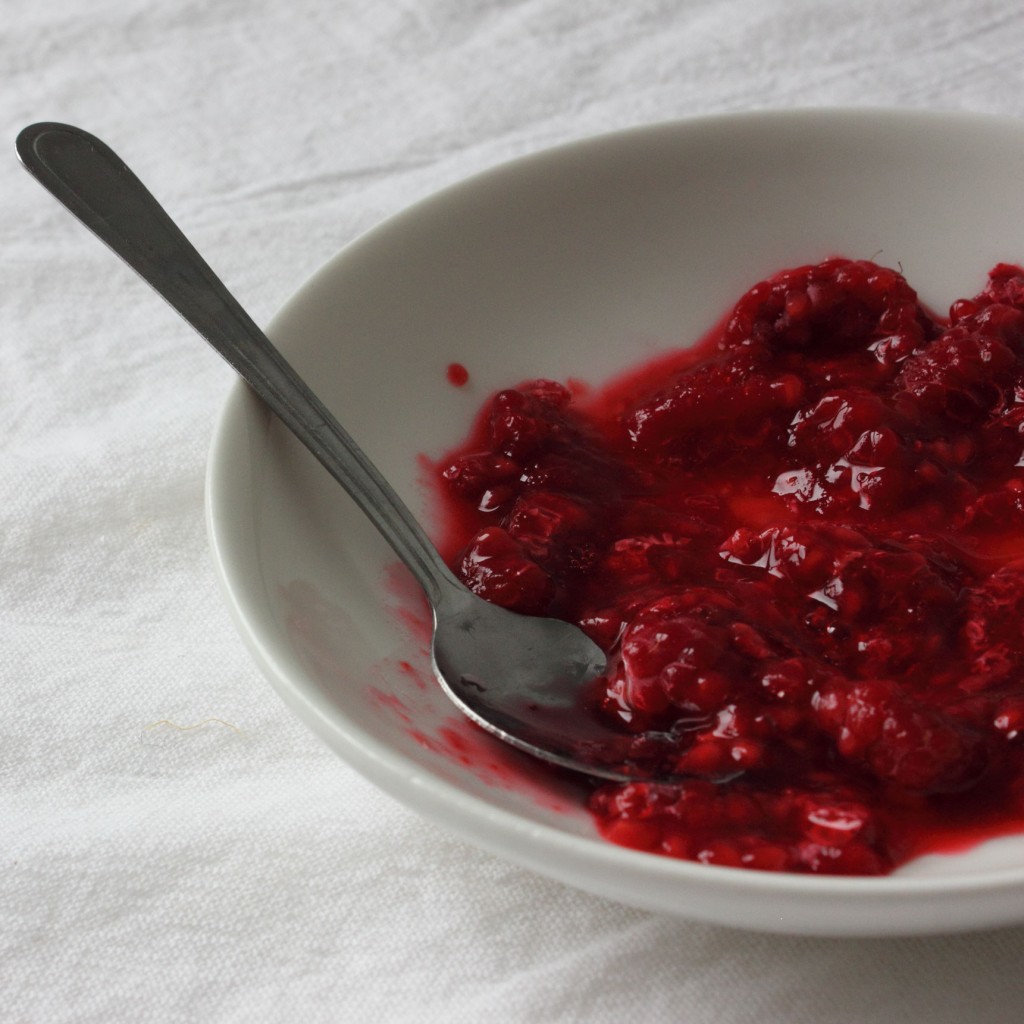
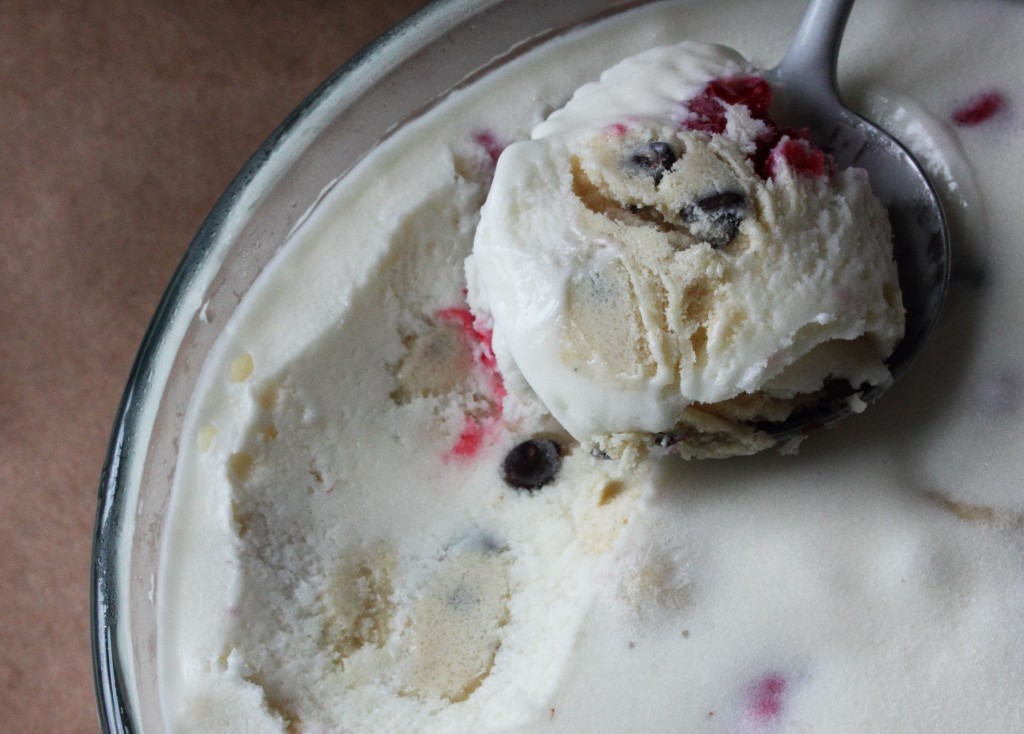
I’m making amends for the past with this ice cream. Pretty, saavy ladies are into this ice cream. It won’t surprise you then that it’s adapted from the Joy the Baker Cookbook . It’s a classic, with a couple changes for the better (berries!). Also, I hope you’re sitting down, there’s gluten-free cookie dough in this ice cream. A recipe for gluten-free cookie dough is dangerous knowledge, but I think you can handle it.
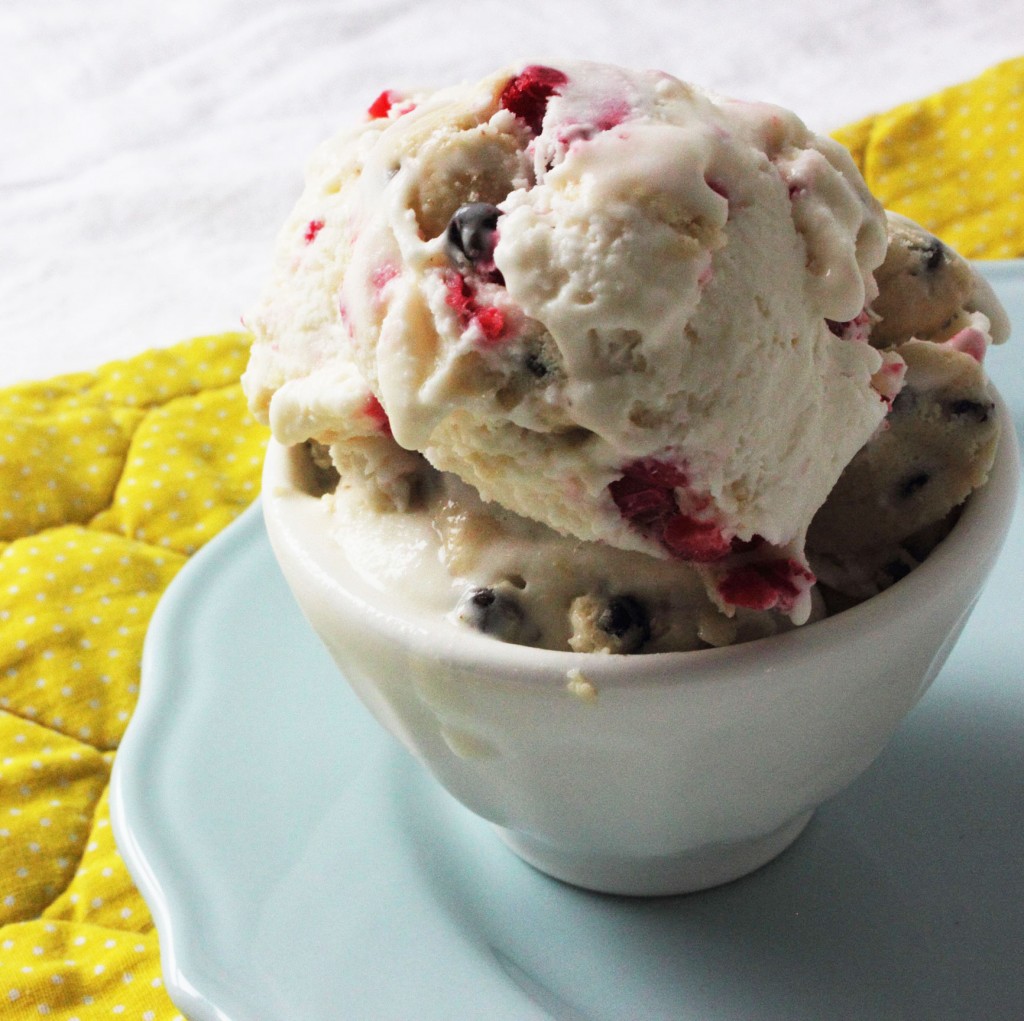
Adapted from Joy the Baker Cookbook
Gluten-free Raspberry Cookie Dough Ice Cream
Ingredients
- 3/4 cup sugar
- 1 1/2 cup whole milk (reserve 1/2 cup)
- 1 1/2 cup heavy cream
- 2 t vanilla extract
- 3 T tapioca starch
- 2 T light corn syrup
- pinch salt
- 1 cup frozen raspberries, chopped
- 68 g (about 1/2 cup +1 1/2 t) millet flour
- 53 g (about 1/3 cup + 1 t) sweet rice flour
- 37 g (about 1/4 cup +1 T) tapioca starch
- 1/2 t baking soda
- 3/4 t salt
- 1/2 cup (1 stick) unsalted butter, room temperature
- 1/2 cup packed brown sugar
- 1/4 cup granulated sugar
- 1/2 t xanthan gum
- 3 T heavy cream
- 1 t vanilla extract
- 1/2 cup mini-chocolate chips
Cooking Directions
- Whisk 1/2 cup of the milk and 3 T of tapioca starch together. Set aside.
- Combine the remaining 1 cup milk, 1 1/2 cup heavy cream, 3/4 cup sugar, corn syrup and a pinch of salt in a small saucepan over med-low heat.
- When it is just about to begin bubbling, pour in the milk/tapioca starch mixture while stirring constantly. It should thicken almost immediately. If not, cook it for a few more seconds. Remove from heat, stir in 2 t of vanilla extract, and refrigerate until completely cool. This is your ice cream base.
- While the ice cream base cools, whisk together the millet, sweet rice, tapioca starch, baking soda, salt, and xanthan gum in a medium bowl. Set this flour mixture aside.
- In a large bowl, cream the 1/2 cup butter, the 1/2 cup brown sugar, the 1/4 cup granulated sugar, and 1 t vanilla extract, until pale and fluffy.
- Add in the flour mixture and beat until fully combined.
- Beat in 3 T heavy cream and 1 t vanilla extract until smooth. Fold in the chocolate chips.
- Roll in marble size balls and place on a parchment lined cookie sheet. Place the cookie dough balls in the freezer.
- When the ice cream base is fully chilled, process in your ice cream maker, according to the manufacturer's instructions.
- Once the base is churned, stir in the chopped berries and as many cookie dough balls as seems reasonable. You'll likely have some cookie dough left over if you don't eat as much in the process as I did.
- Return the finished ice cream to the freezer.
Notes:
- I wrote the recipe by measuring the flours by weight (grams), so that’s the most accurate. I did my best to approximate the measurements in volume (cups) for folks who don’t yet have kitchen scales, but isn’t gluten-free cookie dough a great reason to finally get one?!

- If you’re averse to corn syrup, you could use 1 T or so of vodka in its place. It’s there to help the texture of the finished product, not to sweeten.
- I use Enjoy Life Semi-Sweet Chocolate Chips
 and Nielsen-Massey Vanilla Extract, both of which are currently gluten-free.
- I ended up cutting my cookie dough balls in half before adding them to the ice cream.
More Gluten-free Cookie Dough Ice Cream:


