by autumn on October 24, 2012
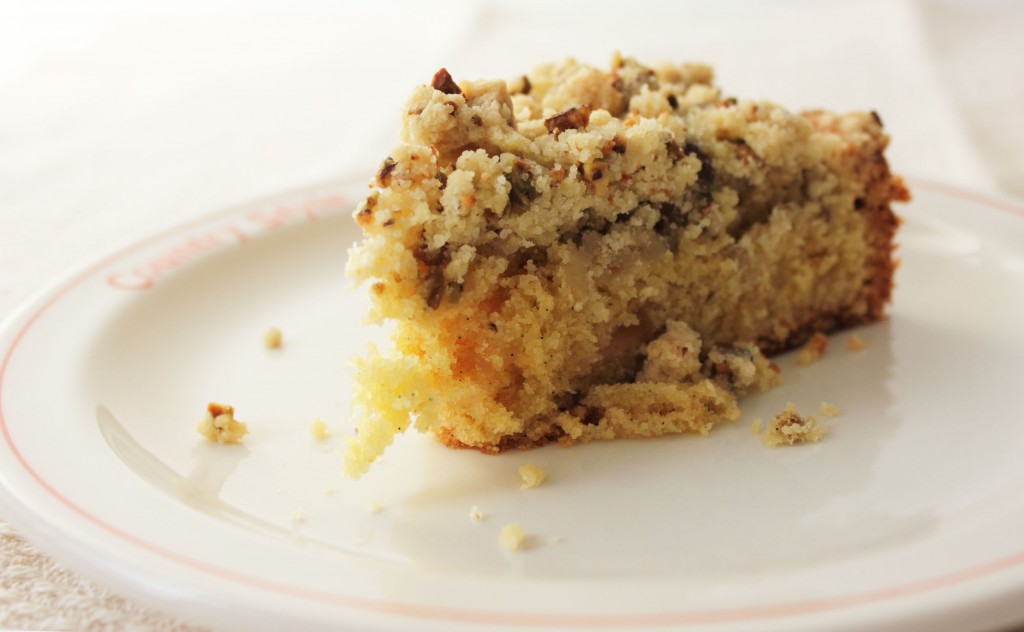
A good coffee shop is an important thing. Important for secret meetings to talk about writing with older boys. Important for—praise be—the only poetry reading in town. Important for everyone else too. Important for legendary bathroom graffiti and important for brioche the size of your head.
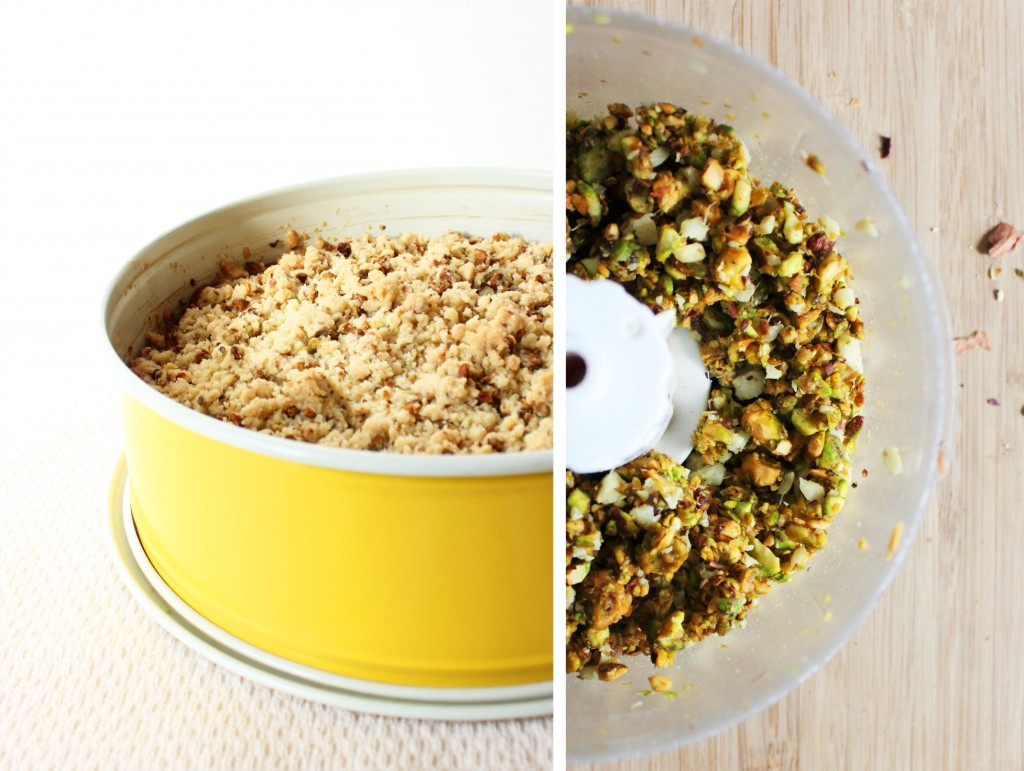
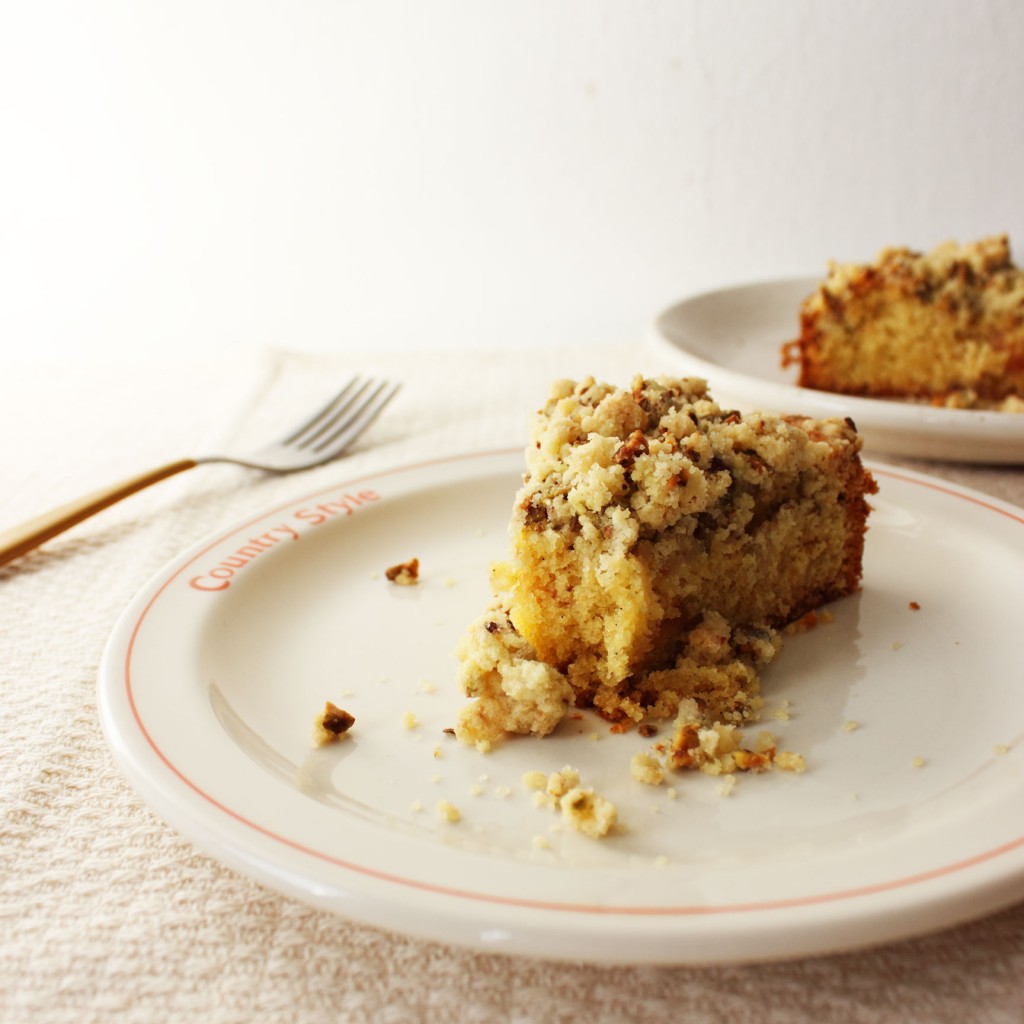
Important for the cat whose life’s work is sipping cream from tiny stainless pitchers. Important for sitting with sisters, for stretching an hour or so spent laughing at the classifieds over months between visits. Important for the waitress who gets your name wrong so often and with such conviction that you’re sure she’s doing it on purpose. Important for ragtag rows of cake stands and what they keep: a quince-studded vanilla cake set to “buckle†under a mountain of pistachio ginger streusel.
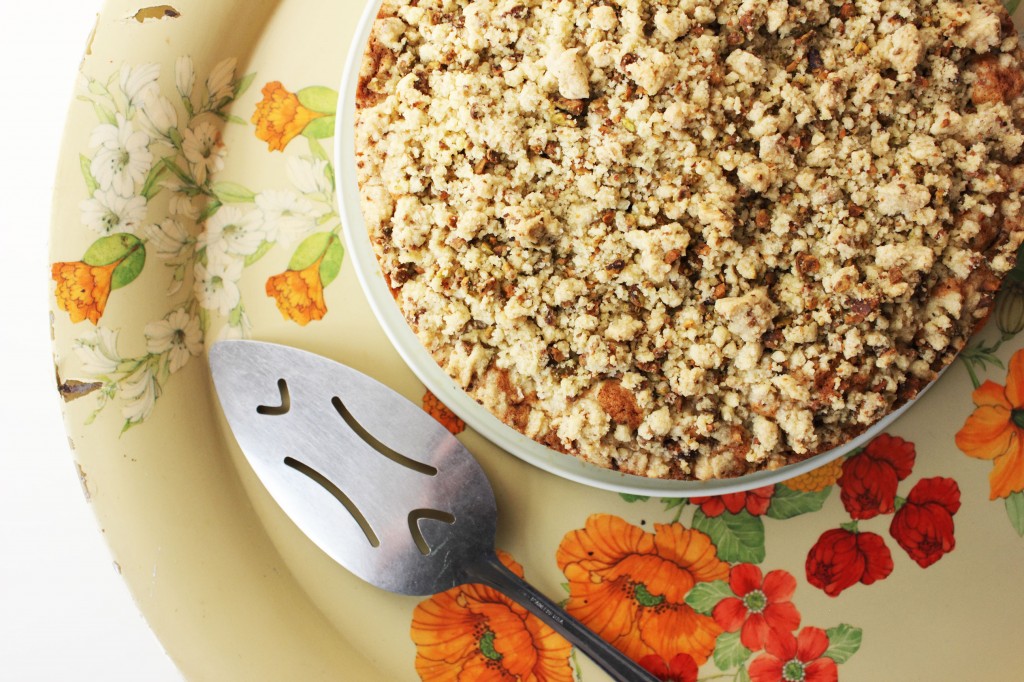
Adapted from The Blue Bottle Craft of Coffee, a book about a coffee shop.
Quince Buckle with Pistachio Ginger Streusel
Ingredients
- 1 inch knob of ginger, peeled and cut into coins
- 76 g (1/2 cup) unsalted shelled pistachios
- 100 g (1/2 cup) organic cane sugar
- 1/2 t kosher salt
- 140 g gluten-free all purpose flour (see notes)
- 1/4 t xanthan gum
- 85 g (6 T) cold unsalted butter
- FOR THE CAKE
- 156 g (11 T) unsalted butter, at room temperature
- 150 g (3/4 cup) organic cane sugar
- 2 eggs, at room temperature
- 1 vanilla bean, seeds scraped
- 140 g gluten-free all purpose flour
- 1/4 t xanthan gum
- 1 t baking powder
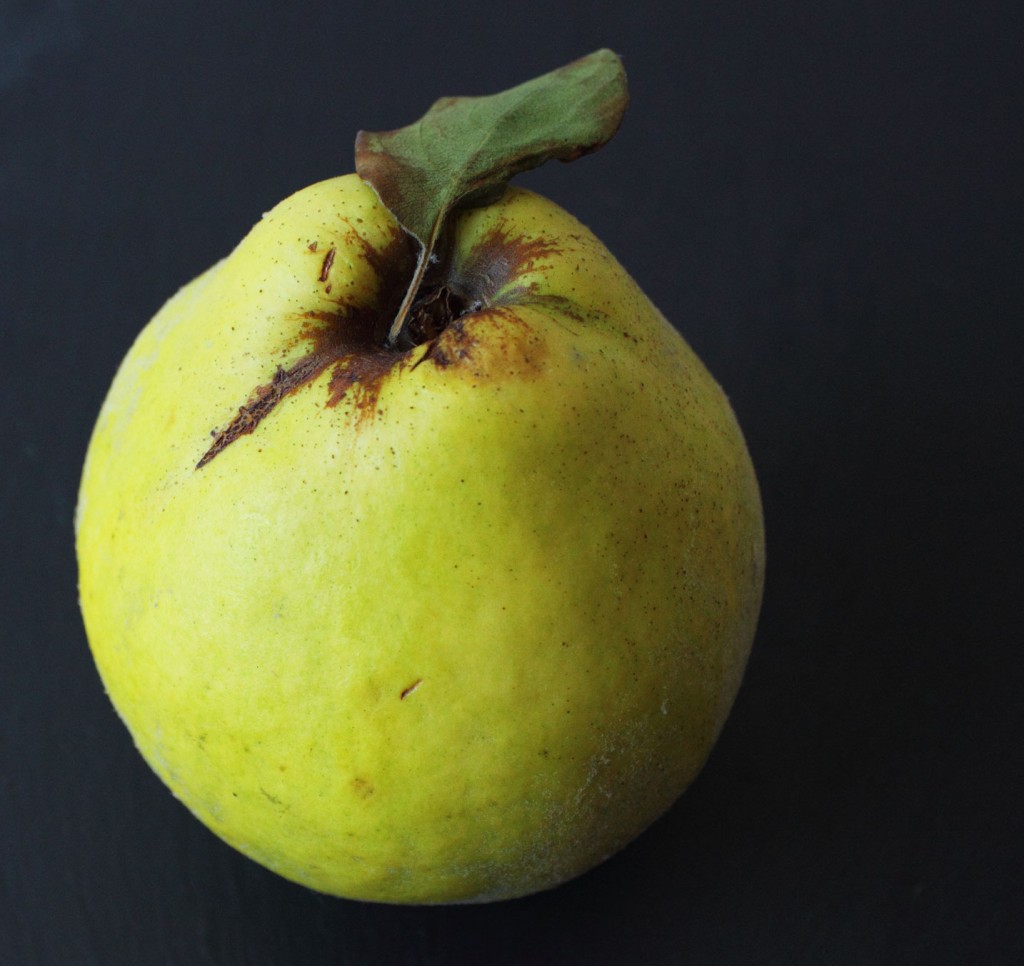
- 1 quince, poached and diced into 1/4 inch pieces (about 1 cup) see notes
Cooking Directions
- Preheat the oven to 350 degrees and generously butter a 9-inch spring form pan.
- To make the streusel: Combine the pistachios and ginger in a food processor and blend until a very coarse meal forms.
- Dump into a medium bowl and stir to combine with the next four ingredients.
- Chop the 6 T of cold butter up, place it in a bowl with the dry streusel ingredients, and let it sit while you make the cake. Don't fully combine it just yet.
- To make the cake: Cream the butter and sugar until light and fluffy, about 3 minutes.
- Add the eggs one at a time, beating until fully combined after each addition.
- Add the vanilla bean seeds and mix well.
- Add the flour, xanthan gum, and baking powder, mixing until fully incorporated.
- Fold in the quince.
- Spread the cake batter into the pan and set aside.
- Return to the streusel topping. The butter should be softened, but still cold. Using your hands, work the butter into the dry ingredients until clumpy crumbs form.
- Sprinkle the topping on top of the cake in an even layer and bake for 50-60 minutes.
- Let cool for 10-15 minutes before unmolding from the springform pan.
Notes:
- I used Cybele Pascal’s gluten-free flour mix. Gluten-eating folks can sub AP flour by weight and omit the xanthan gum.
- I quartered and cored a single quince and poached it in 2 cups water, 1 cup sugar, and 1/4 t lemon juice for about 40 minutes. David Lebovitz has a good poached quince recipe too. Quince poaching is a forgiving science. No matter what, save the poaching liquid as it’s the best soda syrup around.
by autumn on October 3, 2012
My first NYC apartment was an off-campus studio I scored in the housing lottery senior year of college. It had a pink toilet, a radiator that was permanently encircled with paint-chip dandruff and—horror of NYC apartment horrors—it had a kitchenette. A two-burner/sink situation with a mini-fridge underneath, it was the accomplice to many an inelegant “one pot” meals.
I had just pressed the reset button on the few shakey culinary instincts that I had after being diagnosed with Celiac Disease and, to put it mildly, I was on a budget. But, damn, if I wasn’t determined. I lived on 110th street, across the street from a Rite Aid and learned that it was the unlikely home of the cheapest cans of Goya beans in the neighborhood. There was hope and—when I was feeling committed—there were potatoes and garlic.
Can I tell you that I’m actually proud of the year I spent in an apartment without an oven? The intricacies of cooking with little are what stick with me: the beautiful little systems we have to make economy more elegant. Let the one pot meal a triumph, rather than a surrender.
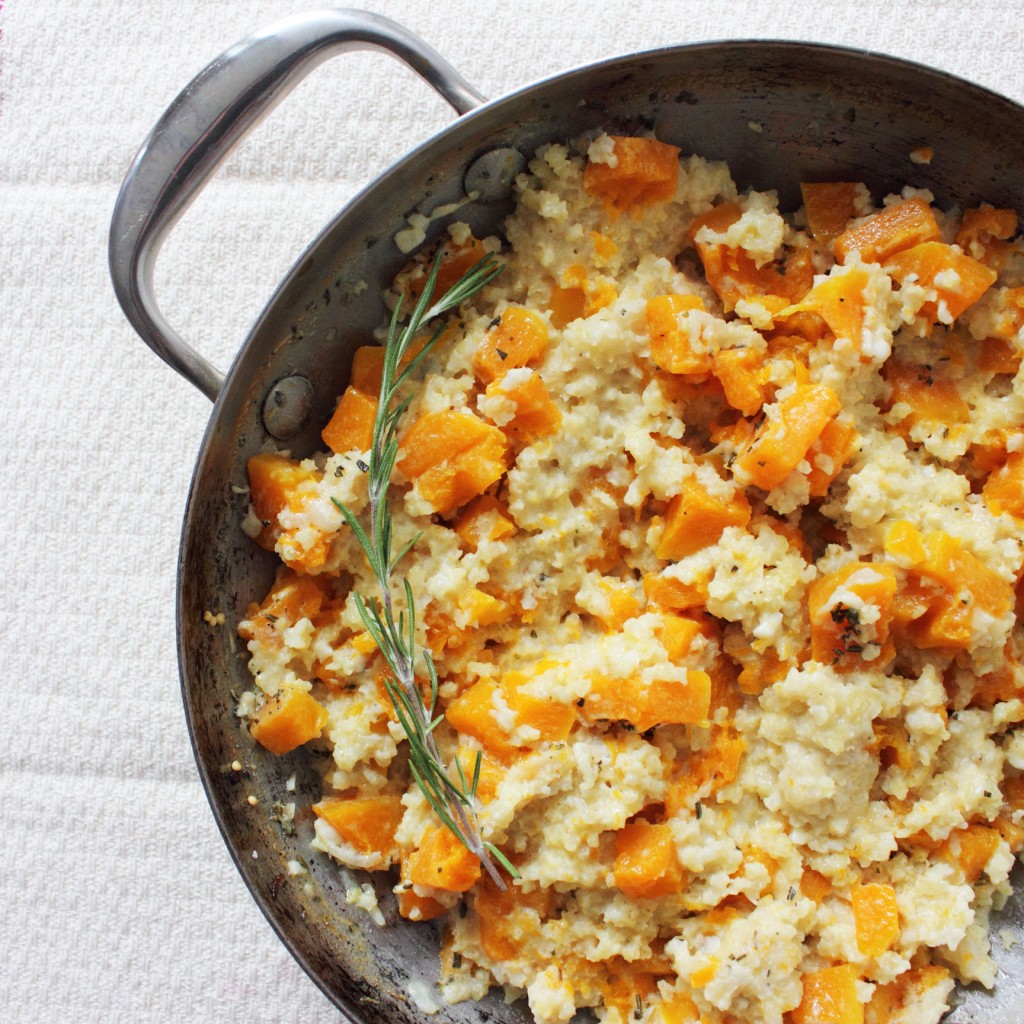
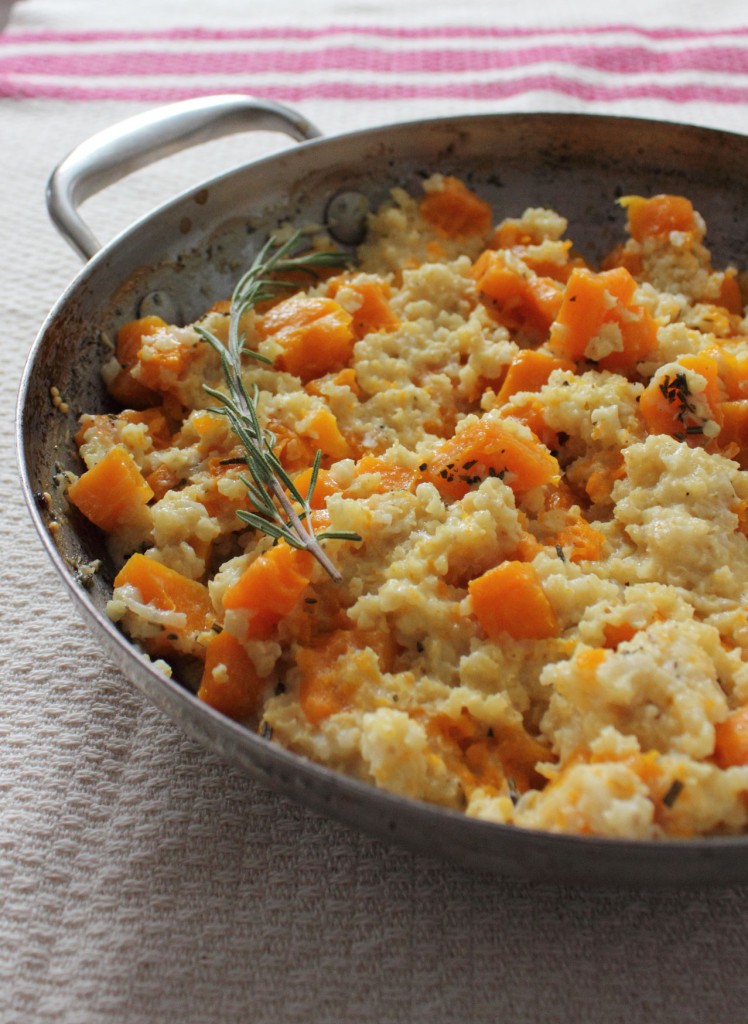
Creamy Baked Millet with Butternut Squash
Yield: serves 3-4
Ingredients
- 4 small cloves garlic, roughly chopped
- 3 small shallots, thinly sliced
- 3/4 lb butternut squash, diced into 1/2 inch cubes
- 1/2 cup whole millet
- 1 cup water
- 1 cup whole milk
- 1/2 t salt
- 1 t rosemary, chopped
- olive oil as needed
Cooking Directions
- Preheat oven to 400 degrees.
- Combine the milk and water in a small saucepan over medium heat, stirring as you complete the remaining steps. You want to heat this mixture just to the point it begins to steam.
- Add a three-second pour of olive oil to an oven-safe skillet with a lid. Saute the garlic, shallots, and rosemary over medium-high heat until the shallots are translucent. Reduce the heat if the garlic begins to brown.
- Add the butternut squash and saute for a couple minutes more.
- Add the millet, toss to combine, and remove from the heat. Pour the heated liquids into the skillet.
- Finally, add the salt and stir to distribute.
- Cover the dish and bake for 45 minutes at 400. After 45 minutes, remove it from the oven and allow the dish to set, covered at room temperature, for 10 minutes.
Notes:
- Millet is a gluten-free grain that has a texture somewhere between quinoa and polenta when cooked. I can’t get enough of it lately! You can get it from Bob’s Red Mill
 .
.
- I spiced this with what I had (rosemary and shallots) which made for a pretty classic fall dish, but you could definitely try taking the flavor another way based on what you have. I was thinking harissa and preserved lemons could be awesome! I made another version with some end of season tomatoes and cheddar cheese.
by autumn on September 29, 2012
by autumn on September 26, 2012
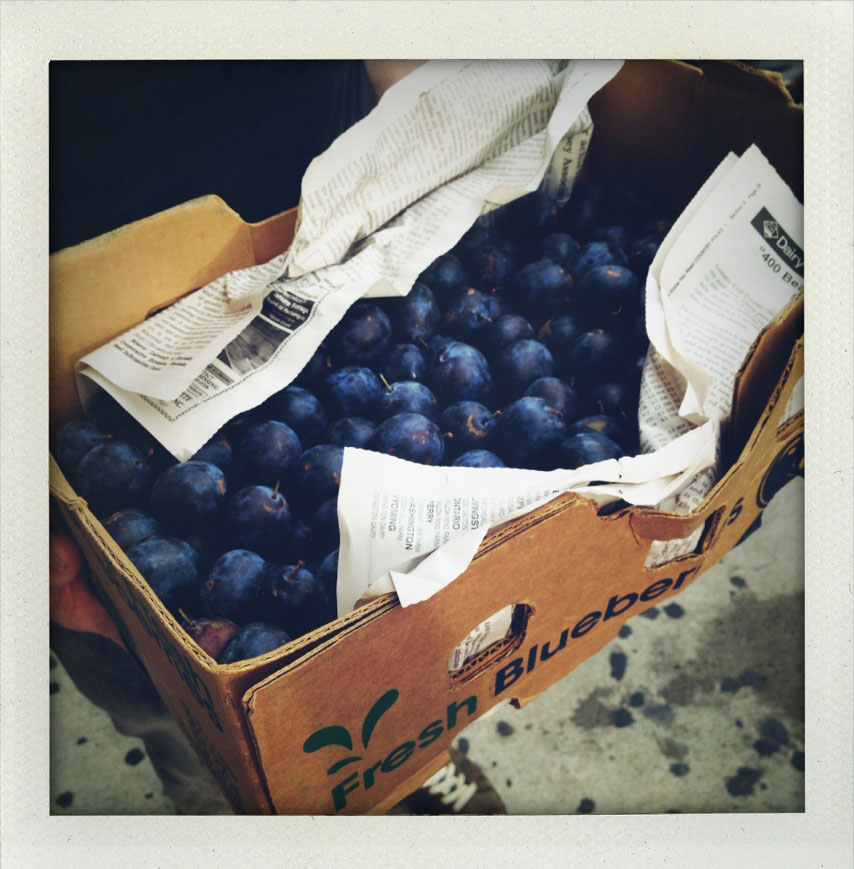
Remember when I went to pick strawberries on Long Island earlier this summer and was totally enamored and in awe with the amount of space and farmland there? Well, these gorgeous Damson plums—prized for jam-making, but less-than-palatable to eat out-of-hand—were grown on the North Fork too. A special offer from our CSA, I jumped on the chance to get ten pounds of local Damsons. For a city girl, that’s like ten pounds of gold.
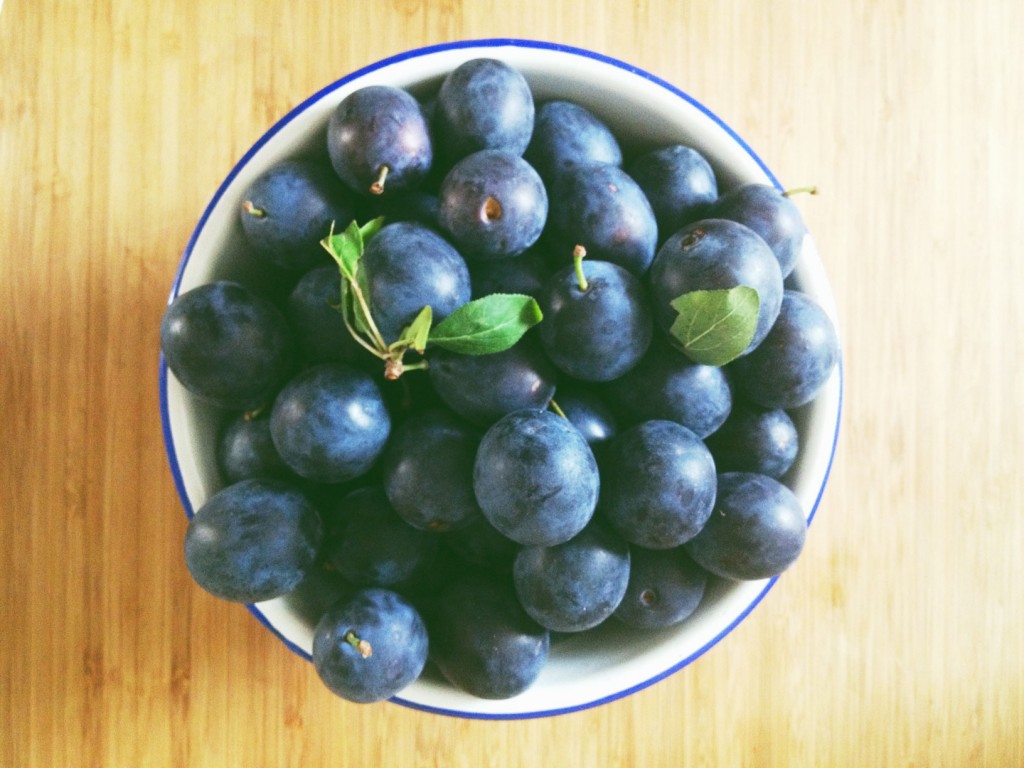
Ever since I moved to NYC, something I’ve found magical about the outer boroughs and bordering counties (Westchester forever!) is their insistence on the wild. Granted, when you’re used to haggard pigeons, even a squirrel can seem like wildlife, but I got off the train in Tarrytown this summer and was embarrassingly excited to see a deer. At the risk of blowing plums out of proportion, supporting land that is allowed to be land on the edges of the gaping, concrete monstrosity-that-never-sleeps feels really redemptive. So, I made jam.
A good bit of them went into the Damson Jam recipe from The Blue Chair Jam Cookbook . I made zero adjustments to the recipe, so I don’t want to replicate it here, but I will tell you that it’s a new favorite. Their recipe leaves the skins on, something I wondered if I would like, but I ended up really loving the bit of chew they bring to the jam.
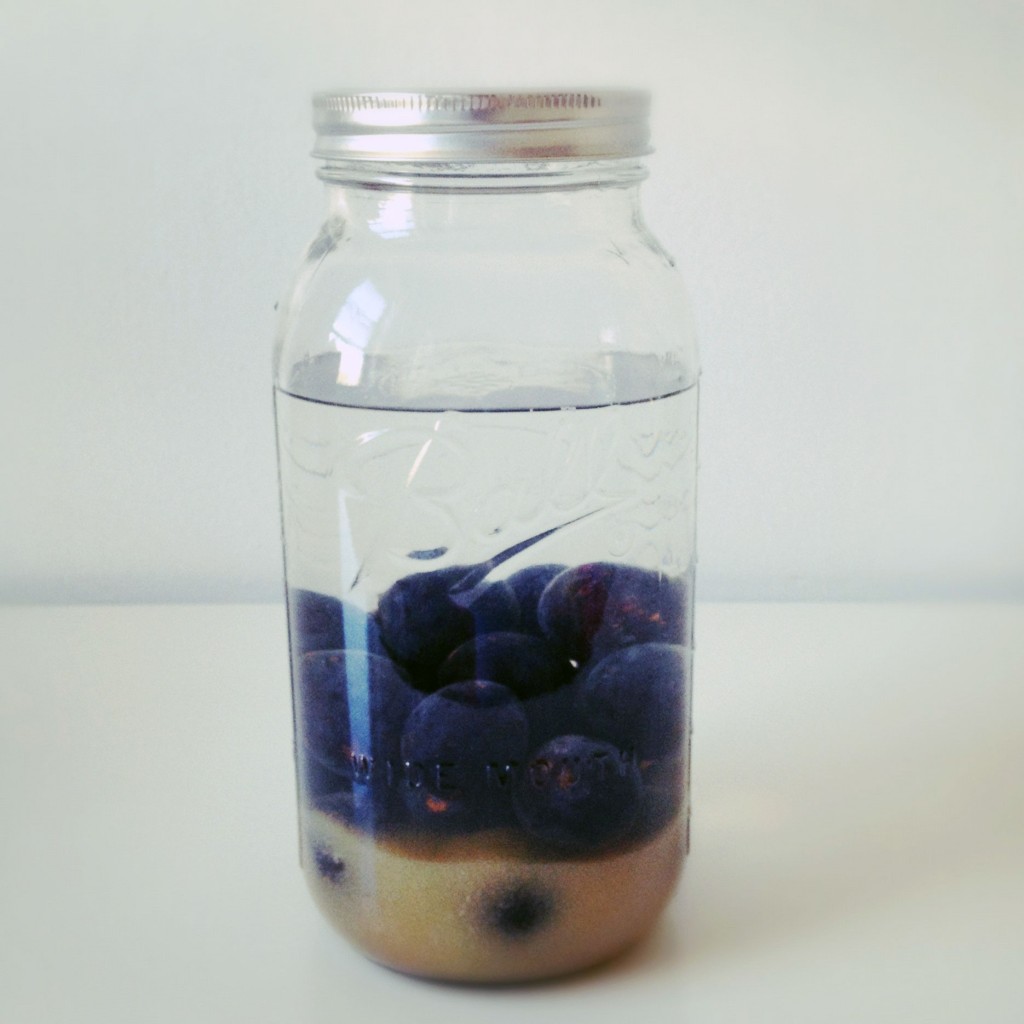
With a remaining pound of plums, I made damson plum gin. In researching this little project, I learned that damsons are relatives of sloes, which are used to make the classic sloe gin. Using this primer on plums gins and Food in Jars’ Cherry Bounce as a guide, I combined 1 cup sugar, 4 cups of gin (I used Beefeater), and 1 pound of damson plums in a half-gallon Ball jar. I left the plums whole, but pricked them all over with a fork before adding them to the infusion to help the juice release. I set the jar on a shelf and gave it a good shake about once a day for the first week. It should steep for a couple months, but after just seven days it has already taken on this pretty pink hue and tastes good enough that I know it’ll be hard to wait much longer to drink it. I sipped it straight this time, but will definitely experiment with it in cocktails.
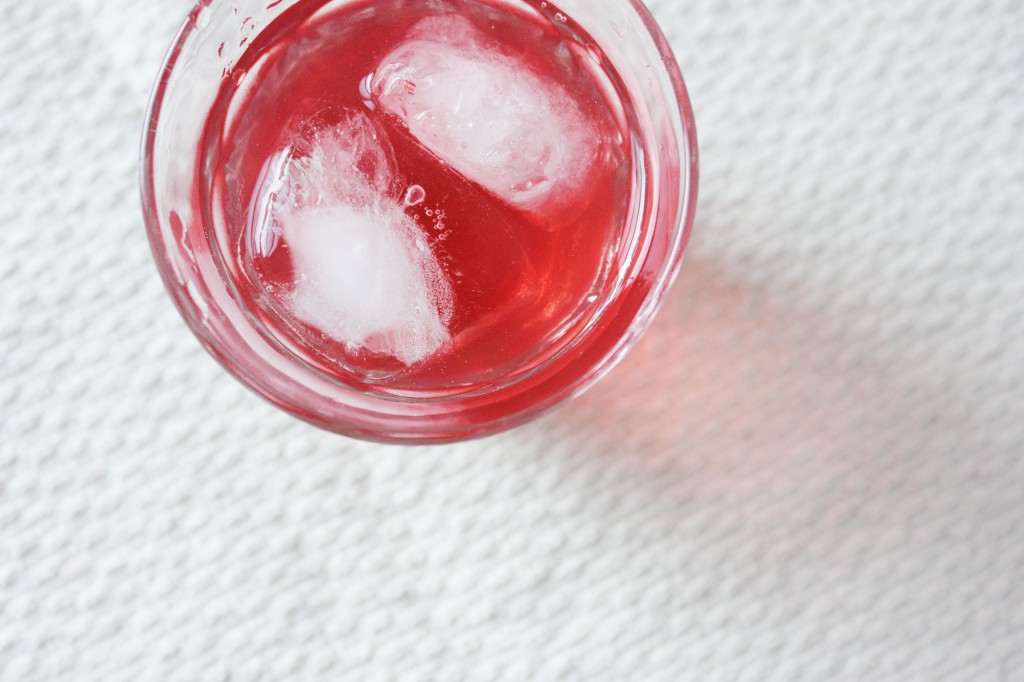
If you don’t have The Blue Chair Jam Cookbook here are a couple other recipes for Damson Plum Jam that look good:
by autumn on September 23, 2012
I drink my coffee black. I’m always surprised at the reactions that this elicits. In a deli in Yonkers, the guy behind the counter asked if I had had a “rough night” after I turned down milk and sugar even after the second time he asked. Nope. I am also not on a diet. Even at Dunkin’ Donuts, the temple of “light and sweet” coffee, I break their hearts and ask for my coffee black.
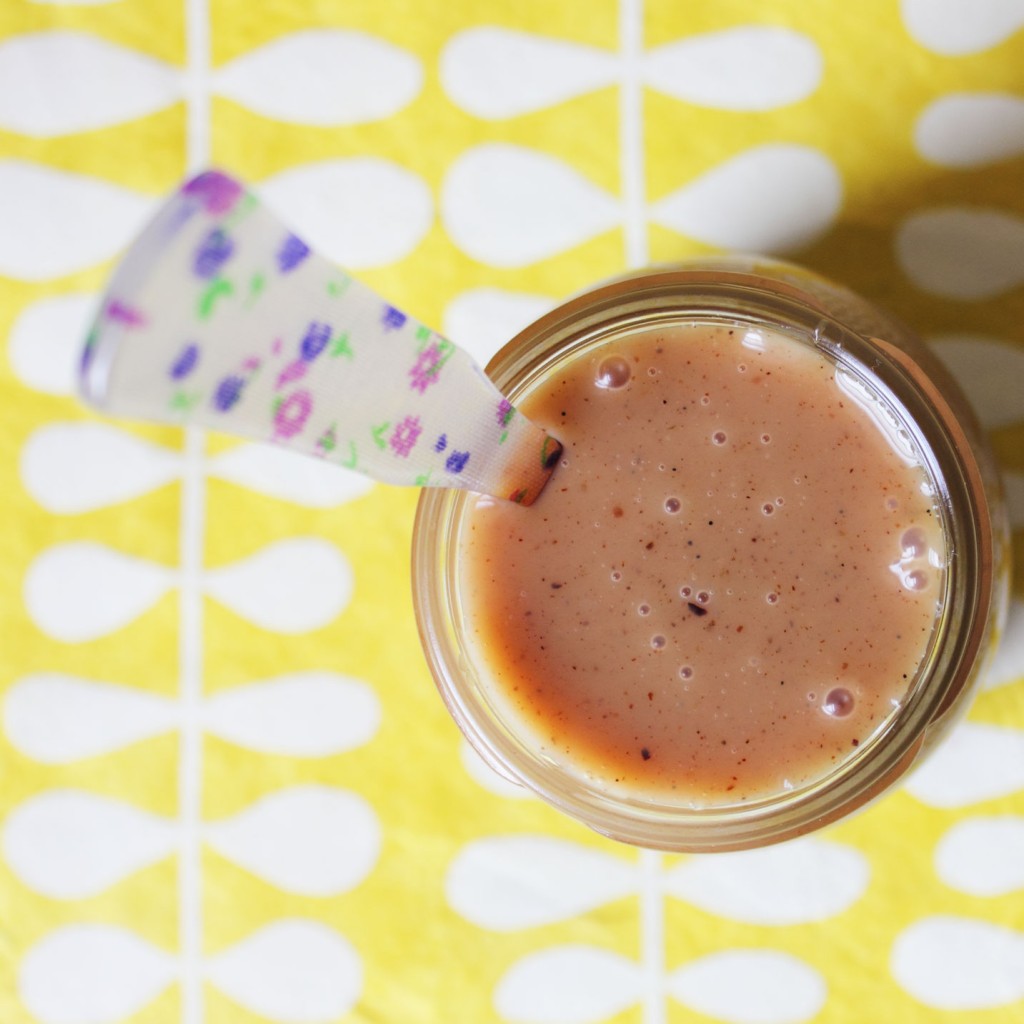
This is all a round-about apology for that fact that I’m not crazy about a certain seasonal coffee drink that gets a lot of play this time of year. I simply prefer a coffee and a treat over a coffee that is a treat. (Although, I can certainly support a D.I.Y version.) Pumpkin spice cajeta, a goat’s milk caramel with warm fall spices, keeps both the latte lovers and haters happy. Of course, you could stir this into a caffeinated beverage, but I’d be lying if I told you I didn’t consume the entire jar with just a spoon. There aren’t enough superfluous food adjectives to describe how great this stuff is.
After an ill-fated attempt at cajeta pudding that ended with curdled, scalding goat’s milk spraying from my blender, I had a fierce, unfulfilled cajeta craving. I remedied that with a fall riff on this goat’s milk caramel recipe from Rick Bayless. If you’re a little caramel-shy because of the whole burning sugar thing, this caramel is made from cooking the milk and sugar low and slow until the liquid reduces and caramelizes. In other words, no hot sugar.
Pumpkin Spice Cajeta
Ingredients
- 1 quart goat's milk
- 1 cup sugar
- 1/8 teaspoon each ground ginger, ground clove, and ground allspice
- 1/4 teaspoon each ground cinnamon and ground nutmeg
- 1 spent vanilla bean (optional)
- 1/4 teaspoon baking soda
Cooking Directions
- Mix the baking soda with about 2 teaspoons of water and set aside.
- Combine the remaining ingredients in a medium saucepan over medium-high heat and bring to a simmer while stirring frequently.
- Remove from heat and slowly stir in the baking soda mixture. It may foam up slightly.
- Return to heat and bring it to a steady simmer. Regulate the heat (I kept mine around medium-low) to maintain a steady simmer for 45-60 minutes.
- When the mixture turns a golden color and noticeably thickens, begin to stir more frequently and test for doneness.
- The mixture is done when a drop or two on a plate doesn't run when cooled for a minute or two in the freezer.
- Let cool completely to room temperature and store in the refrigerator. Eat with a spoon.
by autumn on September 3, 2012

This is one of those dishes that came together out of necessity, but has quickly become a favorite. Before we left for Vermont, I was working hard to make use of the less-portable constituents of our CSA share. (The potatoes, garlic, and peppers made the trip with us!) As luck would have it, this coincided with being out of olive oil and trying my darndest not to make another trip to the store before vacation.
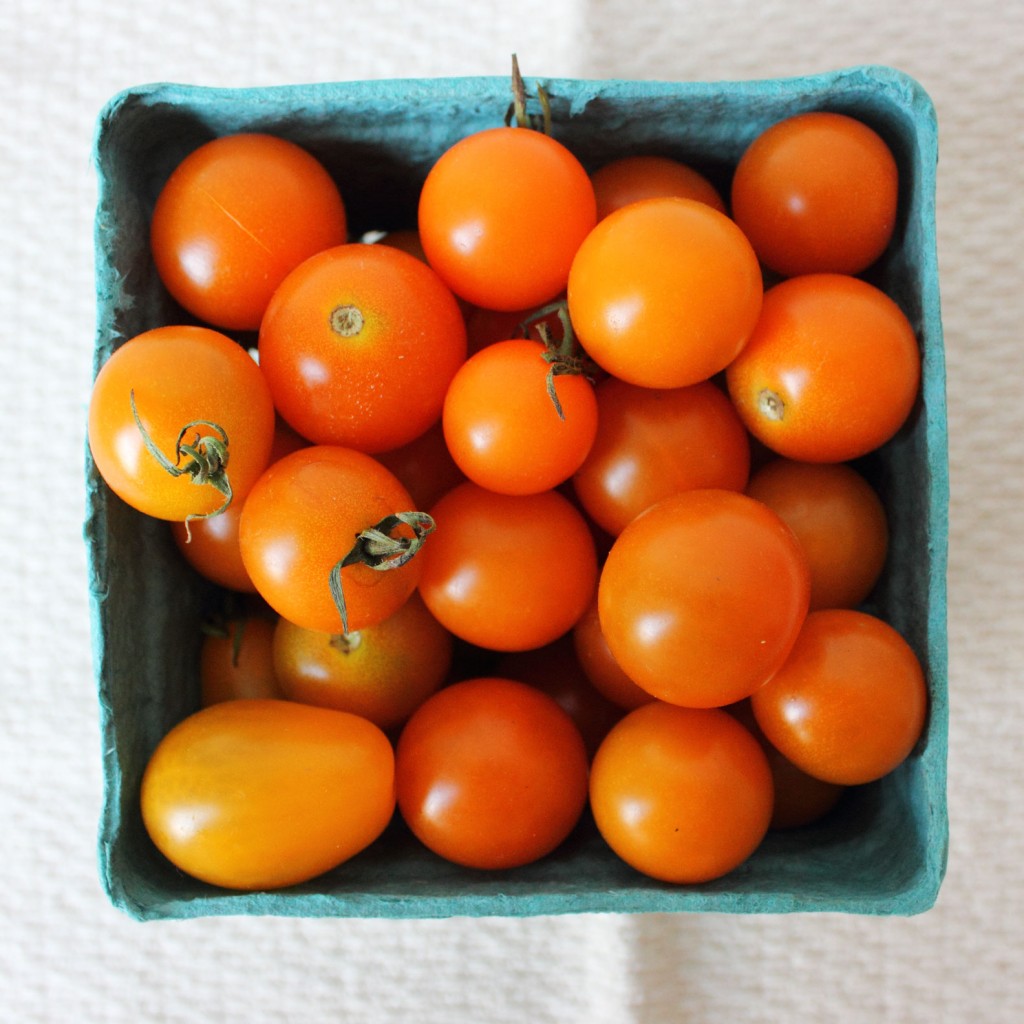
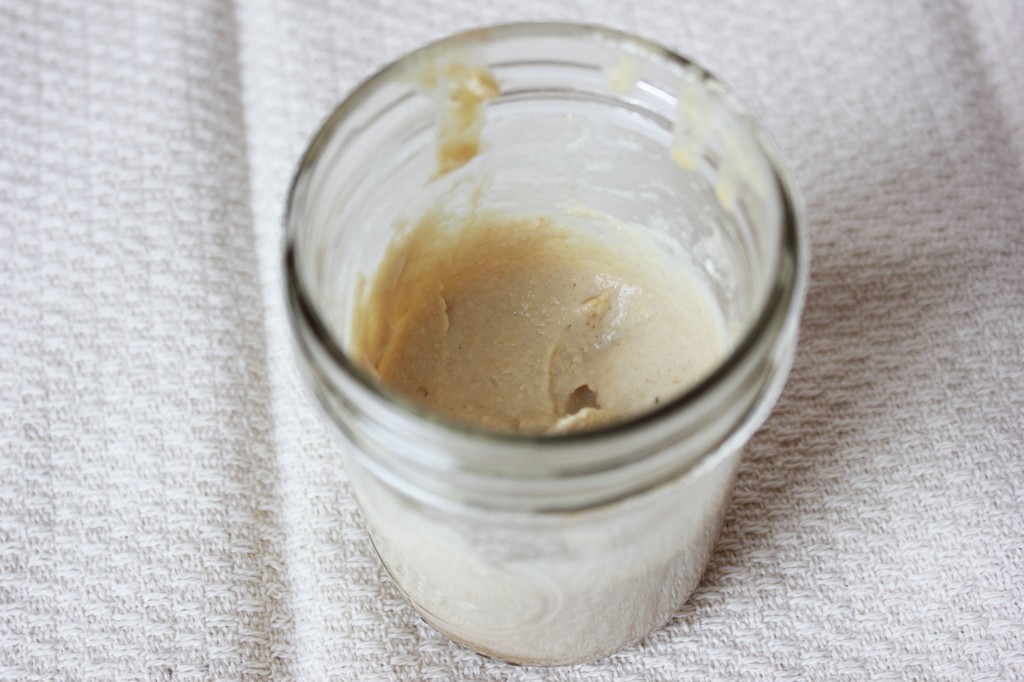
I started making a no-frills cucumber salad—one with a simple dressing like Dan talked about on the podcast with a fat, an acid, and whatever fresh herb I needed to use up—then remembered that there was no olive oil. I had canola oil, coconut oil, lard (ha!), and butter, none of which it seemed right to subject my cucumbers too. I considered something peanut-saucey (I like this cucumber peanut salad from 101 cookbooks), but settled on my neglected jar of tahini. Without realizing it, I made a salad out of the good stuff that usually dresses up falafel. There’s a reason why folks have been putting these ingredients together for years and years: they work!
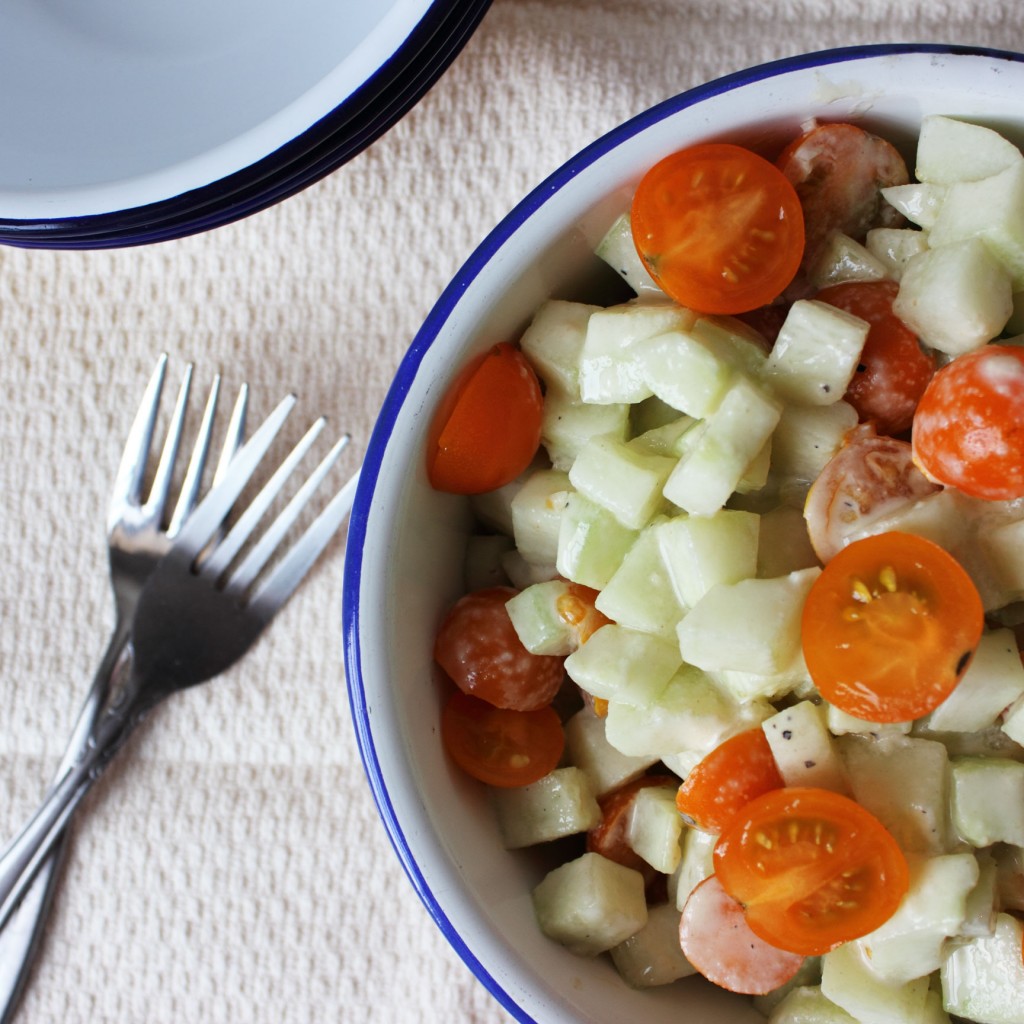
Cucumber Tahini Salad
Yield: serves 2 as a side
Ingredients
- 2 medium (about 1 1/2 lbs) cucumbers, peeled, de-seeded, and diced
- 1 scant cup (about 4 oz) sungold tomatoes, halved
- 1 very small clove of garlic, finely minced
- 1/4 cup sesame tahini
- 2 t lemon juice
- 2 T warm water
- salt and pepper to taste
Cooking Directions
- Place the diced cucumbers and minced garlic in a bowl and set aside. Reserve the halved tomatoes separately.
- In a jar or small bowl, whisk together the tahini, lemon juice, and warm water until smooth. It will seem thick for a dressing, but will thin out once combined with the cucumbers.
- Stir the tahini into the cucumber mixture until the dressing evenly coats the cucumbers.
- Add the tomatoes to the salad, folding gently to incorporate.
- Season with salt and pepper to taste and serve.
Notes:
- I prefer eating this shortly after it is prepared because, like most cucumber salads, if made too far in advance the cucumbers have time to release their liquid, affecting both their texture and the consistency of the dressing.
- I like using sungold tomatoes here because I think their sweetness goes great with the tahini and they’re my absolute favorite, but any other bite-size tomato will work.
by autumn on August 25, 2012

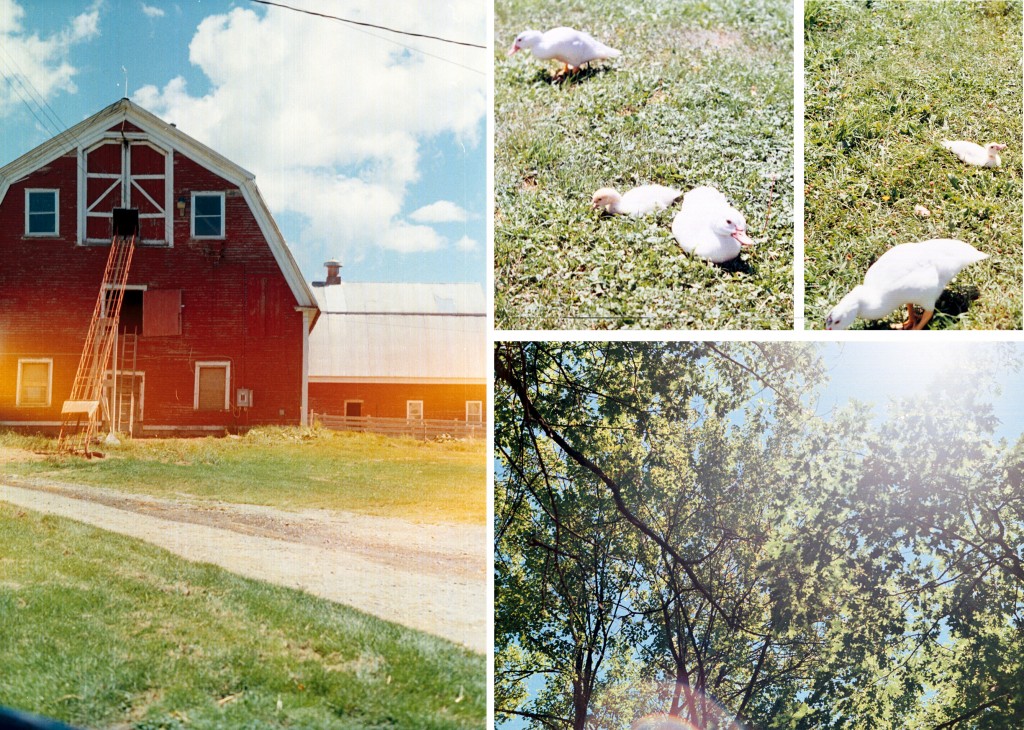
I stalled for a week or so before properly looking through my pictures from Vermont. I think I wanted to wait until the last bits of the trip were tucked away—after the blueberries were in jars, pies, and freezer bags and our sweatshirts were back in the closet for another month or so. How strange that the economics of memory lead us to let something go almost entirely, just so that we might care enough to do the work of bringing it back. So, I’m here with photos and a funny cocktail recipe that highlights some awesome small-batch spirits that are coming out of Vermont right now.
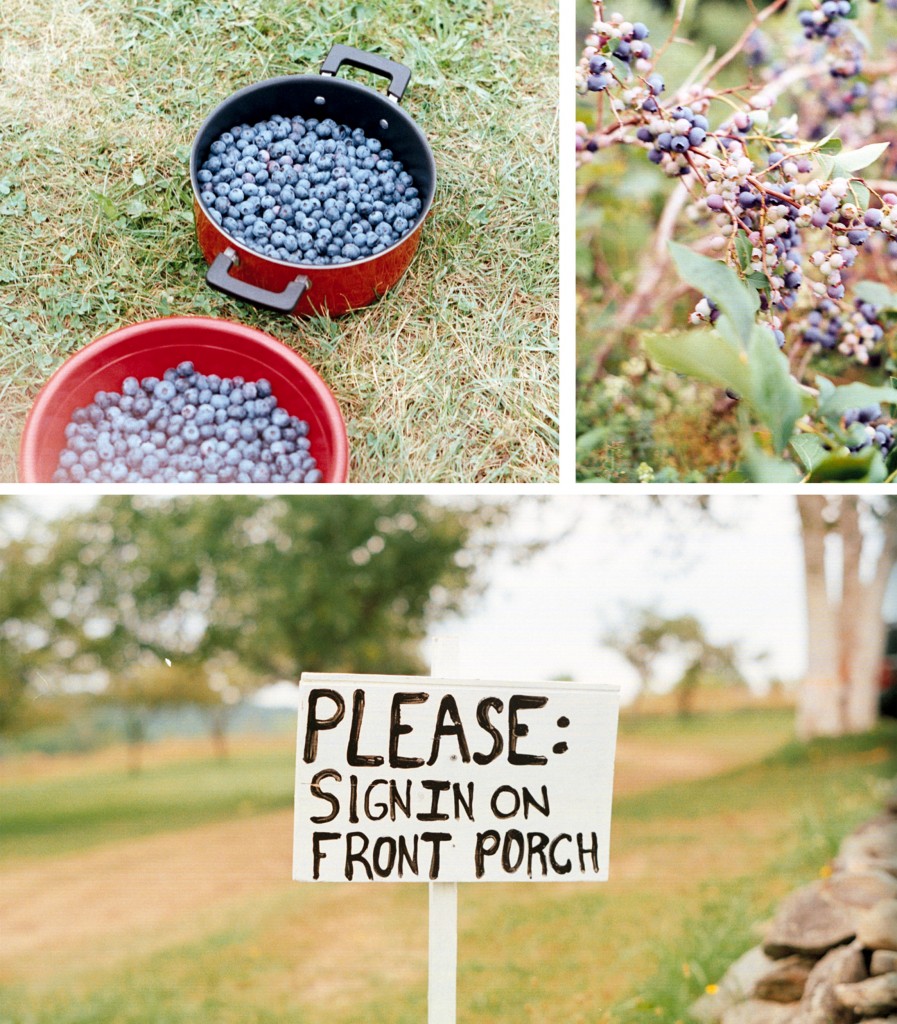

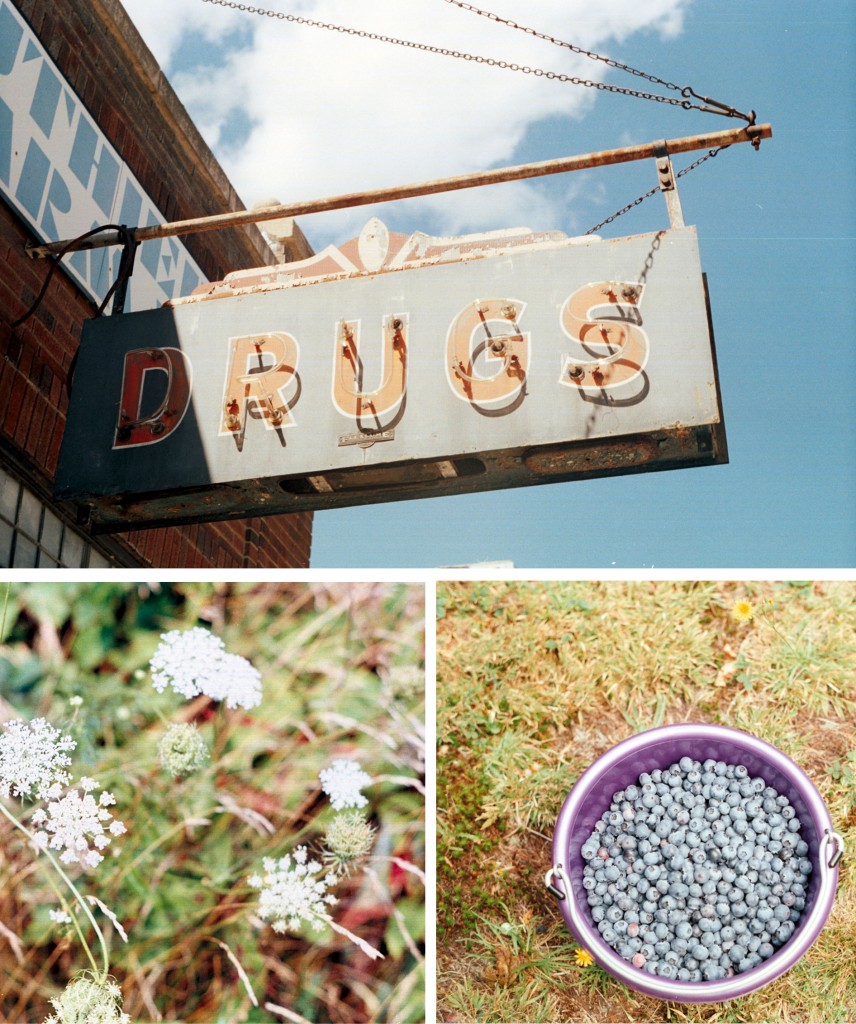

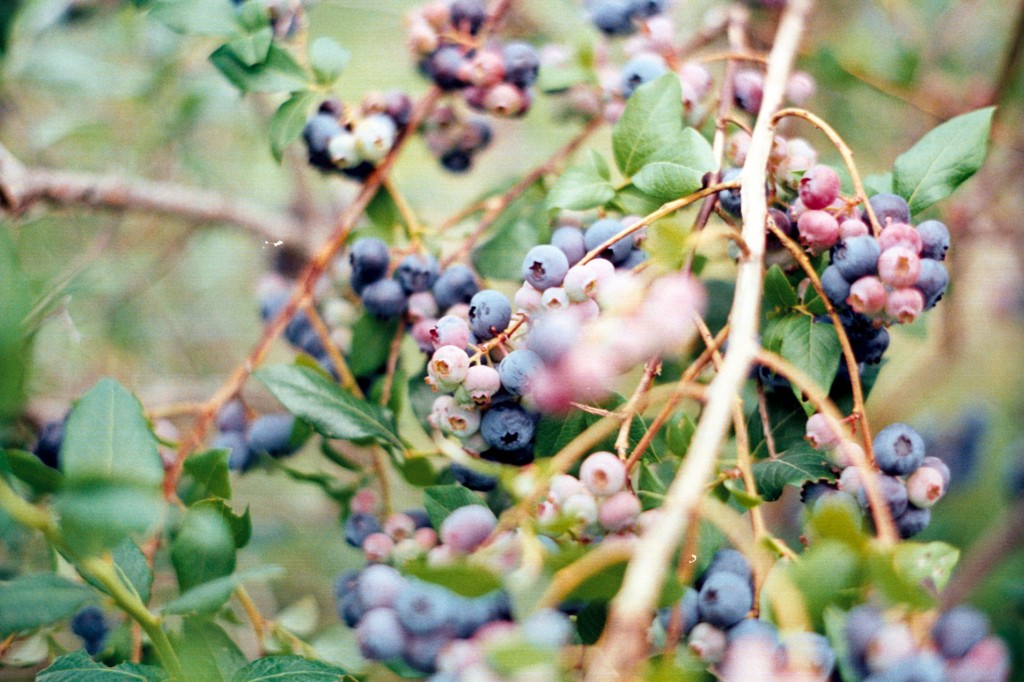
In the Northeast Kingdom, I was smitten with the church turned health food store, the farm nearby where we got bacon and eggs, Brown’s Beautiful Blueberries, and—perhaps most enamored of all—with these folks who are making gin out of raw honey. It’s earthy, junipery, not terribly complex, but unlike any gin I’ve ever tasted and a bit of a challenge to mix for this reason. For this thoroughly unexpected spirit, I went weird and created a variation on an Alexander. You’re allowed to be a little scared by creamy drinks, but please don’t write them off. Done well, they’re delicious.
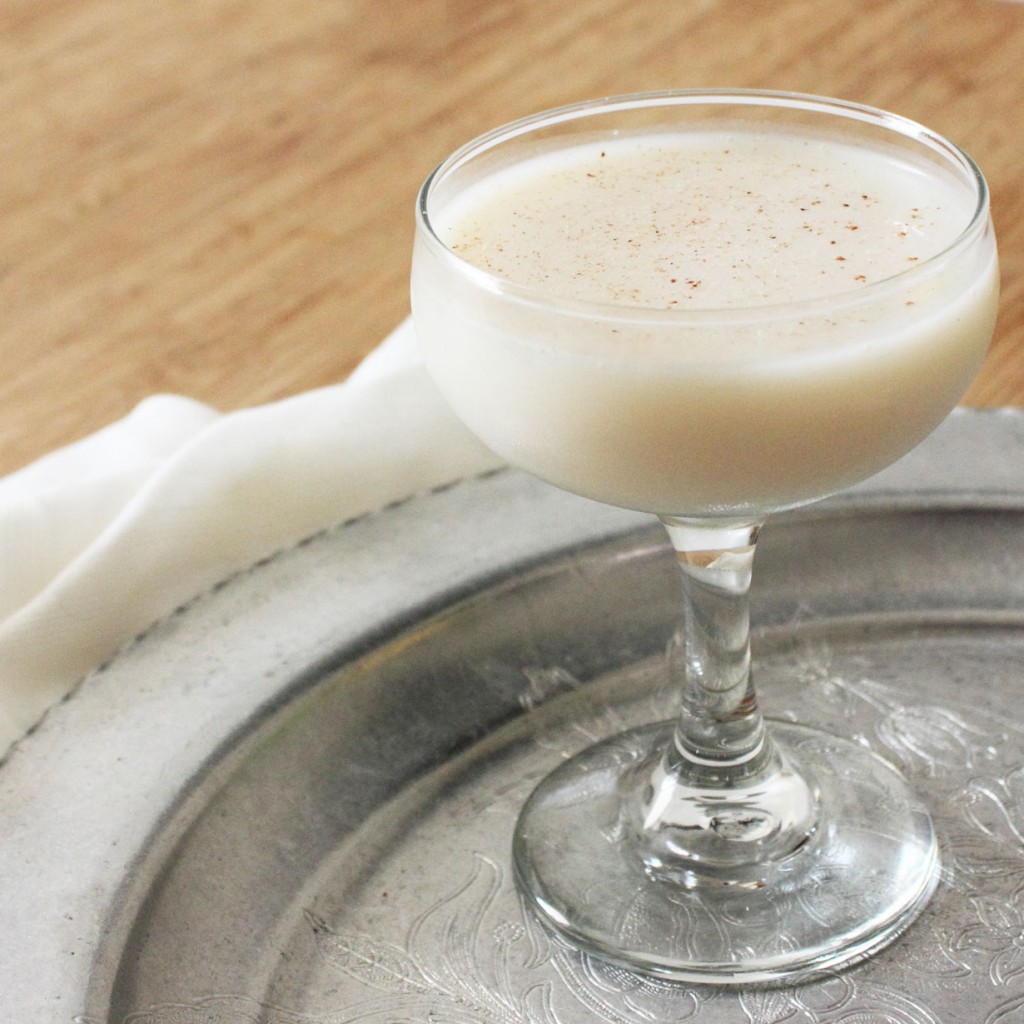
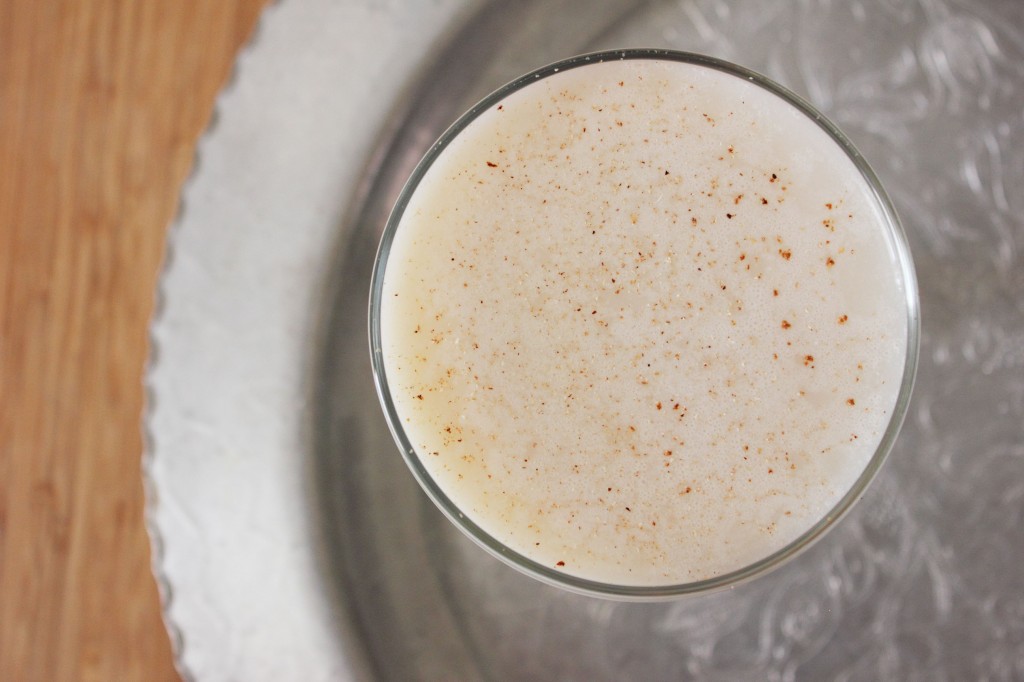
Maple Alexander Cocktail
Yield: makes 1 cocktail
Ingredients
- 1 oz Barr Hill Gin
- 1 oz Green Mountain Organic Maple Liqueur
- 1 oz Goat’s Milk
- a pinch of freshly grated nutmeg for garnish
- ice
Cooking Directions
- Pour the gin, maple liqueur, and goat’s milk into a cocktail shaker and add 3-4 ice cubes.
- Shake vigorously for about 30 seconds.
- Strain into a coupe glass and garnish with freshly grated nutmeg.
by autumn on August 6, 2012

I’m about to run off to Vermont for a last-minute, but much-needed vacation (watch instagram for pics). Before I do, I wanted to share some recent projects I’ve been working on that I suspect you might enjoy.
First, I have a piece in the new issue of Easy Eats. I was tickled to speak with the owner of Pip’s Place, a new gluten-free bakery in NYC, about her journey to becoming a gluten-free baker and where she gets her inspiration. It was such a treat. If you don’t already subscribe to Easy Eats, be sure to click over because there’s now a free subscription option!
Second, this has been in the works for a while and it’s been really hard to keep quiet about, but I have a piece up over on the Kaufmann Mercantile site about the history of Weck and Weck jars. Weck has really interesting story and I was happy Kaufmann Mercantile gave me the space to share it.
Finally, this little podcast of mine that I love dearly, but had some time away from recently will be back ever-so-soon. I just finalized my next interview today and it’s totally going to be worth the wait. Watch for it in the coming weeks and thanks for your patience with my small hiatus.
by autumn on August 2, 2012
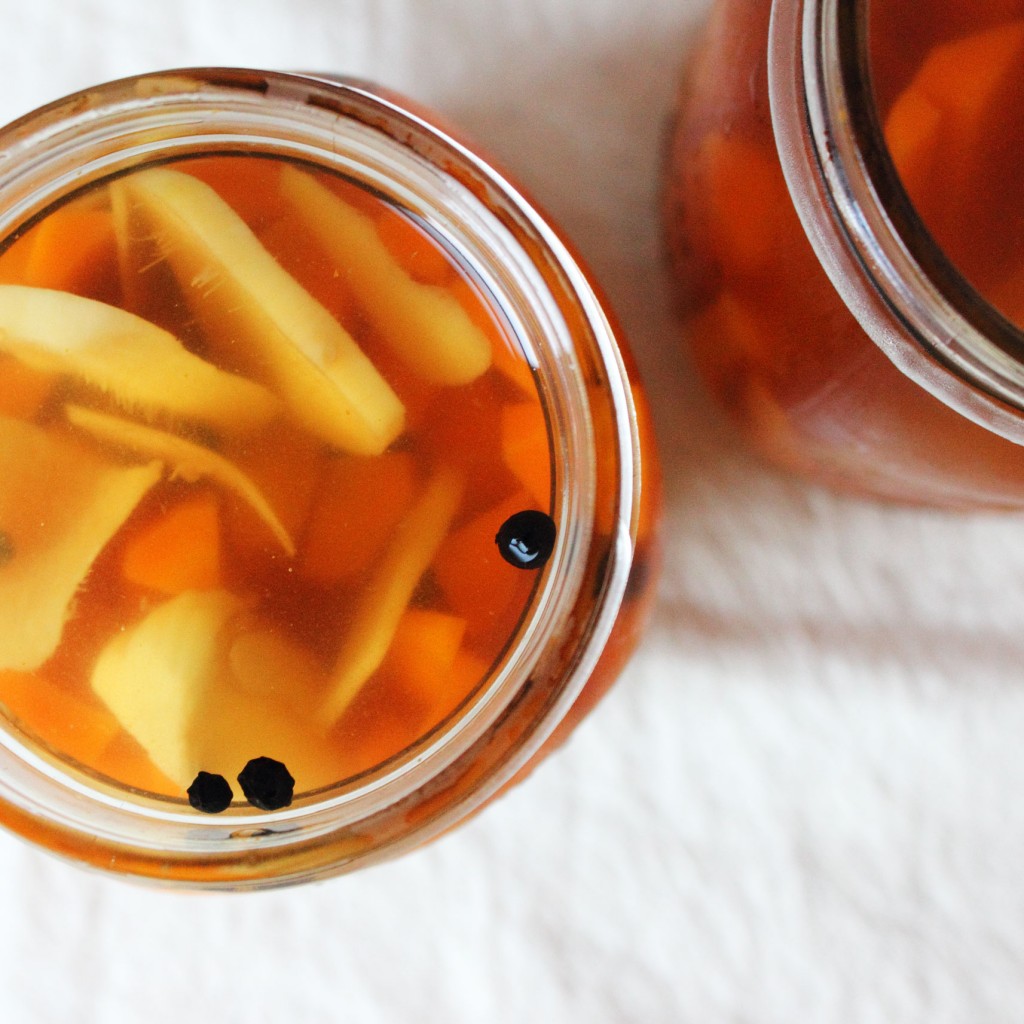
We can’t always be around our people. When I first made these carrot quick pickles from David Lebovitz, I was living in a small Queens apartment with 3 (!) other women. I couldn’t care less about carrot sticks, but send them swimming in vinegar and I can easily put away about half a pound per day. I liked these carrots. I made them a lot until one day when a roommate returned home mid-pickling and asked if I was pickling again in a way that made it apparent she wasn’t as psyched as I was about the fact that I chose one of the smelliest ways possible to monopolize the kitchen. These were nice enough people, but these were not my people.
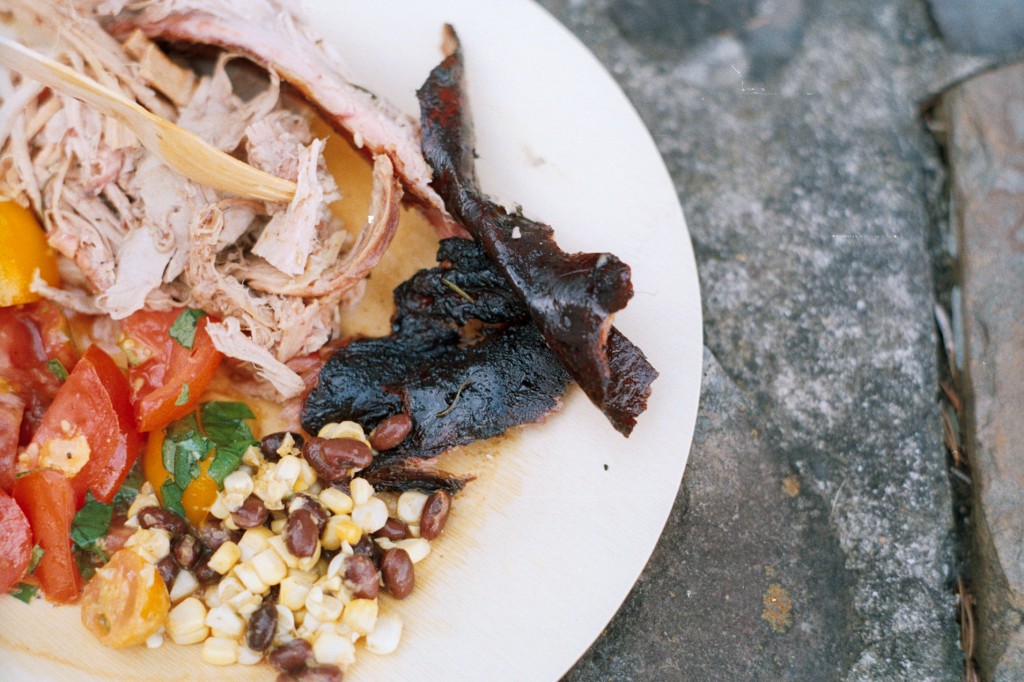

Last weekend, at the Big Summer Potluck, I was with my people and it was great. I tried my darndest to be present and not sneak off by myself too much to take pictures or just wallow in my social anxiety. I was mostly successful, save for some quality time in a field, eye to eye with an expanse of Queen Anne’s Lace. When I wasn’t crouched in some weeds, I was grateful and in awe. I was taken care of and tickled to be around so many folks that I deeply admire. Also, I ate my first legitimate waffle in a lot of years. So, yeah. Grateful.
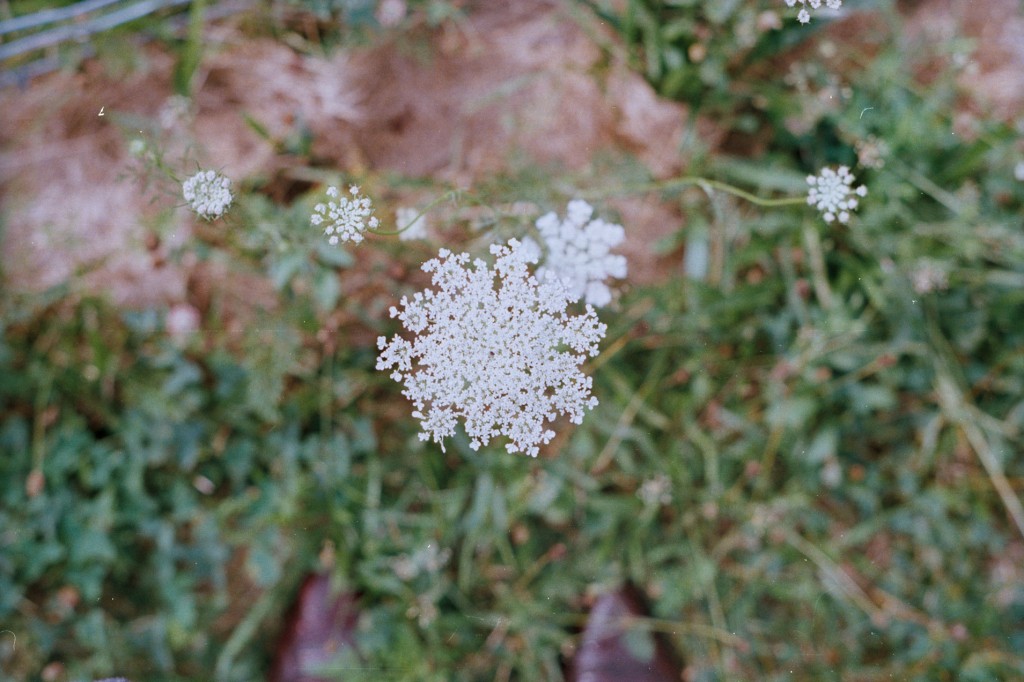
I came home with a roll full of pictures of Queen Anne’s Lace and a hankering for carrot pickles. As serendipity would have it, it turns out the two are botanical relatives—the former known by poets for “taking the field by force.” Talk about a new mantra.
Maple Ginger Pickled Carrots
Ingredients
- 1 lb carrots
- 3 garlic cloves, smashed
- 2 inch piece of ginger, cut into thin very coins
- 1 tsp black peppercorns
- 1 T salt
- 1/4 cup maple syrup
- 1 cup water
- 1 1/4 cup cider vinegar
Cooking Directions
- Over high heat, bring a medium pot of salted water to a boil.
- Peel the carrots. Halve and quarter the carrots so that each carrot gives you eight small carrot sticks. Aim for a relatively uniform thickness.
- Once the water is boiling, add the carrots and cook for one minute.
- After one minute, remove from heat, strain, and run under cold water. Set aside.
- In the same medium pot, bring the remaining ingredients to a boil over high heat.
- Once the mixture boils, reduce heat to low and simmer for 2 minutes.
- Pack the carrots into two pint jars and carefully pour the warm brine into the jars, making sure the spices are evenly distributed.
- Let cool to room temperature then refrigerate. If you can resist eating these for a day or two, the flavor will be even better.
Notes:
- The bunches of carrots that I get at the greenmarket or in my CSA are usually right around one pound.
by autumn on July 30, 2012
The first time that I went to Yellowstone National Park I wore my Easter finest. I cobbled together a suit of four-year-old girl armor: a pink ruffle-rimmed umbrella and my white straw church hat. I thought it best to face scorching water spewing from a gash in the earth with what little women learn to rely on for their most important moments: pastels. I suppose it goes without saying that a geyser eruption was less like running through a sprinkler than I had imagined. I was relieved.
As is often the case with me, I returned home having committed a tiny crime. Defying posted warnings, I may have pocketed a piece of petrified wood. It looked so much like bone. The eerie beauty of trees becoming increasingly human as they age was completely lost on me. My little old-as-the-earth piece of wood was the star of my Tupperware rock collection.

I’ve made my way through life with little collections. I was never ambitious in my accumulation, never one to build an army of Beanie Babies. I looked forward each year to the tin of tiny plastic angels that came and went with the Christmas decorations. Even then I wallowed in their uselessness, the relief that came with something that seemed to exist only for my idle enjoyment. This led me to boxes of unused erasers and a set of miniature teacups. And, and, and—tribes of trinkets remembered only after death or finally getting fed-up with a shitty landlord forces their removal and the inevitable untangling of the intricacy of spending time in one place.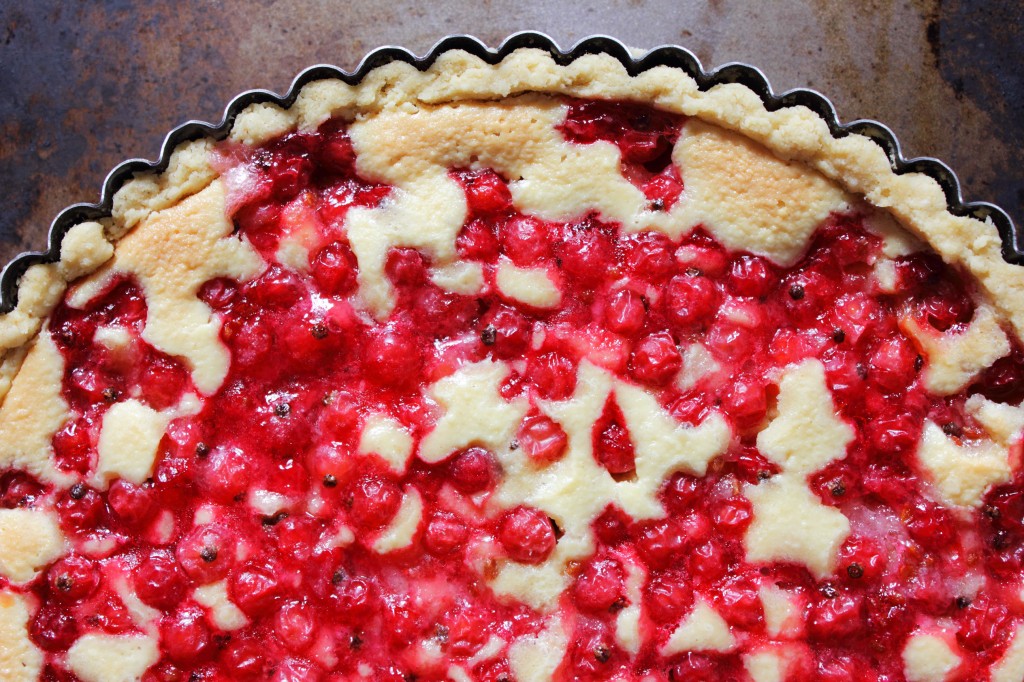
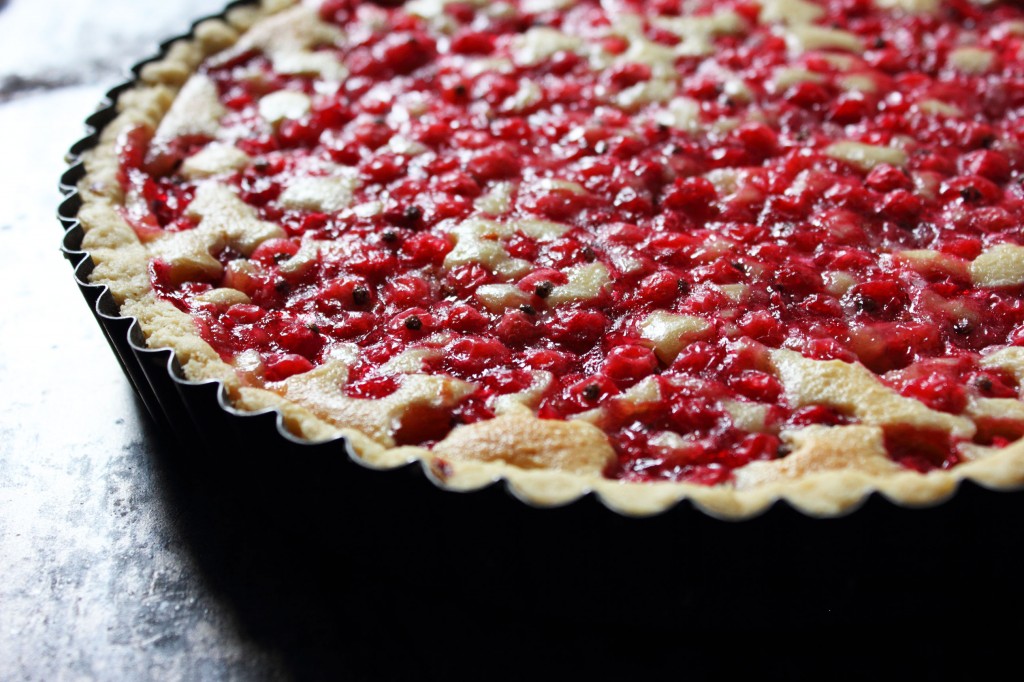
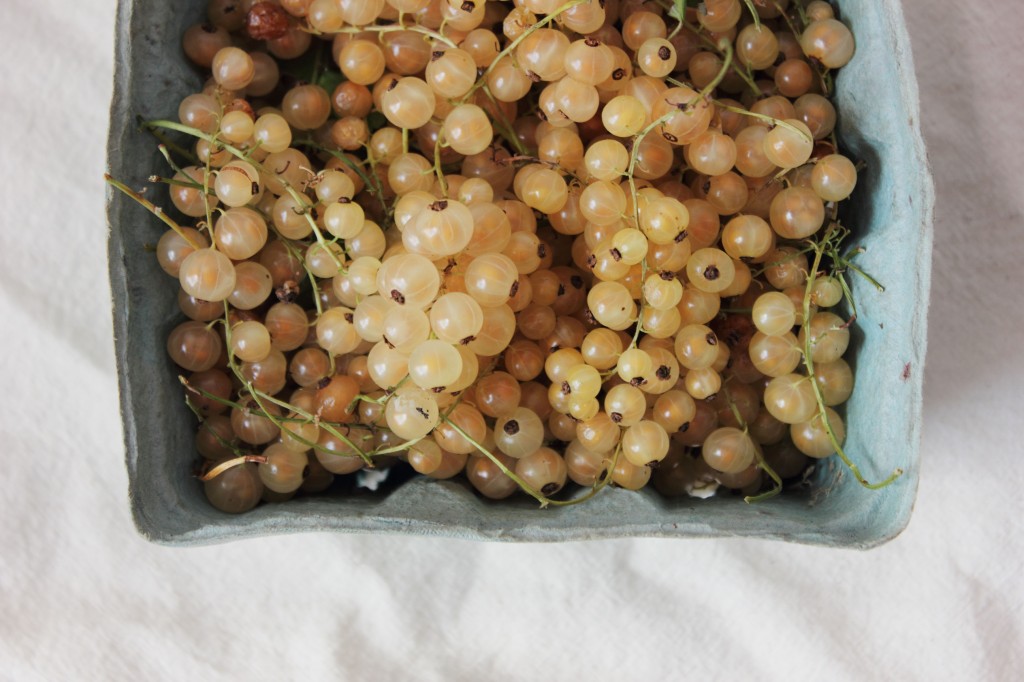
Lately, I’ve been collecting currants in every color and letting them get soft on the kitchen table just so I can look at them longer. They’re strangely bodily, glowing as if lit from inside. Sometimes I could swear that I see them exhale. At the last possible moment, I make something of them.
Red Currant Frangipane Tart
Ingredients
- your favorite single crust pie crust recipe
- 1/2 cup almond meal
- 1/4 cup granulated sugar
- 1 egg
- 3 tablespoons butter, softened
- 1/4 t almond extract
- 8 oz red currants, washed and stems removed
- 1/2 cup granulated sugar
- 1 T cornstarch
- 1 T elderflower liqueur
Cooking Directions
- Follow instructions for rolling out your favorite single-crust pie crust recipe and press it into an 8 inch tart pan, trimming the edges. Refrigerate the crust as you complete the remaining steps.
- Combine almond meal, 1/4 cup granulated sugar, egg, butter, and almond extract in a food processor and mix until smooth. You made frangipane! Set aside.
- In a medium bowl combine the red currants, 1/2 cup granulated sugar, 1 T cornstarch, and 1 T elderflower liqueur. Toss to combine, smashing a few currants as you go to get a little additional liquid in the mixture.
- Spread the frangipane into the tart crust into an even layer then sprinkle the redcurrant mixture over the top in another even layer.
- Bake at 375 until the edges of the filling begin to brown and the center is set, about 40 minutes.
Notes:
- If you’re in need of a favorite gluten-free pie crust, I use the one in this recipe.
- Regarding the necessity of a food processor here: all I have is one of the much maligned mini-choppers, which my mom got me at a yard sale for $1. In other words, as long as you’re starting with almond meal, this recipe will succeed without a proper food processor.
- I might play with reducing the amount of sugar in the currant topping, but as it is there’s enough to make a crispy, sugary crust in some places, which is as wonderful as it sounds.
- Don’t fear the frangipane.


