Basil Simple Syrup

by autumn on August 4, 2010

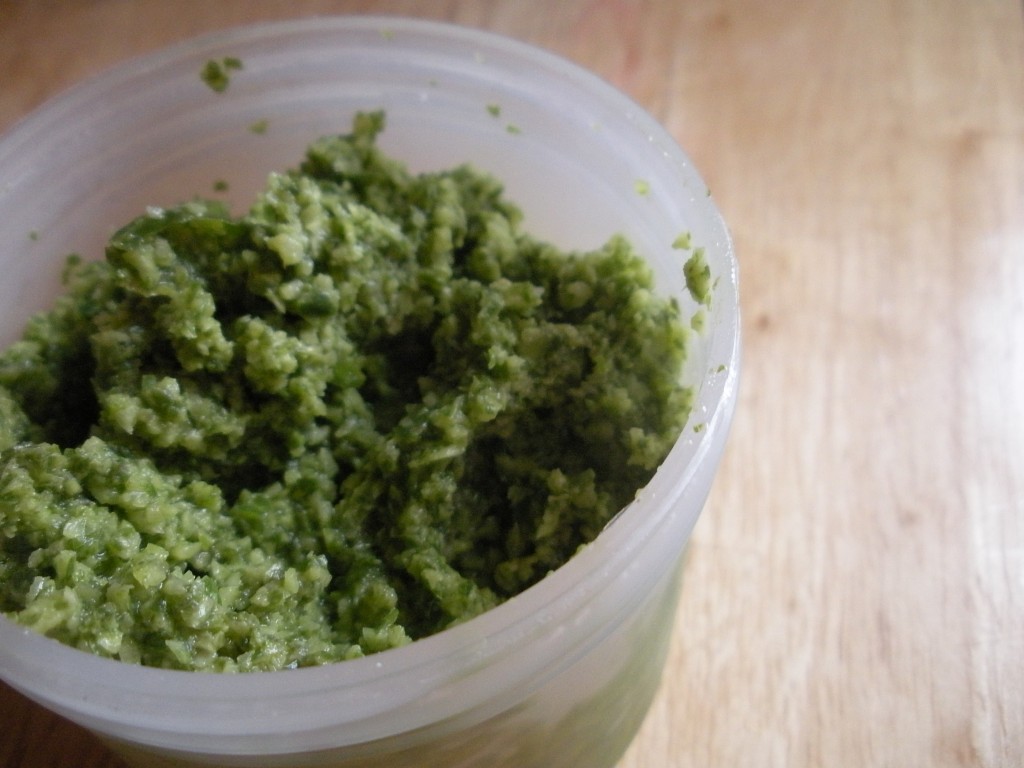
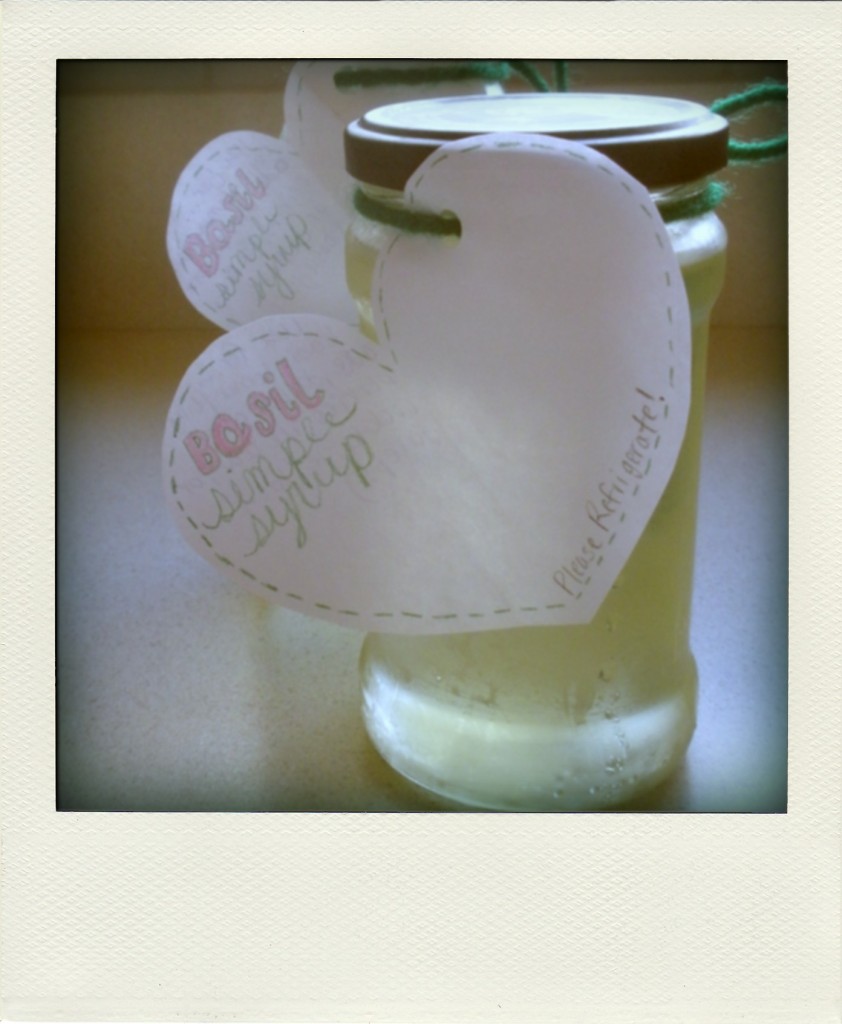
Frugal to a fault, I always look for the biggest bunch of basil at the market, even though I usually struggle to use it all up. On Friday, to celebrate my first day of between-job unemployment, I splurged at the Union Square Greenmarket. Part of my loot was a big bunch of basil (for $3). I started processing it as soon as I got home: a half-pint jar of pesto,  some leaves left whole for accessorizing tomatoes, and three batches of basil simple syrup.

I looked at a number of recipes online before making this, but they were all quite similar. Like others, I went with a 1:1 sugar to water ratio and added a handful of washed basil leaves. I added everything at once, brought it to a boil and let it do its thing for about 3-4 minutes. I then let it cool to room temperature, strained out the basil leaves, and stored it in the fridge. This is an especially good use for basil that got a little sad in the fridge because you’re cooking it anyway, so looks don’t matter.

Two jars went with me to Bkswappers and went home with Kate and Emily. With the jar I made for myself, I threw together basil juleps for the boyfriend and I. Threw together=didn’t pay much attention to ratios and got a cocktail that tasted mostly like bourbon. I’m going to give them another try with this recipe.

{ 1 comment }

Salted Brown Butter Crispy Treats

by autumn on August 1, 2010

Lately, I’ve been feeling like I lost my touch in the kitchen. Sure, no one cooks much in the summer, but I’ve been concerned that I haven’t pulled off something that made me feel like a super-skilled kitchen ass-kicker in a while. Which lead me to the following realization: really, deep-down, I’m a baker. I love to cook (ANYTHING!), but I’m lost when I’m not sticking pans of stuff in the oven and wondering what they’ll look like when they come out.

I don’t know why I didn’t think of rice crispy treats earlier this summer (it’s already August?!), but these are a fine no-bake stand-in for a batch of successful baked goods. You even have to wait for them to firm up, like you’d have to wait for something to come out of the oven. I wouldn’t tell if you put them in a turned-off oven with the light on to wait for them to set.

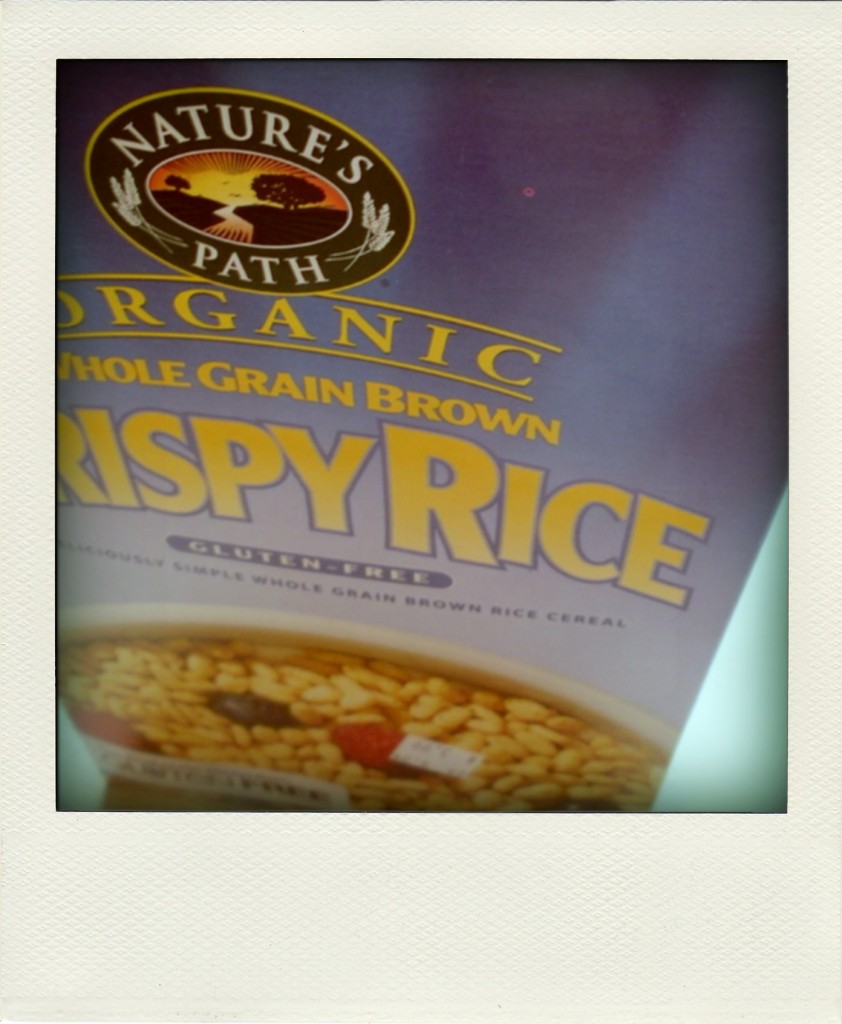
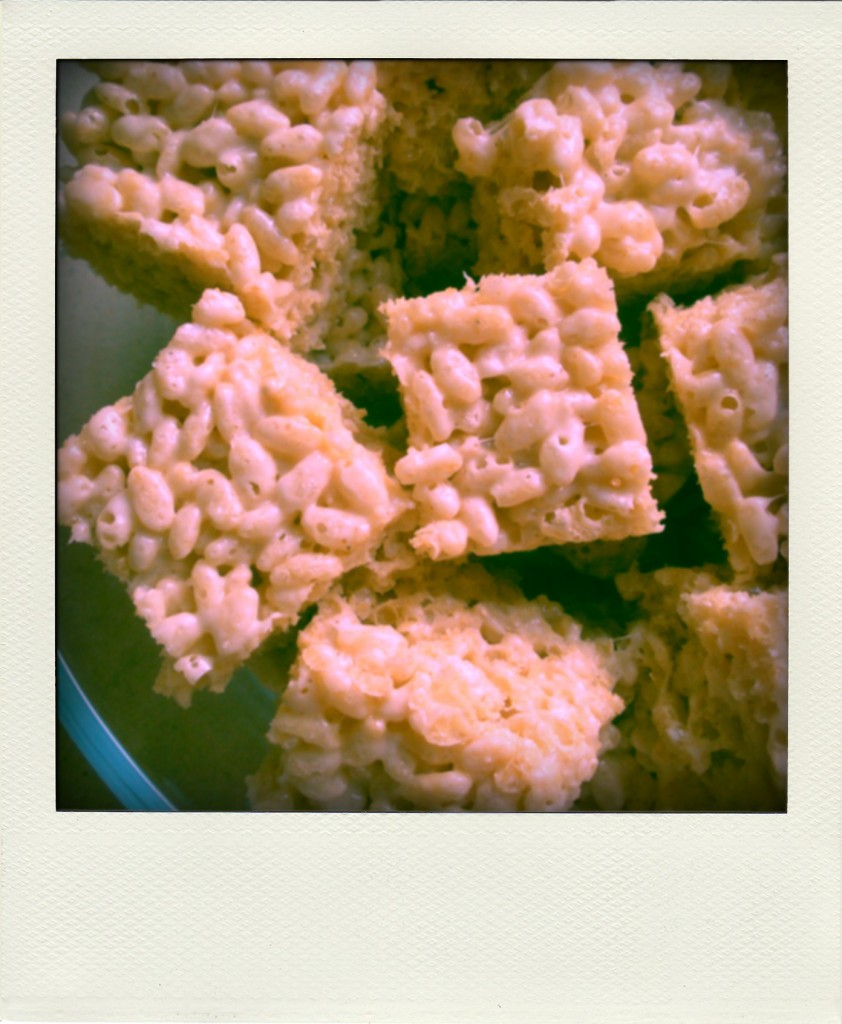
The recipe isn’t mine. It’s from Deb over at Smitten Kitchen. I followed it exactly, so I won’t bother re-printing it here. Not surprisingly, the only adjustment I made was to use gluten-free crispy rice cereal, pictured above. So these aren’t just Salted Brown Butter Crispy Treats, they’re Gluten-free Salted Brown Butter Crispy Treats. If these sound like your new secret weapon, it’s because they are.

I am taking these to share at BKSwappers today.

{ 2 comments }

Fava, Corn, and Dill Summer Succotash

by autumn on July 13, 2010

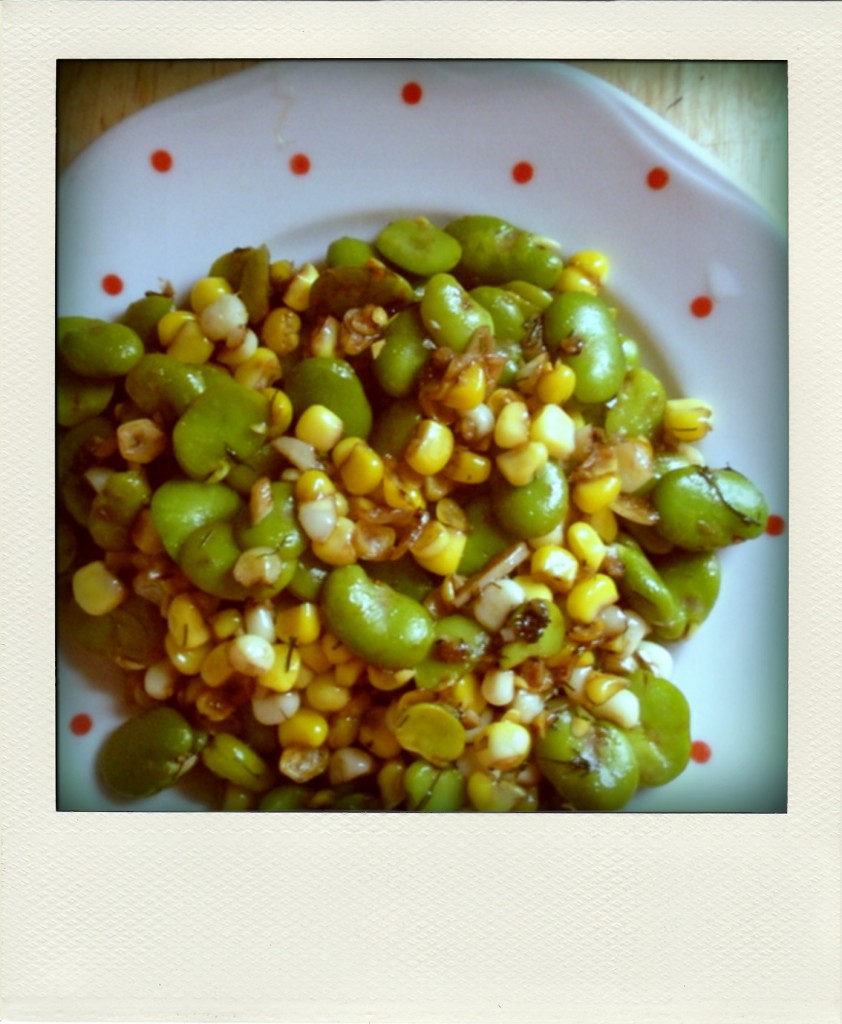
I do well with hodgepodge. My wardrobe is kind of a hodgepodge. My dishes are a complete hodgepodge, all seven of them. When my sister visited me recently, she commented about how cute it was that none of my kitchenware matched. (What? There are people whose dishes match?) I skipped grocery shopping this weekend because I am going to be away, so the past few days, my fridge has been a jumble of mis-matched ingredients. I pretend to not like this, but really, I think the greatest food comes from making the best thing you can with what you have. I got lucky with this succotash: I threw it together and it just worked.

I mean, really. The last three things in my crisper drawer were dill, fava beans, and an ear of corn. Granted, I am probably a special case (ie: foodie jerk) to just have fava beans lying around, but they’re sort of awesome. That was my way of telling you that you should not listen to what everyone says about how hard they are to prepare, skip yoga one night this week, and shell some fava beans instead. Here is a tutorial. I basically follow it, but skip the water bath. If you can’t find favas where you are, keep it traditional and sub limas.

Fava, Corn, and Dill Summer Succotash
As a kid, I remember loving the sound of the word succotash. I turned out to be a poet, go figure. This makes enough for just one (two as a small side), but the quantities are easy to multiply based on how many fava-friends you have.

1 lb (before shelling) fresh fava beans
1 ear of corn, cut off the ear
1 clove of garlic, chopped
1 t fresh dill, finely chopped
olive oil
balsamic vinegar
salt & pepper

1. Prepare fava beans according to these instructions. If you’re a real trooper, do the water bath. I just run mine under cool water for a few.
2. In a two second pour of olive oil over medium-low heat, saute the corn. When its color starts to brighten (no more than 2 minutes) add the prepared favas and reduce heat if things are sticking too much.
3. Give the corn and favas a few minutes alone, then season with salt and pepper to taste and add the garlic and dill.
4. If you have some nice flavorful brown bits in your pan, splash a little water on it now and scrape them up. At this point, if you haven’t already reduced the heat to low, do it! No brown garlic in this succotash.
5. Add a splash of balsamic vinegar and let everything cook together on low until the balsamic is mostly soaked up, no more than 5 minutes. (I know splash is not a real amount, but if you like it add more. If you don’t like it add less, or none at all. If you’re like me and only recently–under duress–became the owner of balsamic vinegar, you could use lemon juice.)


{ 1 comment }

Queens Skillet Broccoli & A Sad Story

by autumn on July 8, 2010

I fell hard for roasted cauliflower this winter. It’s amazing what a few minutes in a smoking hot oven does for the pale, humble crucifer. It has a crispy caramelized shell and a melty, creamy inside. I know I am talking about cauliflower, but–I’m telling you–it’s transformative.

The internet told me that this same method could be used for roasting broccoli and my heart got happy. Except that it is summer in New York City and sorta sweltering. The last thing I want to do (or my roommates want me to do) is turn on the oven. This is why god made cast iron skillets.

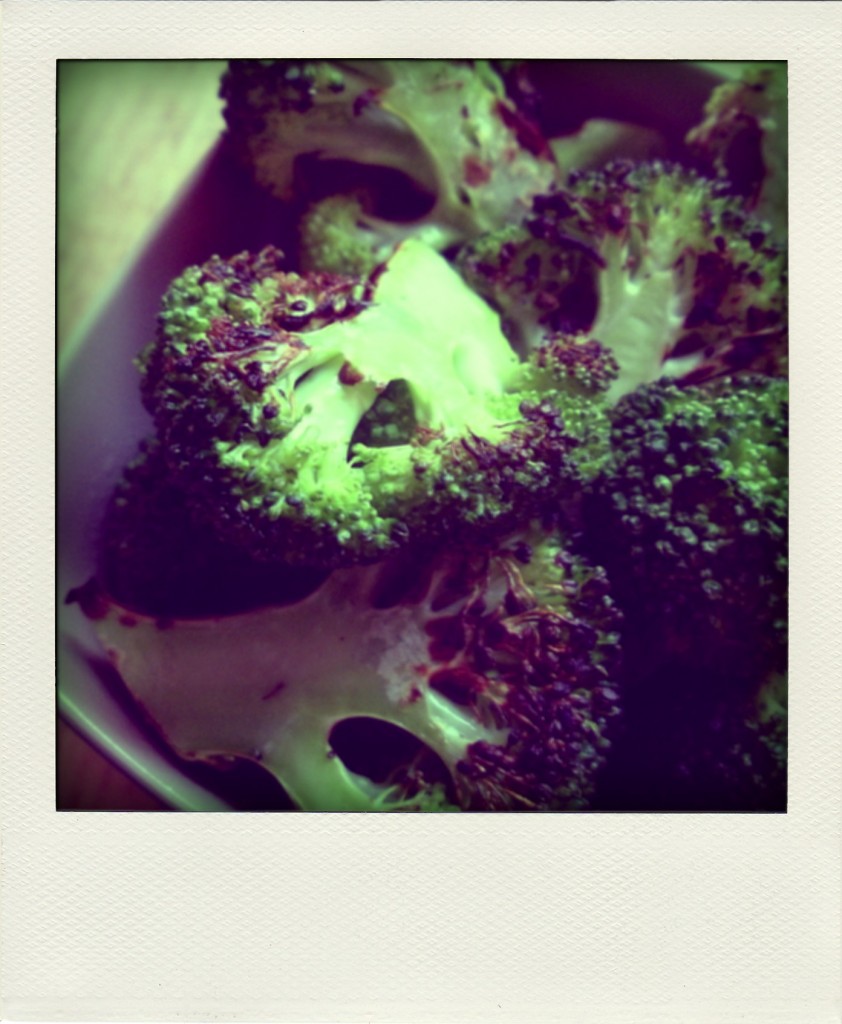
I got some cute broccoli from the New Amsterdam Market. It was grown at the Queens County Farm Museum, right in my very borough. It was the star of Queens skillet broccoli. Here’s where the story gets sad: I made the skillet broccoli, ate it with dinner, and promptly spent the entire night throwing up. NOT THE BROCCOLI’S FAULT.

It was good, but not perfect so I wanted to make it again before posting it. I suspect that splashing a little water in the pan when it’s almost done would steam the broccoli a bit and make it more tender. But, after my big night, broccoli and I are taking a break. Bear with me here: I still want you to make this broccoli.

The preparation is minimal, but it’s all in the details. Break the florets of broccoli off of the stalks and don’t worry about trimming the stem. Slice the florets the short way across, not paper thin, but hopefully somewhere between a 1/4 and an 1/8 of an inch. Arrange them in a single layer on a very hot, olive oiled cast iron skillet and do not disturb for 2-3 minutes, then rustle them up.

Reduce heat to med-low and let them rest again for 2-3 minutes. Repeat this process a couple more times.  Eat some. Is it done enough for you? If not, pour a little water into the skillet and let the steam do its work. The results are broccoli that is crispy and sweet. Broccoli that you want to eat.

{ 0 comments }

Cashew Cheese Adventure

by autumn on July 2, 2010

I like weird foods. I’ve said this before. I also like making food that is good and good for lots of folks, regardless of dietary choices or restrictions. Obviously, this one isn’t good for my nut-allergic peeps, but it doesn’t mean I love them any less.

I would rather we didn’t call this stuff “cheese.” I get it, but when you tell a hardcore animal-product loving person that you made them cheese out of nuts, you’re likely to get a less than favorable response. It’s a magnificent fat-laden creation that could be used like you use cheese. The end.

The recipe is from VegNews. That said, I had to make some adjustments to the recipe to get it to work like it is supposed to. I had the same problem that some of the commenters had: it stayed the consistency of ricotta and didn’t firm up in the fridge. Luckily, I have a fix. The recipe is below, with my adaptations.

Consider it a starting point. I had some ramp pesto leftover in the fridge (most obnoxious foodie thing ever said, I know) and layered that into one of my wheels for a little added awesome. I made three small wheels in some little cake pans that I have, but ramekins or small shallow bowls would work too. I wouldn’t say the end result is exactly what I was looking for, but it was pretty good. Next time, I might try this recipe.


Cashew Cheese
(adapted from this VegNews recipe)

This definitely takes a little time, but it is quite low-effort. However, I felt pretty accomplished when it was all said and done and I had made my own fake cheese.

2 cups raw cashews, soaked 12 to 14 hours
¾ teaspoon New Chapter Probiotics All-Flora powder, dissolved in 1 cup warm water
2 tablespoons nutritional yeast
½ tablespoon onion powder
1 teaspoon salt

1. Drain soaking water from cashews and blend with prepared probiotics until smooth. Transfer to a medium glass bowl and allow to sit, covered with towel in warm place for 14 to 16 hours to culture.

2. Stir nutritional yeast, onion powder, and 1 teaspoon salt, into the cultured cashews.

3. Line small shallow bowls/ramekins with foil, so that the foil hangs over the edge. I used three mini cake pans. Lightly grease the foil.

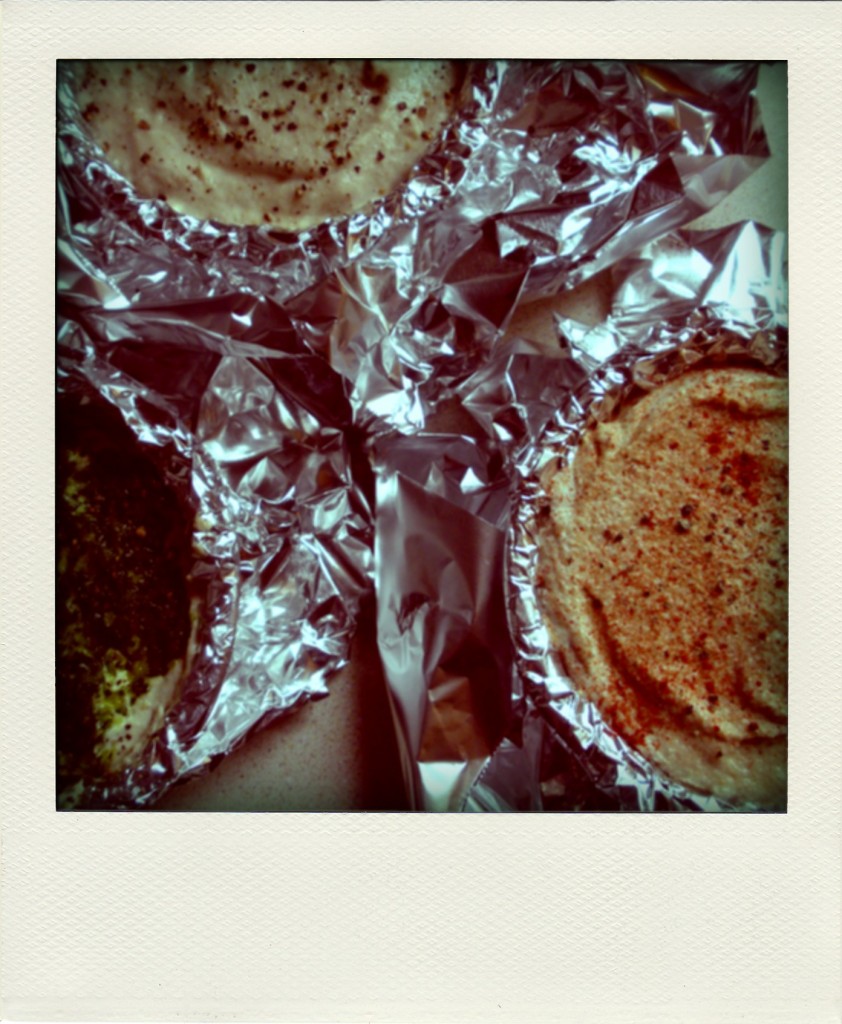
4. If you’d like plain cheese, just pour it in the bowls/ramekins, smooth the surface, cover with foil, and place in the freezer. If you’d like herbed cheese, now is your time to shine. I made one with salt/cracked pepper, one with smoked paprika, and one with ramp pesto. To make them nice and pretty, layer your add-ons into the cheese as you pour it into the pans: a little salt and cracked pepper first, a layer of cheese, and another layer of salt and cracked pepper.

5. Freeze for at least 24 hrs. Remove to fridge and allow to thaw. For me, this remedied the texture issue with this recipe. I wasn’t serving the cheese frozen, but freezing and thawing it made it set, so that it held it’s shape better when un-molded. The end texture is something like fresh goat cheese.

6. To un-mold the cheese, place the bowl or ramekin upside down on the serving tray. Remove the ramekin then carefully peel back the foil.
{ 0 comments }

Rose Water and Sour Cherry Ice Cream

by autumn on June 27, 2010

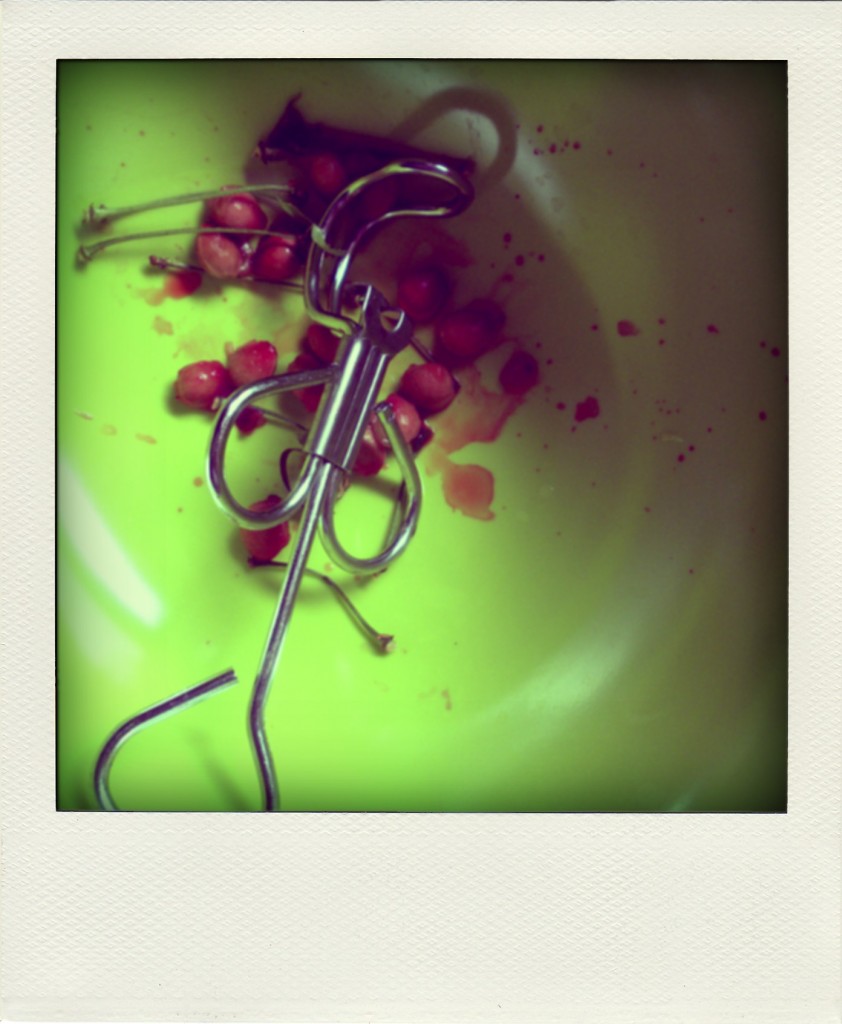
I’ve always been one for the freaks and sour cherries are sort of the weirdos of the early summer fruit. How many other things at the market have a warning built into their name? I bought these with the delusion that because they were bit smaller than conventional cherries, there wouldn’t be room inside for pits. That was, indeed, a delusion.

Sinister. After reading that sour cherries were too tart to be eaten fresh, I did what any proper stubborn-ass woman would do and ate some fresh. On a scale of 1 to chokecherry, my little sour cherries were moderately tart, but still pleasant, although I wouldn’t want more than a few.

I’m lucky enough to live in a neighborhood where I can literally walk around the corner and comparison shop for rose water. If you don’t, it’s worth tracking down. If you do, come over for some ice cream. I am not the girliest of girls, but I have a soft spot for flowery (edible!) treats.

Rose Water and Sour Cherry Ice Cream
Because I thought the hint of coconut would be a great complement to the flavors of this ice cream, it is also vegan. Makes about a quart.

2 cups (1 container) So Delicious original coconut milk creamer
1/2 cup So Delicious plain, unsweetened coconut milk
1/2 cup sugar
3 T vodka
3 T rose water
1 cup sour cherries, pitted and quartered

1. In a large bowl, stir the sugar into the coconut milk and coconut creamer, until dissolved.
2. Add vodka and rose water.
3. Stir in sour cherries and process in an ice cream maker, according to manufacturer’s instructions.
4. If you don’t have an ice cream maker, soldier on.

{ 6 comments }

Scape and Sorrel Pesto

by autumn on June 1, 2010

I hope you’re not expecting a recipe. What I love about pesto is that it works best when you make it up as you go along. Pesto was made for folks with kitchen ethos like mine, hell-bent on thinking they know better than a recipe.

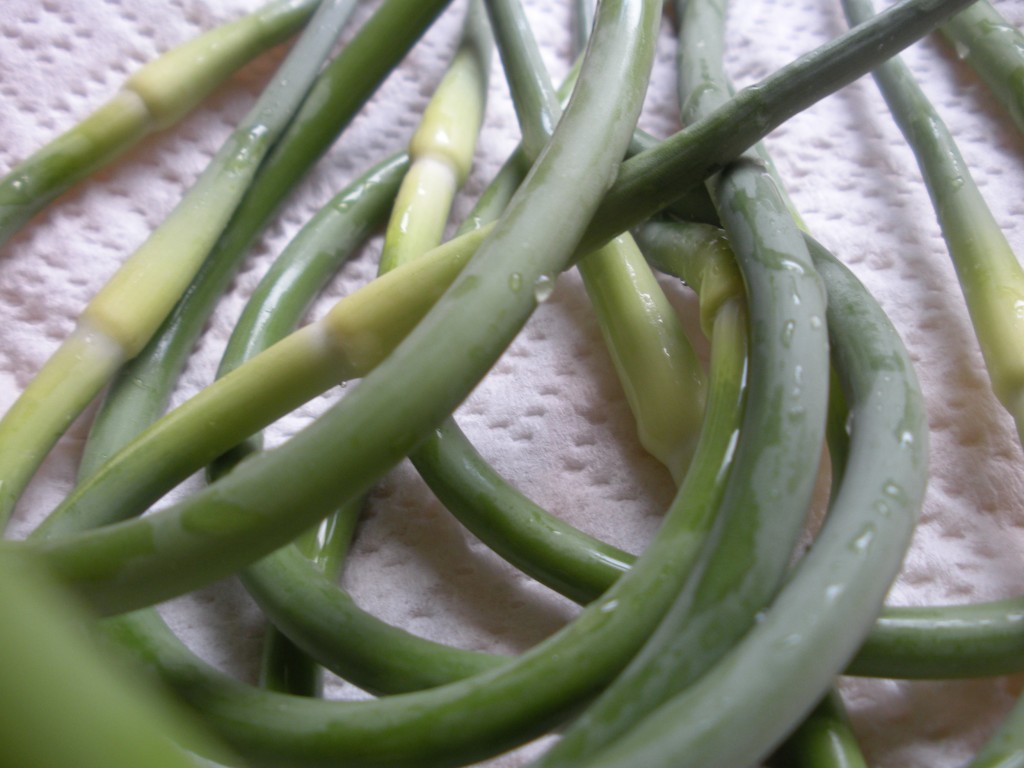
Those are garlic scapes. They’re the young stalks of a garlic plant. I’m going to go out on a limb here on the internet and say that they’re the most onomatopoeic vegetable around. They look like they’re about to scape all over your kitchen.

Pesto comes from the same Latin root as the English “pestle.” At its heart, pesto is just about pounding and I like to keep it that simple. I rarely add nuts or cheese to my pesto, just the herb and oil. This preserves the herb for longer than it would stay fresh in the fridge and keeps the pesto versatile.

I cut and washed the scapes (they were $8 a pound and I got $1.25 worth) and put them in my mini-chopper, my favorite completely unnecessary kitchen appliance. I also threw in some torn up sorrel because I had it and I love it. I gradually added olive oil in batches until it blended smooth, but oil was not pooling at the bottom.

{ 0 comments }

Rhubarb Sorbet

by autumn on May 14, 2010


I suppose it’s unofficially rhubarb week for me. I am telling myself it’s OK that I’ve been spending a good chunk of my food budget on rhubarb for the past couple weeks. One of my favorite podcasts–definitely the one I learn the most from–is Erica WidesWhy We Cook.” Last week Erica mentioned eating the heck out of things while they’re in season, even to the point where you’re sick of them because by the time they show up in the market again you’ll be jonesing for them anew. So. Rhubarb.

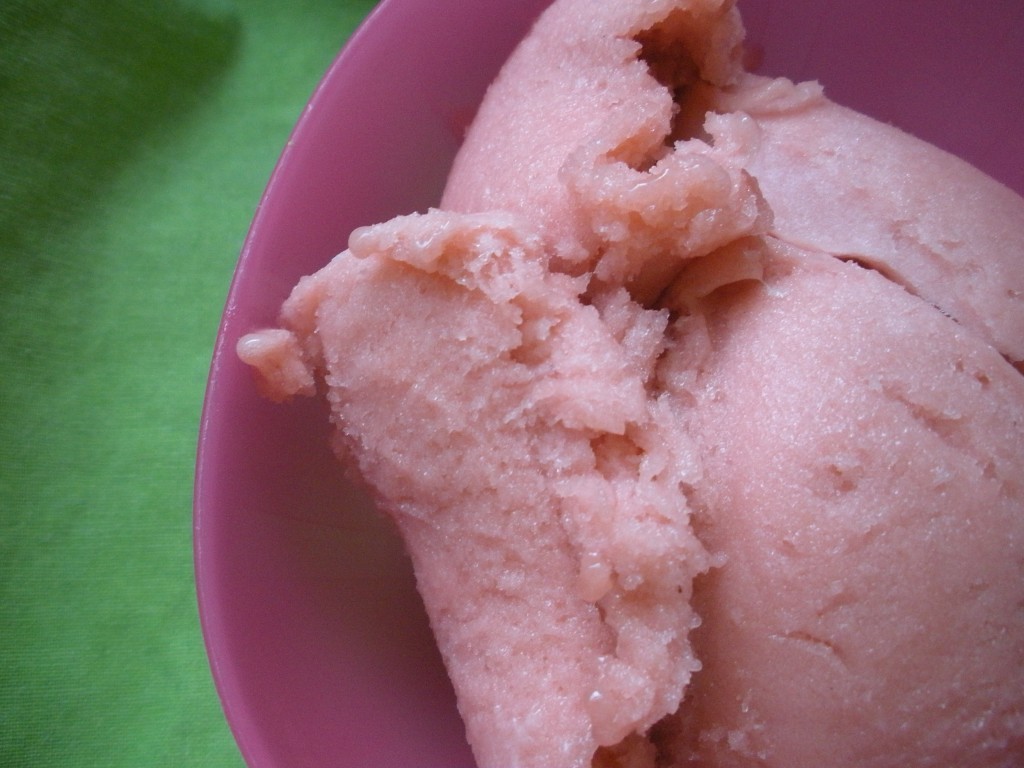
I used this recipe as a guide. I omitted the corn syrup because there’s no corn syrup in my cupboard and I was not very precise in my measurements, aka: I eyeballed everything. Before processing the sorbet in my clunker of an ice cream maker (best $19.99 ever spent) I added a few glugs of vodka, about 2 T. You won’t be able to taste the alcohol and it helps homemade ice cream maintain a softer, less icy texture.

I was elated with how this turned out. SO GOOD! Plus, this recipe falls into my favorite category: seems-super-fancy-and-time-consuming-to-make,-but-isn’t.

{ 3 comments }

Rhubarb Curd

by autumn on May 11, 2010

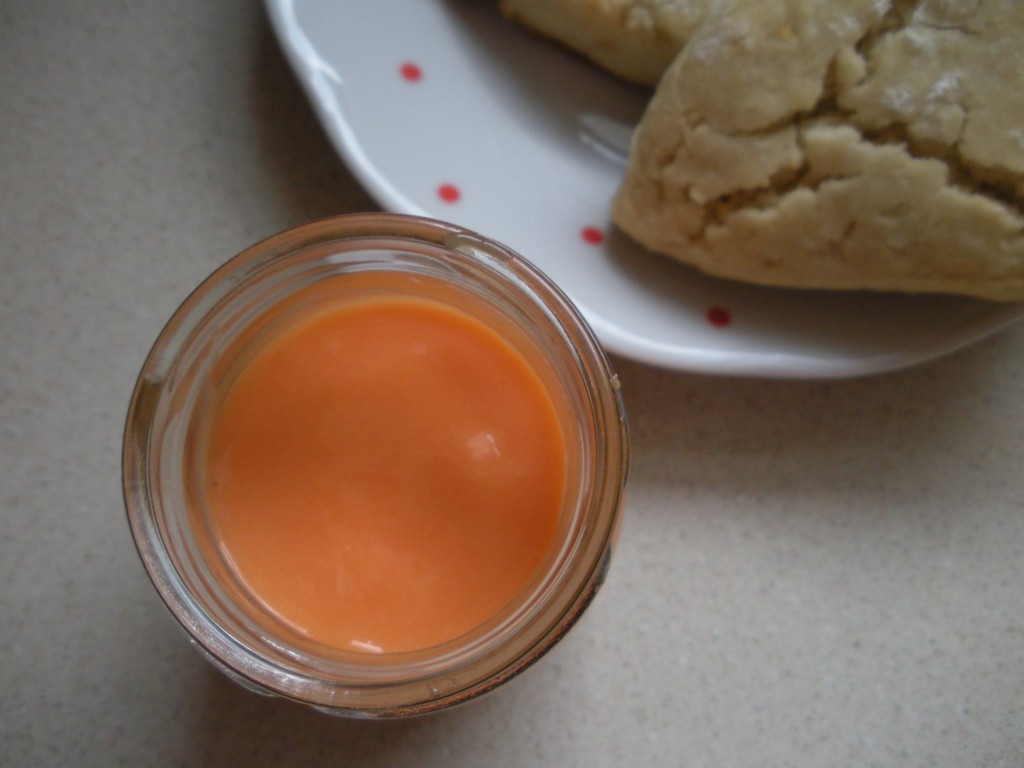
There’s a reason that my rhubarb curb is orange. See, I saw this picture on food52. It looks like a soft, tangy, pink sea right? Whatever. I just like rhubarb.

So I made it with my $4/carton pastured, low-guilt eggs. You hear people talk about how rich and yellow the yolks are, but it’s not until you add pink rhubarb juice and they’re steadfast in their sunniness that you realize they mean business.

Initially, the yolks kept the curd yellow and LIKE A CHILD I added a few drops of red food coloring because I really wanted cute pink rhubarb curd. Orange was the best I could do. Moral of the story: Nature is neat. Make rhubarb curd.

The scones in the background are from the Allergen Free Baker’s Handbook.

{ 0 comments }

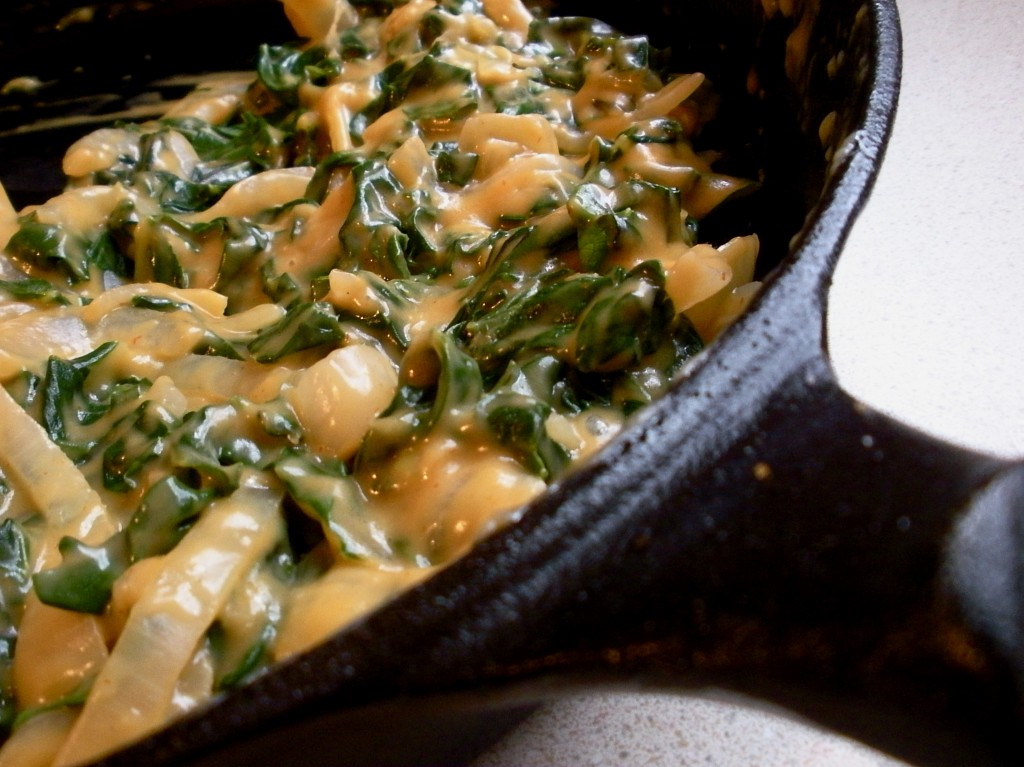
Coconut Creamed Chard

by autumn on April 27, 2010

You didn’t think I could cook vegetables, did you? I certainly haven’t made it very apparent lately that I am capable of cooking green things.

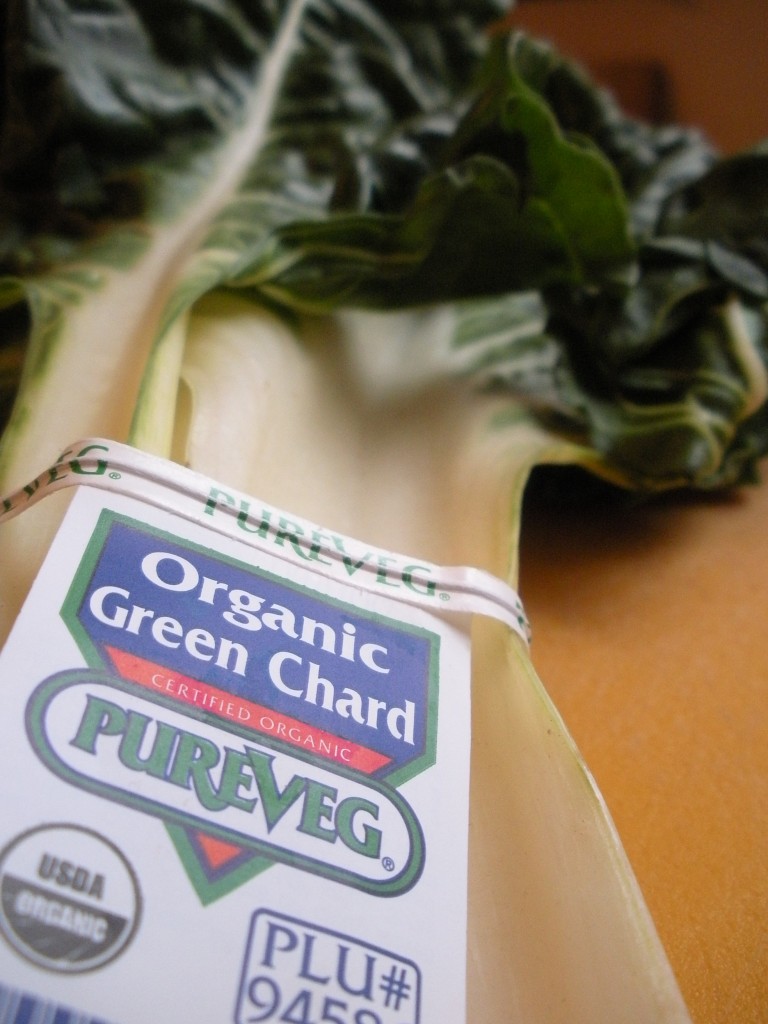
These green things were on sale. As was coconut milk. Shopping with me takes FOREVER because I weave my cart around Whole Foods looking for the little yellow sale signs. The beginning to most of my recipes also serves as an optional apology: “Well, it was on sale…”

But, with Sriracha you’ll never have to apologize. When I learned on twitter that Sriracha was gluten-free, things got amazing. Amazing, like this coconut creamed chard. It’s creamed spinach that you could feed to Alicia Silverstone. Or, you know, your favorite lactose-intolerant celiac.

Coconut Creamed Chard
I would recommend starting with 1 teaspoon of Sriracha and working your way up, making it as spicy as you can manage. Also, I learned to make creamed spinach from smitten kitchen, but didn’t we all.

1 bunch chard, rinsed, de-ribbed (cut the stem-y parts off the ends and middle of the leaves), and chopped (no need to pat it dry!)
1 small onion, chopped
1/2 can of coconut milk (use your eyeballs!)
Slurry of 1 T cornstarch and just enough cold water to make it pourable
at least 1 t of Sriracha, but hopefully more like 1 T (you can do it!)
Salt to taste
3 second pour of olive oil

1. Saute the chard in the 3 second pour of olive oil until wilted. Add a little water if it seems like the chard is getting crispy rather than wilting.
2. Once it is wilted, remove the chard from the pan and press it into a mesh strainer until no more chard juice comes out. It won’t put off as much liquid as spinach, so don’t worry. Set aside.
3. Wipe any excess liquid from the pan, add a bit more olive oil (if necessary), and saute the onions until translucent. Pour the coconut milk in the pan and heat over med-low until it just begins to bubble.
4. While stirring RAPIDLY, SLOWLY pour in the slurry. The mixture should begin to thicken immediately.
5. Reduce heat to low and mix in the chard.
6. Add Sriracha and salt to taste and serve.

{ 0 comments }