Apple, Cinnamon, and Cane Sugar Ice Cream

by autumn on February 22, 2011

I’m moving in less than a week. Nothing major, I’m not even leaving the borough. It’s a pretty exciting move though. Rather than roommates, I’ll be sharing a space with the boyfriend. And that space includes a pretty decent size kitchen. You can’t tell, but I’m doing a giddy little squeal right now.

Since I’m in “use stuff up” mode, I barred myself from grocery shopping this week. And since I’m Autumn, I’m making ice cream instead of packing. Pretty much without exception, the off-kilter awesomeness of what I make is inversely proportional to the amount of stuff I have in the fridge. That is, the more I’m forced to dig in the back of the cupboards, the better stuff I come up with. This ice cream is no exception.

Case in point, I would have never thought of sweetening this ice cream with panela if I hadn’t hadn’t been preoccupied with using up odds and ends. (If you don’t know panela, all you’ve ever wanted to know is here. It’s whole cane sugar.) It’s such a satisfying feeling for a cheap frugal lady like me to turn an on-sale carton of organic heavy cream, a couple of farmer’s market apples, and some panela that was lingering in the pantry into the best darn ice cream I’ve had in a while.

In the name of thrift (it’s what I had in the fridge!), I’m going to ask that you just go with the fact that the base of this ice cream is just heavy cream. Only heavy cream. Anyone will want to marry you if you feed them this ice cream. So, it’s worth it.

Apple, Cinnamon, and Panela Ice Cream

I remember reading somewhere (I think it was David Lebovitz) that cinnamon sticks and ground cinnamon impart different cinnamon-y qualities, that’s why I use both here. Makes one quart.

1 1/2 cup heavy cream
1 cinnamon stick

2 medium apples, peeled cored and chopped (I used winesap)
1/2 cup water
1 cup panela, chopped
1 heaping t ground cinnamon

1 t vanilla bean paste (or extract, if it’s what you’ve got- make sure it’s gluten-free)
a splash (1 or 2 T) of bourbon (optional, but alcohol helps combat iciness in homemade ice cream and bourbon is a great flavor match here)

1. Heat the heavy cream and the cinnamon stick in a large pot over medium heat, stirring frequently. Just when it begins to bubble, remove from heat and allow the mixture to steep while you complete the remaining steps.

2. Combine the apples, water, panela, and ground cinnamon in a small pot over medium-high heat. When it begins to boil, reduce heat to a simmer and mash the apples using a potato masher or your favorite mashing tool. You don’t want an applesauce consistency, just break up the chunks of apple a bit

3. Simmer for about 10 minutes. The apples should be tender and all the pieces of panela should be completely dissolved.

4. Remove the apple/panela mixture from the heat.

5. Pick the cinnamon stick out of the heavy cream then pour the apple mixture into the cream. Add vanilla paste/extract and stir until combined.

6. Let cool to room temperature and refrigerate until completely cool. Process in an ice cream maker according to the manufacturer’s instructions. As always, I recommend you not get discouraged if you don’t have an ice cream maker.

7. Eat while reading this.

{ 4 comments }
Lavender Rosé Jelly

by autumn on February 14, 2011

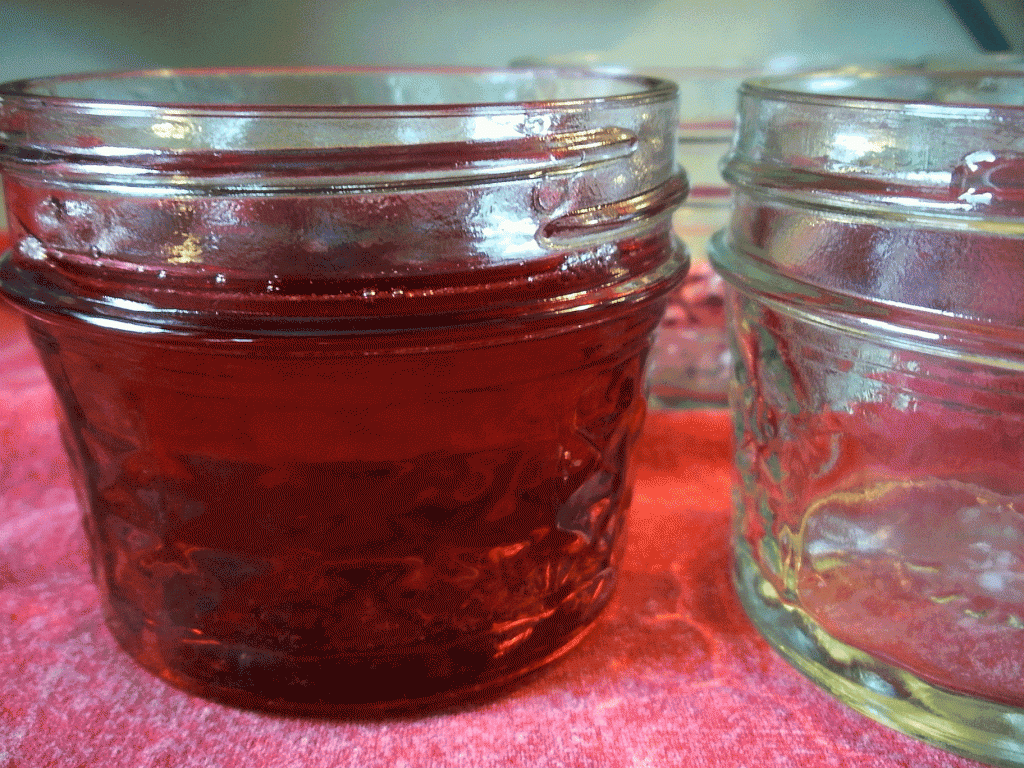
I wasn’t going to post this recipe because, really, I am not going to post the recipe. There’s a Lavender Wine Jelly in the Ball Complete Book of Home Preserving and this is that recipe with any significant changes (added rosé instead of white wine, which the recipe calls for) and I don’t want to rip-off the fine folks at Ball. I’m guessing a lot of you preservers out there already own the Ball Complete Book anyway.

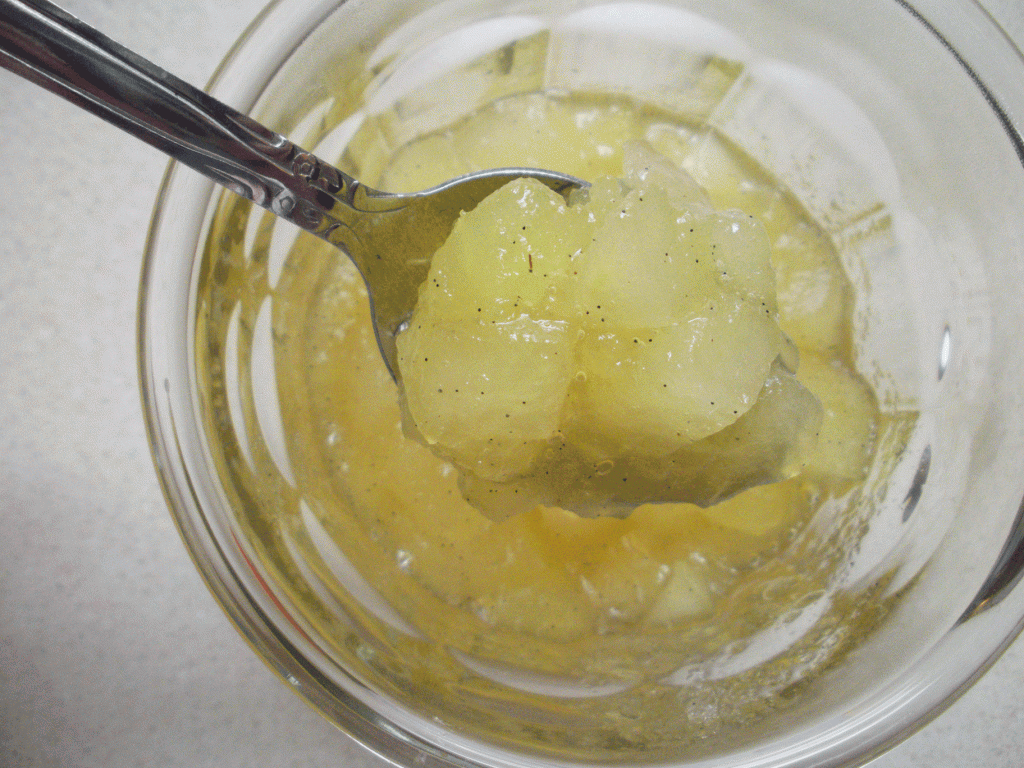
Along with my Apple Vanilla Bean Preserves, this was a snow day creation—a recipe that I uncovered in my search for a canning project that involved only ingredients I already had. Although this isn’t necessarily in the spirit of putting up local foods while they’re in season, I’m a huge fan of resourcefulness and this recipe helped me make some rosé I didn’t much feel like drinking and some lavender that I’d bought for another recipe into something I will most definitely use! I like that there are options for canning and preserving that don’t involve monster quantities of produce (not that I don’t love monster quantities of produce, but it’s February in NYC).

My cheesemonger friend and I ate this on crackers with this super creamy cheese and it was divine. After seeing how easy wine jellies are, I definitely want to try making more. My lavender is from Long Island (I heart Lavender by the Bay!!!) and I know of a good Long Island rosé, so I am looking forward to making a super-local version soon.

{ 0 comments }

The loaf cake is a brilliant invention. A loaf cake lets you eat cake like you would bread, by which I mean MORE and FOR BREAKFAST. Don’t believe me? This recipe is in the “breakfast” section of Baked Explorations.

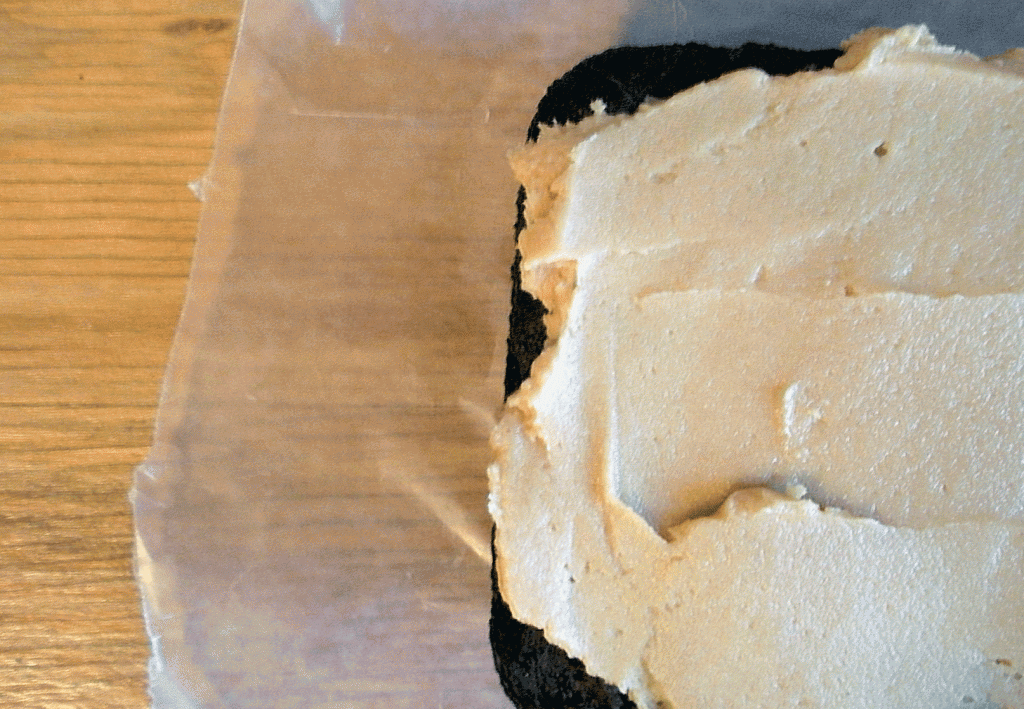
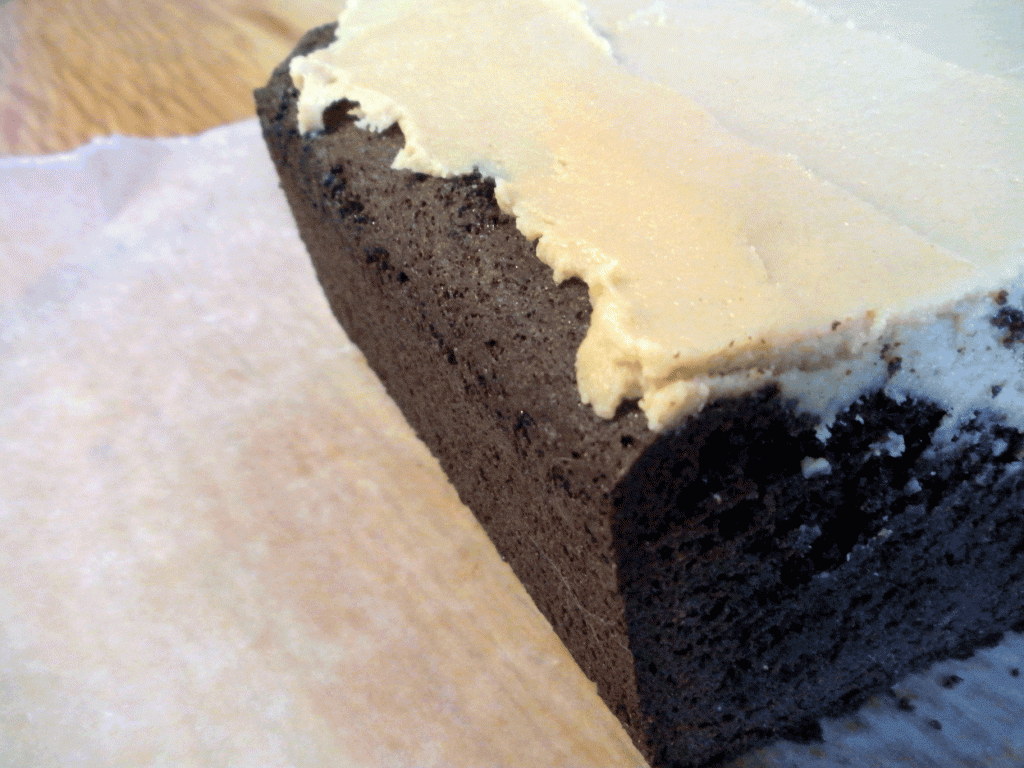
I made this Double Chocolate Loaf with Peanut Butter Cream Cheese Spread gluten-free for Baked Sunday Mornings this week. Baked Sunday mornings is an online baking group baking its way through Baked Explorations.

The book recommends using the peanut-butter cream cheese as a spread, but I used it to frost the loaf because I was serving it to friend and wanted it to be more presentation-y. The flour blend I used was a combo of tapioca starch, millet flour, garbanzo bean flour, and sorghum flour. I measured 210 grams of flour in total (the weight of the amount of all purpose flour that the recipe calls for).

It turned out OK, but if I were to make this again, I think I would go less whole grain. I had trouble getting this to a point where a toothpick came out clean and I think this had to do with my choice of flours. But, you know, I’m a perfectionist and as you can see above, it turned out darn good. Head on over to Baked Sunday Mornings and check out all the peanut butter and chocolate glory.

{ 5 comments }

Apple Vanilla Bean Preserves

by autumn on January 29, 2011

I came to the canning game a little late last summer. By the time I felt comfortable making something on my own, August was almost over and the summer produce in the market was waning. This just means that I am inordinately excited for the coming spring. I mean, it’s January and I’ve got the jitters. Lately, I’ve needed something to hold me over until spring and apples do the trick!

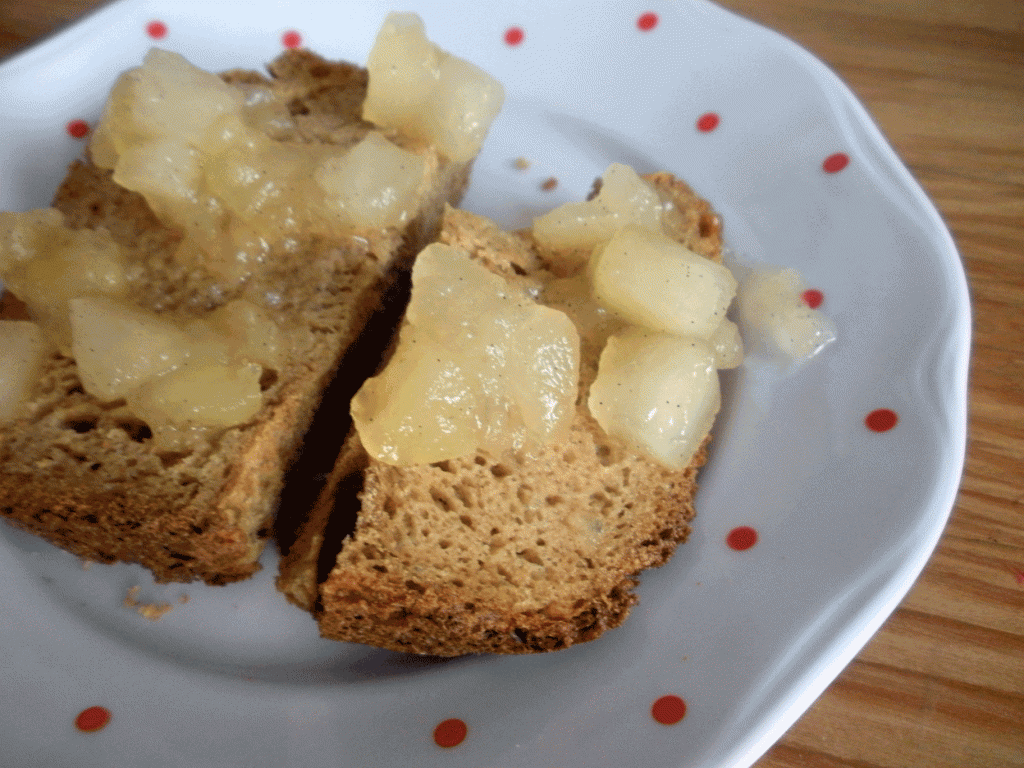
Around here, there are still apples in the market and although they’re not ideal for eating fresh, they’re totally preservable. I adapted this recipe from Put ’em Up!, by Sheri Brooks Vinton. It’s a great book. What I love about it is the recipes are unique, without being overly fussy. Also, it’s organized by type of produce, so you can flip to the apple section and get a number of different ideas about what to do with your apples.

I’ve sang the praises of vanilla bean paste before and that’s what I used here. I love the pairing of apple and vanilla ( I made an apple pie with vanilla bean and bourbon earlier in the year). It’s comfort plus comfort. It’s probably no coincidence that I made these preserves when I was snowed in this week. I had three apples in my fridge, so this is a super small batch. I’ll share with you my version of Sheri’s recipe below, but make your own adjustments from the original to ensure safety and buy the book!

Apple Vanilla Bean Preserves
This will make about two half-pints. If you didn’t feel like water bath canning this, you could store it in the fridge and eat it relatively quickly (which wouldn’t be too hard!). If you’re not familiar with canning, do it with a friend first and brush up on the essentials here.

3/4 cup water
1/8 cup bottled lemon juice
1.5 lbs apples, peeled cored and diced
3/4 cup sugar
1 t vanilla bean paste

1. Combine the water and lemon juice in a stainless steel pan.
2. Peel, core and dice the apples small. Keep in mind that there’s no mashing or pureeing here. You should dice the apples to the size that you’d like them in the finished product.
3. Over high heat, bring the mixture to a boil.
4. Add sugar.
5. Bring the mixture back up to a boil, then reduce the heat and simmer until thickened, about 10 minutes.
6. Ladle into hot, half-pint jars, leaving 1/4 inch headspace. Remove air bubbles, wipe rims, and secure lids.
7. Process in a water-bath canner for 15 minutes. Remove and let sit undisturbed to cool completely. Check seals.


{ 8 comments }

Carrot Banana Snack Cake

by autumn on January 28, 2011

I recently overheard the phrase “purée mom.” I googled it to get a proper definition for you, but apparently it isn’t really a thing.  Perhaps I will be the one to write the wikipedia entry for “purée mom.” You probably get the idea, but a purée mom subscribes, in varying degrees, to the Jessica Seinfeld school of getting children to eat healthier by sneaking vegetable purée into whatever you can. Mom-taxonomy totally cracks me up.

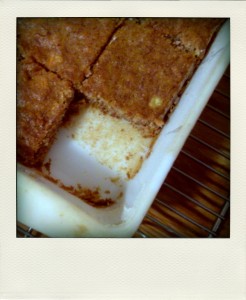
When I saw the original recipe for this banana snack cake, which is in from Enjoy Life’s cookbook called Cookies for Everyone, I thought of the purée moms. (PS: It looks like Enjoy Life has a new cookbook too! Cupcakes for Everyone!) Not only does this little cake have pureed bananas, it also has grated carrots and raisins. I had some stray carrots hanging out in my fridge and something about the carrot banana combo appealed to me, so I went for it. I’m not going to lie, I was surprised how much I liked this.

I expected these to be a little more dense, like a blondie. After all, they’re gluten-free and eggless. But, they turned out fabulously cake-y with a really nice crumb. Cake-y enough to frost with a simple white icing, if you felt so inclined.

My favorite feature of this cake was one that was a complete surprise: it stayed astonishingly fresh on the counter, just covered in foil. If you make gluten-free treats with any frequency, you know that it can be a challenge to keep them from drying out. When I made these, my rubbermaid fortress of gluten-free treats was occupied, so I left them out, simply covered in foil. Without an air-tight container, I expected them to dry out quickly, but by some magical confluence of the bananas, carrots, and raisins, they stayed fresh for days, right up until I polished off the pan.

Carrot Banana Snack Cake
adapted from Enjoy Life’s Cookies for Everyone

1/4 cup canola oil
3/4 cup sugar
2 ripe bananas

1/2 cup + 2T Bob’s Red Mill brown rice flour
1/4 cup gluten-free oat flour
1/4 cup arrowroot starch
1 t baking powder
1/2 t baking soda
1 t cinnamon
a pinch of salt

1/2 grated carrots
1/4 cup raisins

1. Preheat oven to 350 degrees. Grease and sweet rice flour an 8×8 square pan.
2. In a large bowl, combine the bananas, sugar, and oil. Using a hand-mixer (or elbow grease), mix until smooth.
3. In a separate bowl, combine the dry ingredients (not including carrots and raisins).
4. Add the dry ingredients to the wet and stir by hand until combined. At this point, if the batter seems dry, add a splash of the milk of your choice. If your bananas were a bit on the small side, I imagine the batter might be a little thicker. You shouldn’t need to, but just in case.
5. Fold in the carrots and raisins.
6. Pour into the pan and bake at 350 until a toothpick inserted into the center comes out clean. The original recipe said 30 minutes, but mine definitely stayed in closer to 40. Test it at 30 minutes and go from there.

{ 3 comments }

Gluten-free Bread for the Bread Maker

by autumn on January 27, 2011

My dear boyfriend got me a bread machine for Christmas. I am often suspicious of single-function kitchen stuff. I mean it; I don’t own a toaster. I certainly don’t own a grapefruit knife or juicer. However, I am here to tell you that the bread maker changed this gluten-free baker’s life.

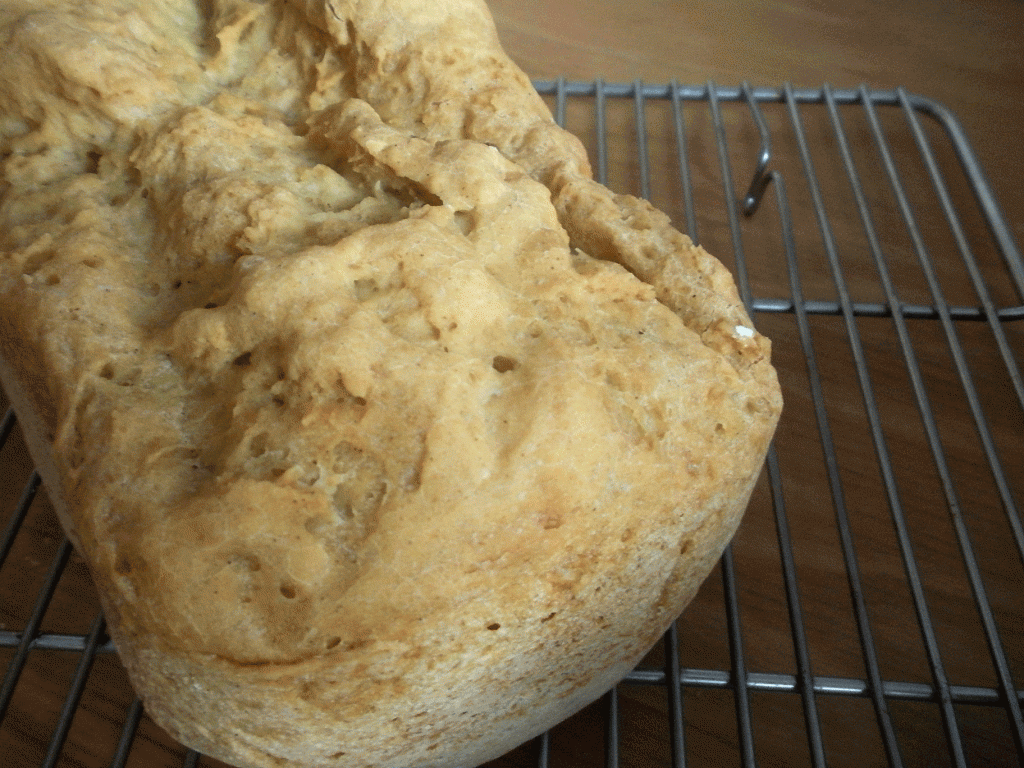
The loaf pictured above is Gluten-free Girl’s Crusty Boule recipe adapted for the bread maker. More on that later. Last year, as soon as the weather turned colder, I resolved to bake my bread more often than I bought it. I couldn’t be more happy about all of the great gluten-free breads available in stores, but everything is too expensive in New York City, including the gluten-free bread. I started regularly making Gluten-free Girl’s Crusty Boule as written and made Ginger Lemon Girl’s vegan version too! They’re both fantastic and (even if you don’t have a bread machine) I’d recommend you working for your carbs and making them. I find breadmaking to be a rewarding and magical kitchen experience.

Enter the bread maker. The best gluten-free bread I’ve ever had was oat millet bread made by Kate. Her recipe is here. It’s aptly named “Gluten-free bread that doesn’t suck.” And it really doesn’t suck. BBM (Before Bread Maker… it really is a little like before christ) I contemplated trying to make Kate’s bread, but knew it wouldn’t turn out the same. Womp, womp. There’s a happy ending though! I christened my bread maker with oat millet bread and it was as good as I remembered.

Although—admittedly—a machine takes away the hands-on part of baking, by making the process easier it keeps me more motivated to bake at home. This brings me back to Gluten-free Girl’s Crusty Boule. This is such a good loaf, I had to see if I could make it a little easier. Making this loaf in the bread maker certainly changes its character: it’s not a crusty, artisan loaf. For that, you’ll have to do the work she describes in the original recipe. And it’s worth it. However, the recipe also makes mean loaf of gluten-free bread for the bread maker.

Gluten-Free Bread for the Bread Maker

Head on over to Gluten-free Girl and check out the Gluten-free Crusty Boule Recipe. Gather the ingredients (except for the last four, we’re going for a white sandwich bread here) and follow my instructions below for the bread maker.

1. In a large bowl, mix together all of the dry ingredients, except the yeast. Set aside.
2. In a separate medium bowl, mix together the liquid ingredients. Mix by hand until completely combined.
3. Pour the liquid ingredients into bread machine pan.
4. Without stirring, carefully dump the dry ingredients onto the wet, making a dry layer on top of the wet mixture.
5. Finally, put the yeast on top of the dry ingredients.
6. Select the “gluten-free” setting if your machine has it or the “basic” setting for a 2lb loaf. Select the darkest crust option. Let the bread maker do its thing.
7. Let the bread cool completely (really, this matters) and demolish.

{ 9 comments }

Beet and Apple Salad

by autumn on January 19, 2011

I’ve never really been into magazines—well, except for that whole intern-at-Conde-Nast-maybe-I’ll-work-at-one? phase (BULLET DODGED). I am too cheap to buy them, yet they always seem to find their way into my life. In college, my long-distance friend would mail me her already-read lady mags, complete with sassy marginalia. I am currently receiving a subscription of Time Out New York, which I did not pay for. In the case of January’s Food & Wine, I swiped it from first class while exiting an aircraft because SOMEONE ABANDONED IT THERE.

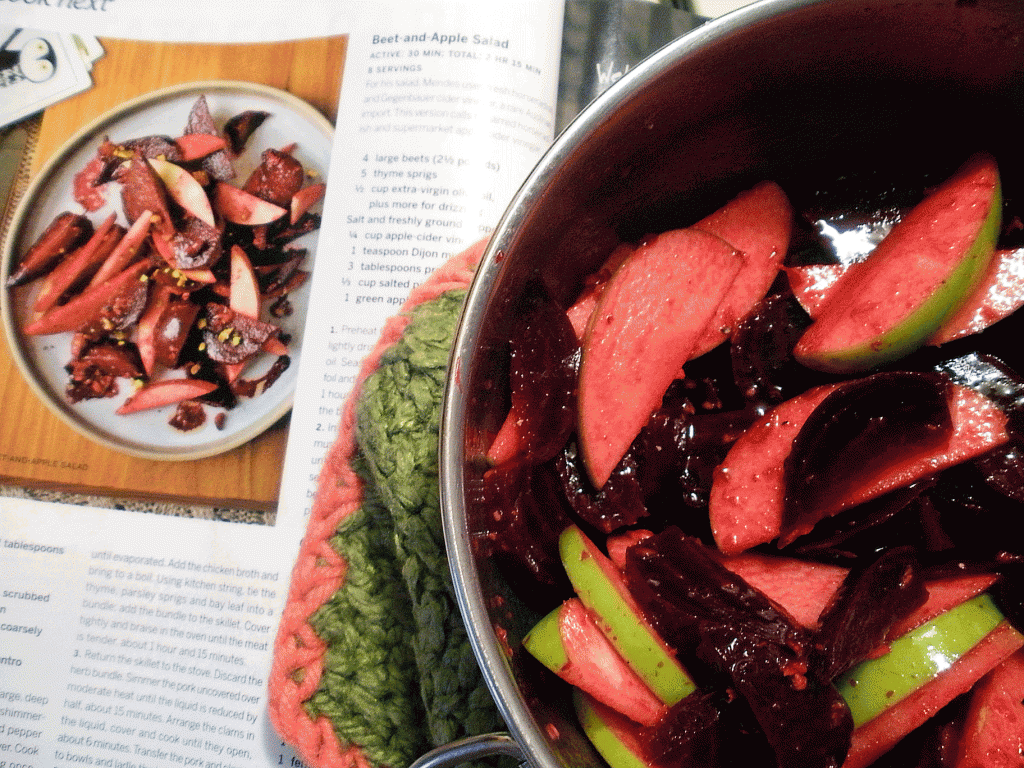
Do you know The Bitten Word? It’s Clay and Zach’s fantastic blog where they make the stuff from food magazines that you totally intend on making, but (let’s be honest) will never actually make. Turns out, they made this Beet and Apple Salad from the January Food & Wine too and loved it as much as I did.

For the sake of frugality and simplicity, I pared down the recipe a bit. Check out their post for the recipe as it appears in the magazine. If you’re like me and are always trying to reign in the grocery spending, skip the pistachios. Same goes for the dijon mustard. I didn’t have it and didn’t buy it. What I did buy specifically to make this salad—the ingredient you cannot skip—is the horseradish. You can go light on it, I certainly did, but you definitely need it. It brings the party.

Beet & Apple Salad
Adapted from Food & Wine. I distilled this recipe down to what I felt like were its essential elements, but do take a look at the original and go big, if you’re feeling fancy.

4 medium beets
1 granny smith apple
2 T apple cider vinegar
2 T olive oil + some for drizzling
1 1/2 t prepared horseradish, or more to taste (with this amount, it’s very mild)
salt and pepper to taste

1. Roast beets (whole, in foil, drizzled with olive oil) at 350 until they are tender. I am horrible at timing things in the oven, but I can say these take longer than you expect. Over an hour. Let cool. This can be done the day before.
2. In a large bowl, mix the vinegar, 2 T olive oil, and horseradish. Set aside.
3. Slip the skins from the beet and slice into wedges, from top to bottom.
4. Core the apple and slice it the same way, leaving the skin on.
5. Add the beets and apples to the dressing mixture and toss to combine.
6. Season with salt & pepper to taste.

{ 0 comments }

Sweets rule the holidays. I am certainly not complaining, but I’ve already heard rumblings from those around me that they’ve had enough treats for a while. Well, as far as I am concerned, there’s no such thing as too many treats, but everyone needs a break.

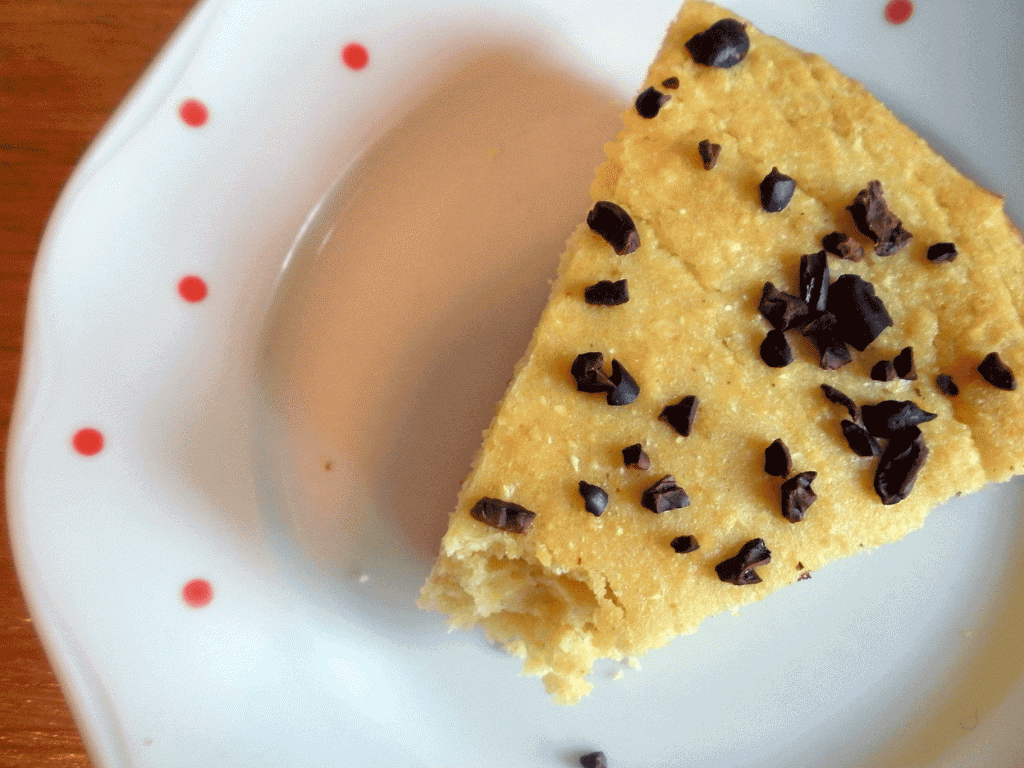
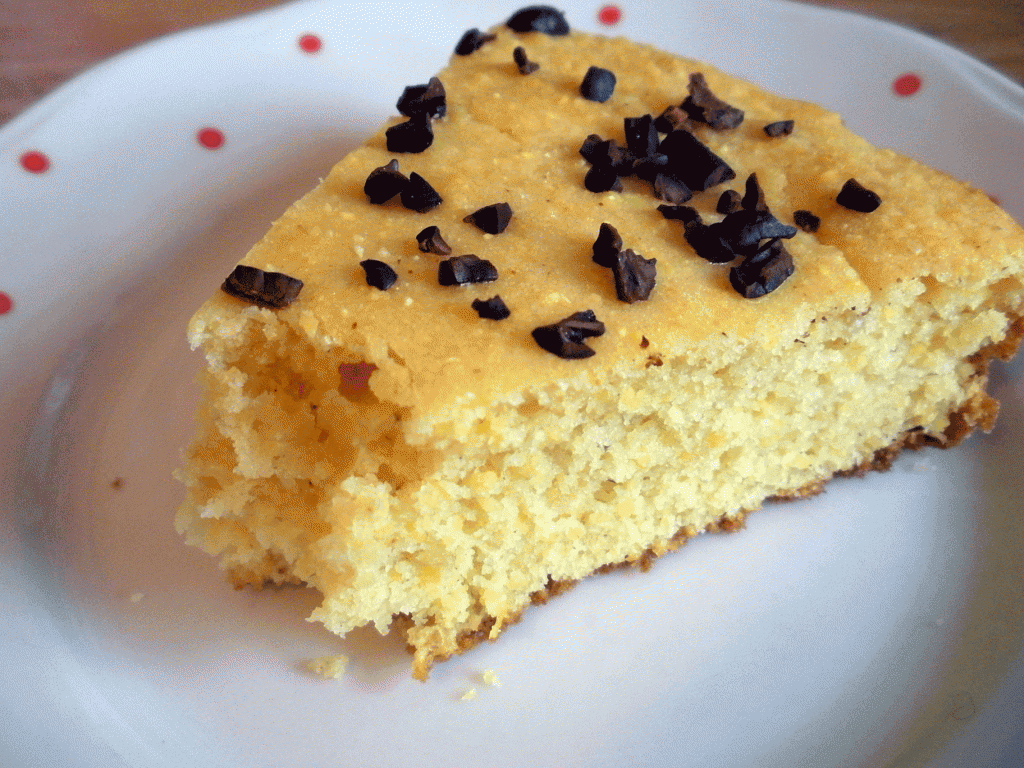
That’s just one part of it. The other part of why this cacao and cayenne cornbread is a gift that doesn’t suck (although it might seem a little weird) is that—for a  gluten-free person—a good loaf of bread is something sacred. It’s worth its weight in Starbucks gift cards. We go through a lot for good bread, but it’s usually a solitary pursuit: traveling to out-of-the-way grocery stores and toiling through kitchen disasters. When someone steps in with a good loaf of bread, we appreciate it.

This is an update on to my go-to cornbread recipe. It’s simple, but with the addition of cayenne and cacao nibs it has enough character to feel like a truly special thing to receive. The recipe is below, but first, I also wanted to offer some suggestions for other good gluten-free loafs to give if cornbread isn’t your thing.

Gluten-free Girl and the Chef’s Gluten-free Crusty Boule: I make this bread a lot. A LOT. On its own, it’s a perfect loaf of bread, but update it for the season by stirring in some fresh cranberries and chopped fresh rosemary after the first rise.

Gluten-free in the City’s Banana Bread: I consider banana bread to be one of the more forgiving things you can bake, but for the longest time I couldn’t find a recipe that turned out just right. Then I found this one. I made it with some adjustments here and think adding some dried cherries and finely chopped dark chocolate would make it extra-giftable.

Renegade Kitchen’s Pumpkin Spice Bread: I haven’t tried this one yet, but it’s been on my list. If you’re like me, you want pumpkin baked good season to last forever and totally wouldn’t mind receiving this in December.

Gluten-free Cacao and Cayenne Cornbread

Adapted from here and especially here. Note: Bob’s Red Mill now has dedicated gluten-free corn flour and cornmeal, but make sure to look for their little gluten-free seal. I ordered mine online, but they haven’t seemed to reach all the grocery stores shelves yet.

3/4 cup Bob’s Red Mill AP Gluten-free Baking flour (Or experiment with your favorite flour blend. I am out of both potato and tapioca starch, so I went the safe route.)
1/4 cup corn flour
3/4 cup cornmeal
3 T sugar
2 1/2 t baking powder
3/4 t salt
1 t xanthan gum
1/8 to 1/4 t cayenne (with 1/8 there was just a little heat, so 1/4 would probably be smokin!)
2 eggs, beaten
1 cup buttermilk
1/4 melted butter
a handful of cacao nibs (2-3 T)

1. Preheat oven to 400 and grease a 9 inch round pan (or something close: a cast iron if you’re feeling legit).
2. Melt the butter using your preferred melting method and let it cool while you complete the remaining steps.
3. Combine the dry ingredients in a bowl and set aside.
4. In another bowl, beat the eggs. Add the buttermilk and finally the melted butter. Stir to combine.
5. Add the wet ingredients into the dry and stir until just combined.
6. Pour into the greased pan and sprinkle with cacao nibs.
7. Bake until a toothpick comes out clean, about 20 minutes. The edge of the cornbread should also pull away from the pan slightly.

{ 1 comment }

I am really excited about this fudge. I had some dental work done this week. (NO THEY ARE NOT RELATED!) The kind that involves multiple appointments and large credit card bills. The kind that makes you go on a tear at Dean & Deluca, ready to buy expensive cheese and a $36 box of organic caramels to make yourself feel better. Hypothetically.

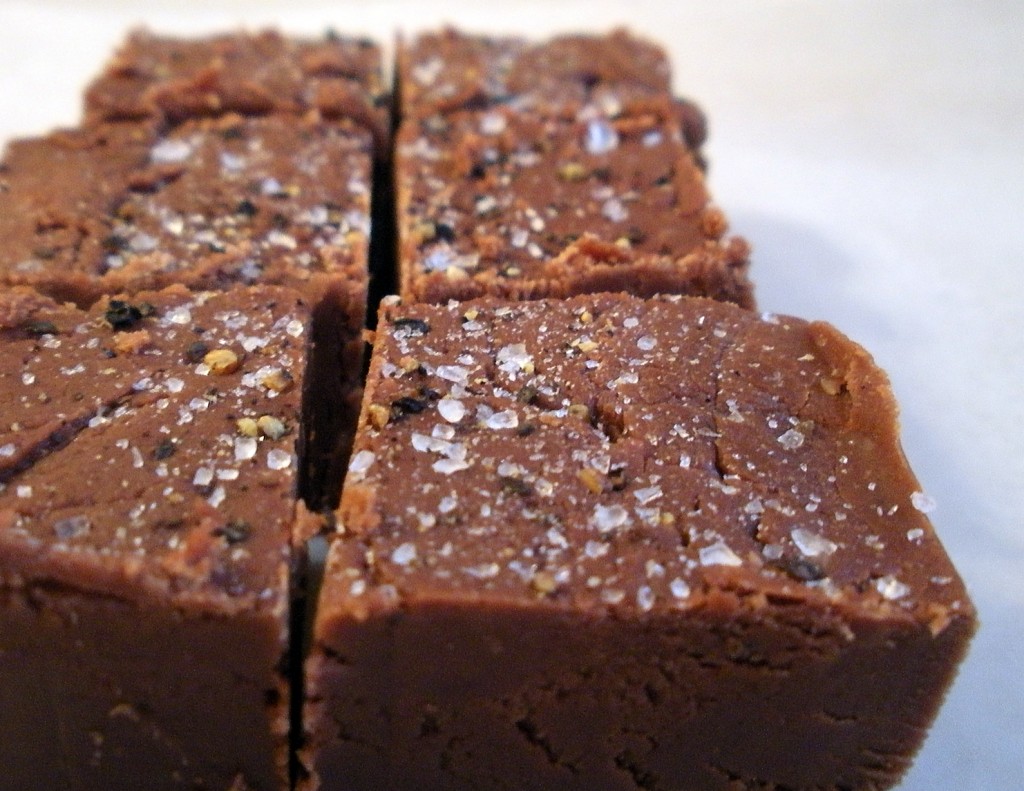
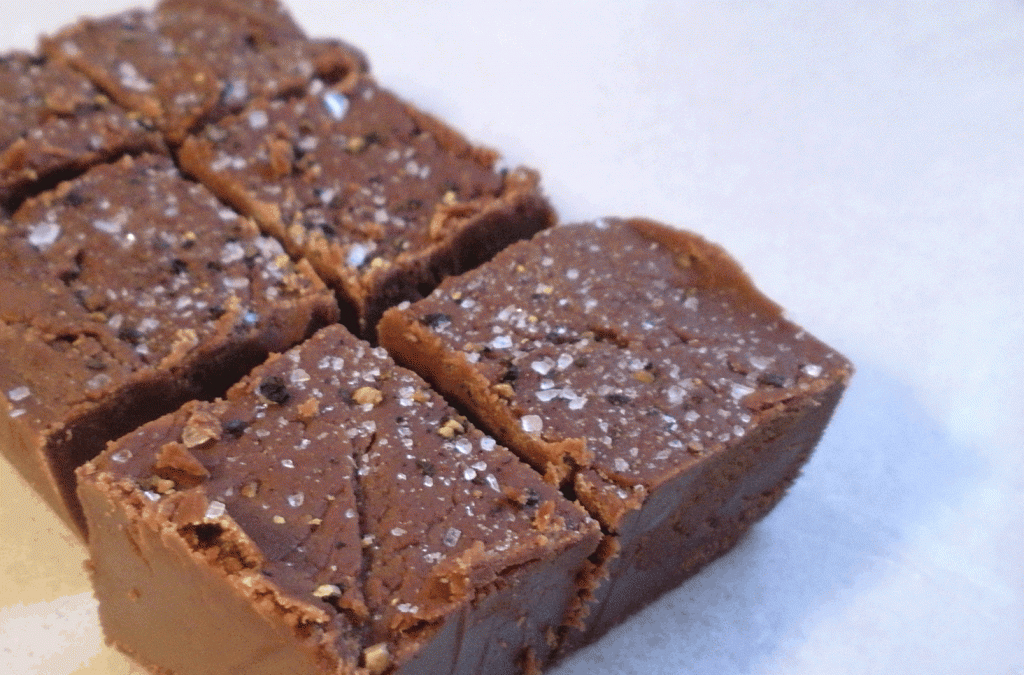
One of the few things in life that I enjoy more than fancy food is low-brow food: low-budget wonders, the stuff that you love because it’s bad. My examples of this are: McDonald’s coffee, Vlasic pickles, and Hormel Corned Hash. Then there are the special unions of low-brow food (Frito Pie, 7-layer dip), in which multiple trashy food items combine to make something utterly transcendent. I’m going to be bold and say that this salt & pepper fudge falls into that category.

I’m not even going to pretend like this isn’t the no-fail fudge recipe off the back of the jar of marshmallow fluff. It’s the no-fail fudge recipe off the back of the jar of marshmallow fluff. You can find the ingredients in any normal grocery store, even the salt and pepper. The fanciest thing in here is coarse kosher salt.

So, you’re going to do like the recipe says, minus the nuts. Gluten-free friends, as of this writing, Nestle Tollhouse chocolate chips, Marshmallow Fluff, McCormick Vanilla, and Carnation evaporated milk are gluten-free. Those are the brands that I chose. I live dangerously and didn’t bother with the soft-ball test, but do as you wish.

When you’ve spread the fudge in the pan, but it is still warm, sprinkle with whatever kind of coarse salt you have (Kosher salt will work fine. I had some $1.99 sea salt from Trader Joe’s.) and pepper. If you have a pepper grinder (I know you’re thinking pepper grinders aren’t low-brow, but mine’s from Costco), use that. Otherwise, normal coarse ground pepper will work. Press the salt and pepper slightly into the surface of the warm fudge with a spatula and let cool. Cut into one inch squares and practice saying, “It sounds weird, but it’s amazing.”

{ 0 comments }

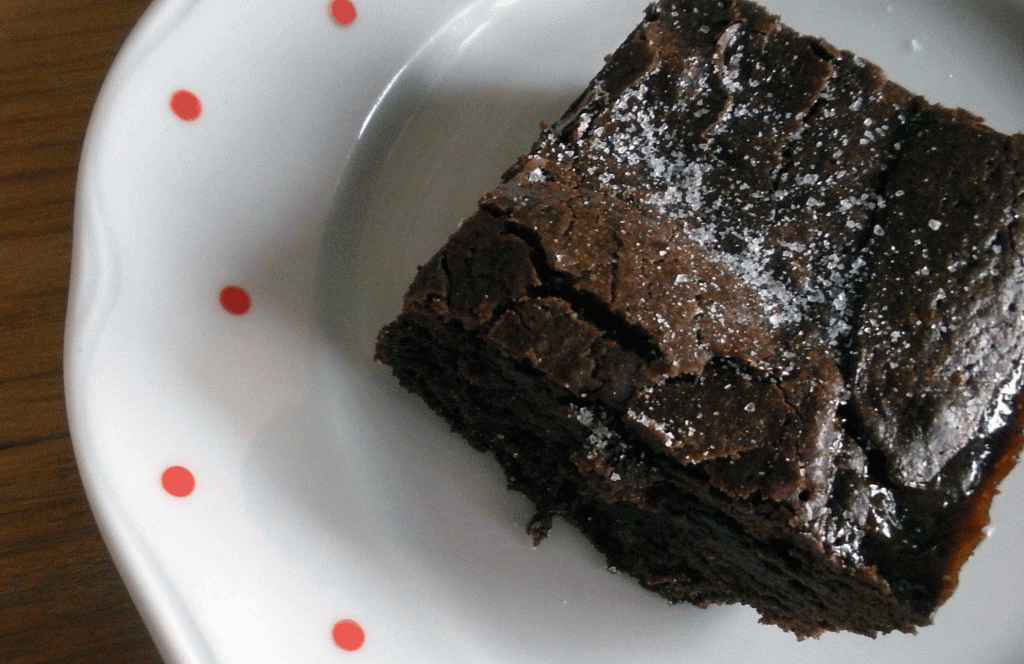
Brownies shouldn’t make you nervous, but these brownies made me nervous for the following reasons:

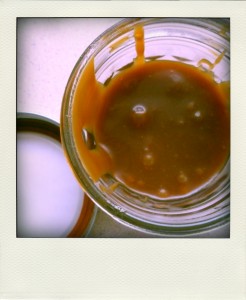
  1. My accident-prone self had to make caramel for the first time. Without a candy thermometer.
  2. My kitchen scale broke mid-recipe so I had to eyeball 11 ounces of chocolate.
  3. I didn’t have the right size pan so I wrote a kitchen-SAT problem to decide which combination of wrong sized pans (8×9 + 9×5? or 9-inch round + 9×5?) was the closest approximation of a 9×13.
  4. And to top it all off I was trying to do right by this ungodly good recipe (by these guys) and make a decent gluten-free contribution to the BAKED Sunday Mornings baking group.

Well, as things with 2 sticks of butter tend to do, these turned out astonishingly well. These are some brownies. The caramel is amazing. AMAZING in 72 pt font and, like the recipe says, there’s plenty leftover. This is a good thing.

The original recipe is in the book, which I recommend you buy ASAP, and over here. Let me tell you how I made it gluten-free. I subbed by weight, which is the most trustworthy way to convert gluten-y recipes to gluten-free recipes. (That said, remember how my kitchen scale broke? I had to do some fancy math using  this and measure by volume). As you’ll see, I only have a little over a cup of flour in volume, but 160 grams in weight (the weight of the amount of all purpose flour that the recipe calls for). In place of the all-purpose flour, I used: 1/2 cup (60 grams) of millet flour, 1/4 cup (40 g) superfine white rice flour, 1/4 cup + 1 T (60 grams) potato starch, and 1 t guar gum (xanthan gum works too). I ended up having to bake mine a bit longer, but I think this was due more to having the wrong size pans that the fact that they were gluten-free.

More brownie porn here. And here.

{ 6 comments }