Rhubarb White Wine Sorbet

by autumn on May 9, 2011

It’s getting to be the time of year when I switch from baked treats to frozen ones. Maybe you aren’t as focused on this upcoming shift as I am, but I REALLY like to bake (and don’t have central air) so I try to prepare myself emotionally for those months when the last thing I’ll want to do is turn on the oven. Before it gets super hot, I’ll probably flip out and overcompensate by baking something like this, but Rhubarb White Wine Sorbet makes the transition a whole lot easier.

I’ve said it here before, but I’ll say it again because it’s especially timely: you won’t regret investing in an ice cream maker (even a shoddy $20 one like I have). When you can’t bake, you’ll churn. It’s a very Willy Wonka feeling to be the boss of a batch of ice cream and recipes like this one prove that homemade ice cream doesn’t have to be fussy.

I’ve been waiting for rhubarb to come back in the market to revisit this recipe (adapted from Epicurious). I made it once before and was wowed by what the (relatively low) pectin in the rhubarb does for the texture of this ice cream. It’s unbelievably creamy! The texture is better than any store-bought sorbet that I’ve had and there are just four ingredients. Also, people think you’re fancy when you tell them you’ve made “rhubarb white wine sorbet”, when really all you’ve done is cooked some rhubarb in wine, thrown it in the blender, and finished off the bottle of wine.

Rhubarb White Wine Sorbet

Ingredients

  • 1 lb (about 3 1/2 cups) rhubarb, chopped into 1 inch pieces
  • 1 cup white wine (or water if you prefer not to use wine)
  • 3 T lemon juice
  • 1 1/4 cup sugar

Cooking Directions

  1. Bring the wine, sugar, and lemon juice to a boil in a medium saucepan, stirring occasionally.
  2. Add the rhubarb and return to a boil.
  3. Reduce heat to a simmer and cook until the rhubarb is falling apart, about 10 minutes.
  4. Remove from heat and allow to cool.
  5. Blend until very smooth and add a few drops of red food coloring if you'd like a nice pink sorbet.
  6. Refrigerate until completely cool and process in an ice cream maker according to the manufacturer's instructions.

{ 6 comments }

New York City is prone to dishing out those sort of days when everything feels much harder than it should. Feel free to disagree with me here, but I have two words for you: G train. I can do wild goose chases. As a gluten-free person in NYC, I expect to go to three different Whole Foods (Tribeca, Bowery, Union Square, in that order) before finding teff flour. I can give you directions to that grocery store on Canal Street where you can always get sweet rice flour, but finding canning jars for a reasonable price in NYC is a different beast altogether.

I had been stewing over getting jars for the upcoming season for a while. Then, last week on Facebook I posted something about trying to map out my 2011-12 canning jar needs. I got a bunch of great suggestions, which led to more stewing, more research, some damn good luck, and (finally!) an epiphany. In order of how loud you’ll shout “strawberry jam!” when you read them, I give you my suggestions for getting canning jars without spending way too much (or forking it over when you’re in a pinch) in New York City. (For those of you who don’t live in NYC and are wondering what all of the fuss is about, a flat of half-pint jars runs as much as $18 in the few places where you can find them.)

1) Ace Hardware: I’m leading with the epiphany here and trusting that you can handle it. In the past, the most affordable option has proved to be ordering online from mid-western superstore Meijer (thanks Kate!) and trying to be as strategic as possible, ie: doing a little planning and trying to place as few orders as possible to cut down on the sizable shipping costs. I found their prices on jars are reasonable, but if I didn’t consolidate orders as much as possible, I felt like I wasn’t being as frugal as I could.

Then everything changed. Last week, I learned that Ace Hardware Online offers free shipping to your local store. Basically, you place the order online and pay real-america prices for a flat of jars, and pick them up at an Ace Hardware of your choice. I’m lucky, there’s a great one right by my work in the West Village, but there’s quite a few around. Since there’s no shipping cost, I placed a small order, just for the jars that I needed most immediately and will probably place another one in a couple months. While you’re certainly not supporting the local Ace by ordering online, I’m totally going to look for wide-mouth jar lids while I’m picking up my order.

2) Asking Around: People are always moving. Being on a quest for cheap jars is a little like looking for an apartment. And if there’s anything New Yorkers are good at it’s being aggressive about real estate. Make sure people know you’re looking. Share your plight with others. I shared my woes on Facebook and within an hour a friend of mine who’s moving in a few months had offered to sell me all of her jars for next to nothing. Really.

3) Tribeca Whole Foods: I’m letting you in on my secret spot here, but during last season I got a flat of half-pint jars here for around $10. This is hands-down the cheapest I’ve seen them in any store in any borough. Again, feel free to call me out on this. The caveat is, last time I was there they were out, but I’m guessing that they’ll re-stock as the season gears up again.

4) Your  neighborhood hardware store: I’ve been pleasantly surprised in the past by my local hardware store. By my old apartment in Astoria, the hardware store right around the corner always had lids (I can’t tell you how many times this came in handy) and catered to their tomato sauce demographic by stocking quart jars in the summer. Their prices were relatively reasonable and I’ve heard rumors that stores will even order jars for you, although I’ve never done this myself.

5) Your local specialty store: I’m talking to you, Brooklyn Kitchen. At first, it seems off-the-charts expensive, but I can’t fault them for charging what they do. You heard my spiel about planning, shipping costs, etc. After you factor in all this and the cost of convenience,  their price is not unreasonable. Plus, you’re supporting someone local. When I really want jars fast, I throw down the cash at Brooklyn Kitchen and pay too much for something for a good reason. I’ll also admit to buying a single quart jar at Fish’s Eddy when I really wanted to make some kimchi and couldn’t bear to wait for an online jar order. These aren’t frugal options, but they are reliable.

I didn’t include Freecycle/Craigslist here because I haven’t personally had success getting jars from there, but please pipe up in the comments if you have. You should also check out this post from Marisa over at Food in Jars about where to buy jars for canning. It’s not NYC-centric, but could be useful if you’re traveling outside the city this summer and want to bring some cheap jars back with you (something I always try to do). Please do share in the comments about where you’ve had success getting jars.

{ 41 comments }

It doesn’t always feel good to be on a budget. I’ve lived and worked in New York City during the leanest years of my life (hopefully!) and as much as I love rocking coupons at Whole Foods, it can be hard not to get caught up in the “everyone-should-have-everything-they-want-all-the-time” feeling of the city. Still, most days I’m proud of the little tips and tricks I’ve built up over the years to live well on a budget.

Speaking of those little tips and tricks, imagine that your funny and down-to-earth friend talked to all of her own funny and down-to-earth friends about their little tips and tricks. Then she put them in a book for everyone to use and love (you see where I’m going with this). Kate Payne’s The Hip Girl’s Guide to Homemaking really is just this.

Kate is a friend of mine, whose blog (also called The Hip Girl’s Guide to Homemaking) I admire.  I gladly accepted an advance copy (don’t fret, it’s in stores now) of The Hip Girl’s Guide to Homemaking to share with you here. Kate’s publisher, Harper Collins, was also kind enough to provide a copy for me to give away!

The book is divided into three parts. Part 1 is a room by room guide to making the most of your living space, even if you have linoleum as hideous as mine. Kate urges you to not get hung up on imperfections like horrible floors and work with what you have (empty pickle jars, for example) to make your space lovely and livable.

More MacGyver than Martha, part 2 highlights “Impressive Acts of Domesticity,” which includes things like a section on non-toxic, DIY cleaning products that I know I’ll be referring back to in the future. Finally, part 3 details “Life After Restaurants,” and has some soothing words on all things homemade and hostess-y. There’s also a knock-your-socks off preserve recipe in this chapter that will help you get over any lingering canning fears in no time.

After finishing The Hip Girl’s Guide to Homemaking, what really stuck with me is the way that Kate makes frugality both rewarding and empowering. Living well with less is something to be proud of!

If you follow The Hip Girl’s Guide to Homemaking on Facebook, you know that Kate supports bragging about homemaking feats. In that spirit, enter to win a copy of The Hip Girl’s Guide to Homemaking by leaving a comment on this post about something that you’ve done around the house lately that makes you proud. I’ll get things started by sharing that I’m proud that I recently made my best gluten-free bread yet! Comments will close at midnight on Sunday May 1st and I’ll randomly select a winner. One entry per person and US and Canada entries only please. The giveaway is closed! Thanks to everyone who entered and congrats Meredith!

Check out the book tour page on Kate’s site and be sure to catch her near you. I’ll be joining her at the Brooklyn Flea in Williamsburg on May 8th for some thrifting fun, more details on that soon! Peep inside the book here and do watch this cute video Kate put together about getting maximum mileage out of a $5 bouquet:

{ 29 comments }

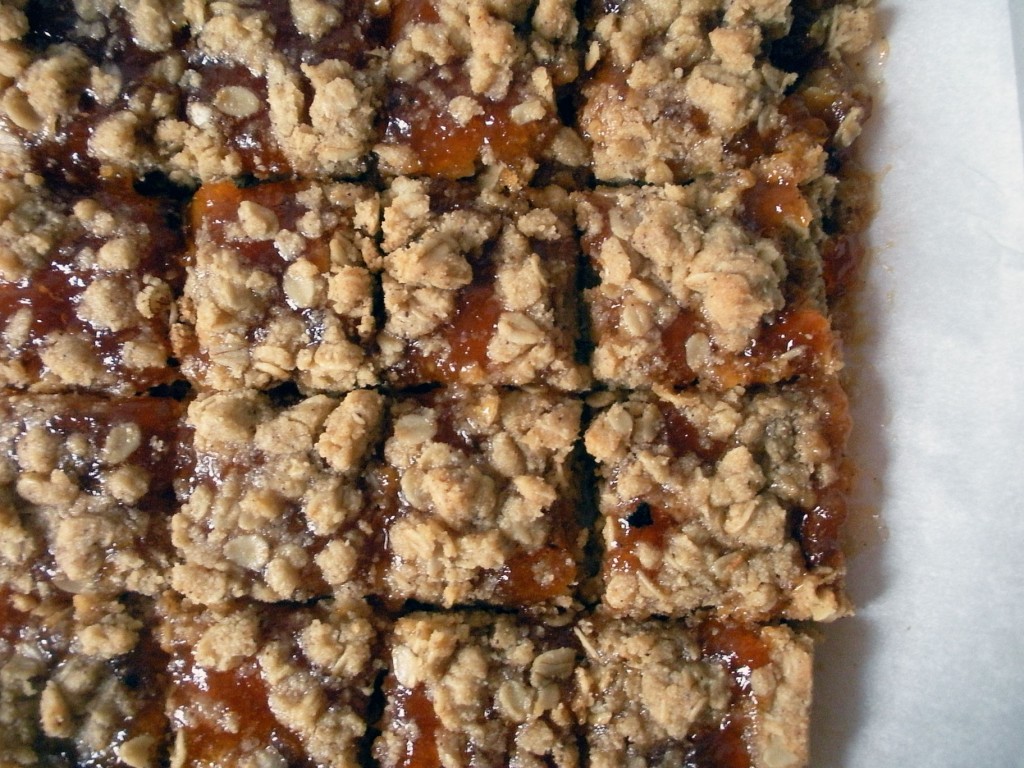
Brown Butter Jam Bars

by autumn on April 24, 2011

I’m in clean out the pantry mode. By pantry, I mean that little space underneath my IKEA dresser where I keep my home canned treats. As I’ve mentioned before, I came to canning somewhat late in the season last year, so I don’t have that much jam to use up. Still, visions of perfect little strawberries make me want as many empty, fillable jars as possible ASAP. As far a neurosis go, it’s not a bad one to have.

I realized recently that when I make something from another blog, even if it’s great (like these are!) I tend not to share it here. I also realized recently that this is silly! Inspiration (and buttery treats) should be passed around.

I am always happy to find recipes like this one that are almost gluten-free. Head on over to Elsie Marley for the original and you’ll see what I mean. The base is mostly almond flour and oats (of course I use gluten-free ones).

To make the bars gluten-free, I subbed a cup of Bob’s Red Mill All Purpose gluten-free flour and 1/2 t xanthan gum for the cup of flour that the original recipe calls for. Use whatever gluten-free all purpose blend you have on hand, as long as it doesn’t have baking soda or powder. Other than that, I followed the recipe to the letter and used up a jar of my peach lavender jam from last summer. These are unbelievably easy and are definitely going into my regular treat rotation.


{ 3 comments }

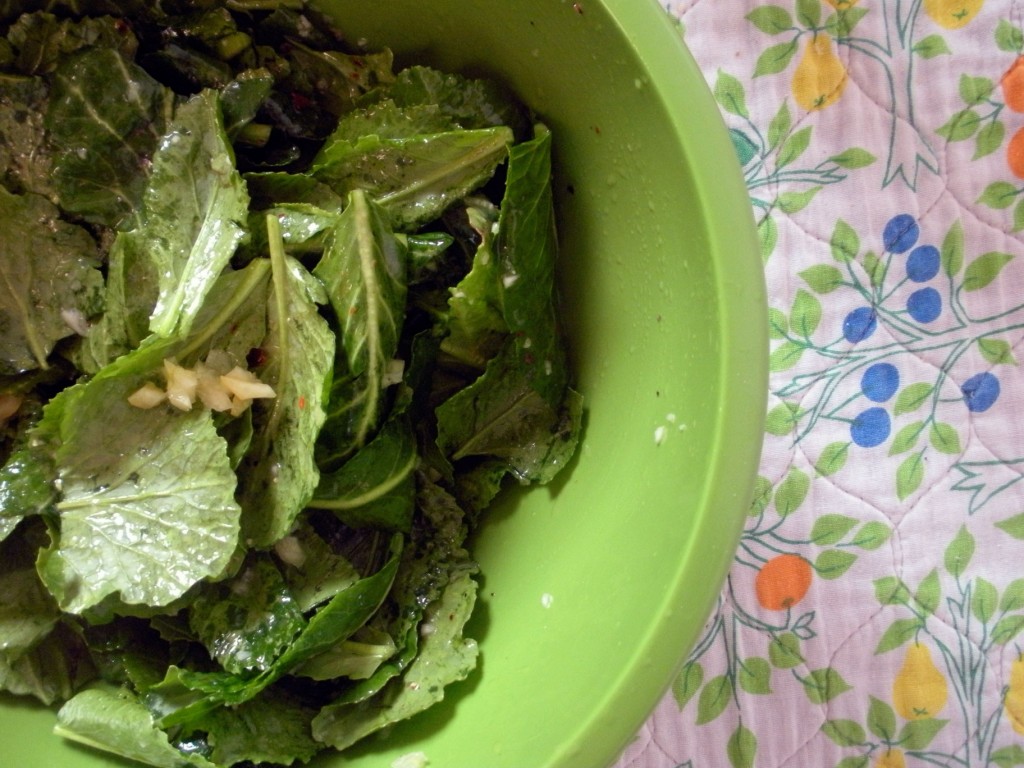
Baby Collard Salad with Preserved Lemons

by autumn on April 21, 2011

I consider myself a pretty healthy eater. I know you’re laughing, but really! I like treats as much as the next girl, but I also have a pretty serious thing for vegetables. (Do you not see the beet dishtowel in the photo up there?!) Even so, there are some vegetables whose virtuousness I just can’t face.

Kale. I see it spicing up decorative planters and I secretly think that’s where it should stay. I try (and try!) to love kale, but have a hard time wrangling it into something I like eating. And have you heard of these raw salads that involve “massaging” the kale? I’ve been horrified and fascinated by the kale massage for a while now.

Which brings me to the part of the post where I confess to having gotten curious enough to make and eat something in the massaged kale genre—and like it. There are a few important contingencies that got me to eat some hardy, raw greens. The first are those cute little baby collards in the picture. They’re young, tender, and perfect for easing yourself into the whole raw greens thing. Second, preserved lemons. Preserved lemons are the bacon of citrus: without them, the salad is good, but with them it’s something else.

This is so easy to put together; it has already made it’s way into two weeknight dinners. If you’re around a farmer’s market look for small, tender greens (which are just coming into season where I am) that are not much larger than baby spinach leaves. This recipe is adapted from the always inspiring 101 cookbooks, so if you don’t have access to a farmer’s market, use lacinato kale as the original recipe does.

Raw Collard Salad with Preserved Lemons

Ingredients

  • 2 1/2 cups baby collard leaves, loosely packed (about 1/2 bunch)
  • 1 T olive oil
  • 1 T lemon juice
  • 1/4 t red pepper flakes
  • 2 sections preserved lemon, finely diced

Cooking Directions

  1. Wash and pat dry the collards. Remove the stems. If you are substituting lacinato kale, cut out the ribs.
  2. In a large bowl, whisk together the oil, lemon juice, and red pepper flakes until completely combined.
  3. Add the collards and preserved lemons and toss to combine.
  4. Let it rest at room temperature for at least 5 minutes before eating.
  5. Season with salt and pepper to taste.


{ 4 comments }

Kumquat Vanilla Marmalade

by autumn on April 14, 2011

I wouldn’t be surprised to learn that I am on at least one TSA watch list. Not the big, scary TSA watch list, but the handwritten one I imagine the folks at LaGuardia keep taped to the back of the x-ray machine. The one that has my name and in parenthesis “5 pints of kumquats?”

Since I’m gluten-free and can’t always have all the eating adventures I’d like when I travel to a new place, I end up exploring a lot of markets and grocery stores. After a recent visit to South Carolina, this meant that I came back to Queens on a marmalade mission with 5 pints of kumquats and 2 flats of pint jars in my suitcase. (Also: BBQ sauce, grits, cowpeas, fancy chocolate, and pickled garlic, but these have nothing to do with marmalade…)

I first heard of kumquat marmalade in Ashley’s Canning and Preserving book. With my love for all things uncomplicated, the idea of making marmalade with a cute little citrus whose peel you already eat really stuck with me. When it came time to make my own kumquat marmalade, I looked to White on Rice Couple (who looked to Blue Chair Fruit) for the fruit to water to sugar ratio and general guidance.

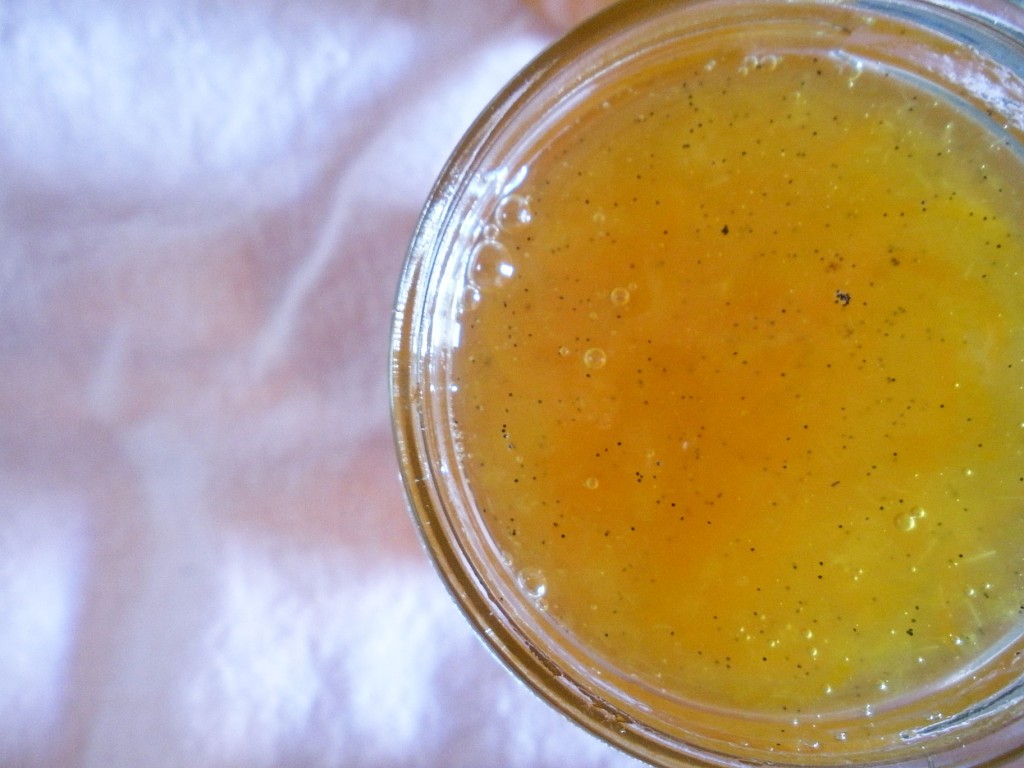
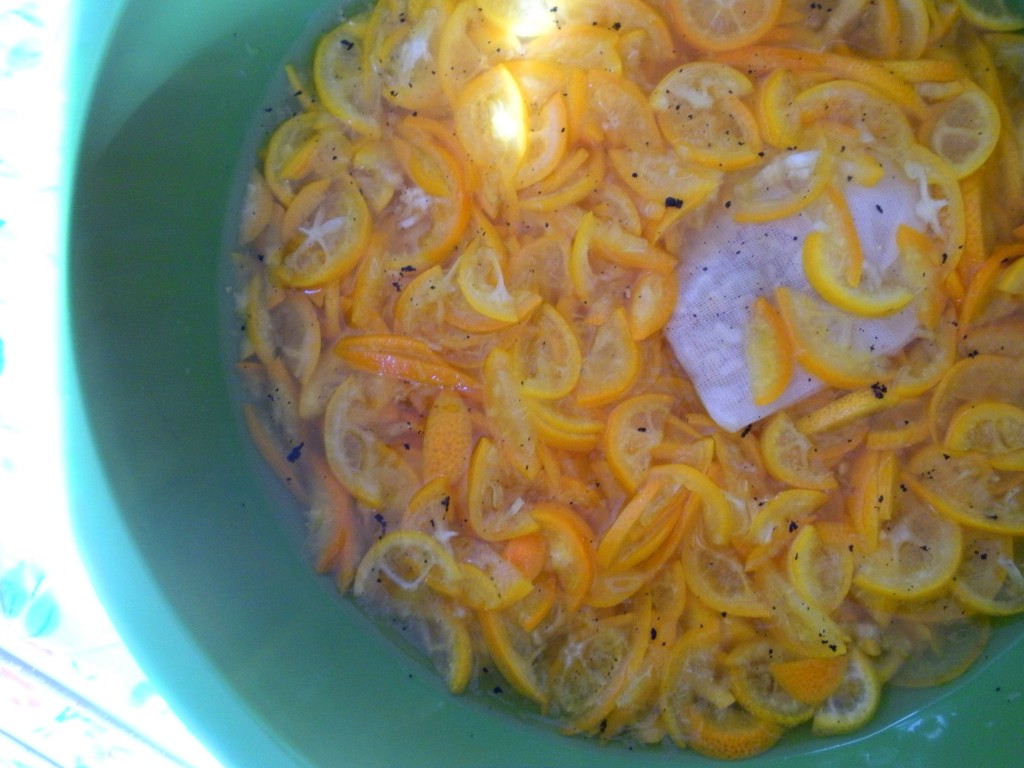
I mostly followed their directions, except I boiled the rind-soaking water with half of a scraped vanilla bean and let it steep before adding the rinds. I left the bean in overnight, removed it on the 2nd day and proceeded with the day two instructions over at White on Rice.

As for separating the fruit segments from the rinds, there’s no way I was going to do that. I took the lazy easy way out and halved the kumquats lengthwise then sliced them thinly across, as you can see above. The only thing that went into my cheesecloth packet were the seeds. My advice for this marmalade would be to aim for a slightly loose set. My first batch set quite firm and and my second batch looked too loose right after processing, but after a couple weeks it’s near perfect.

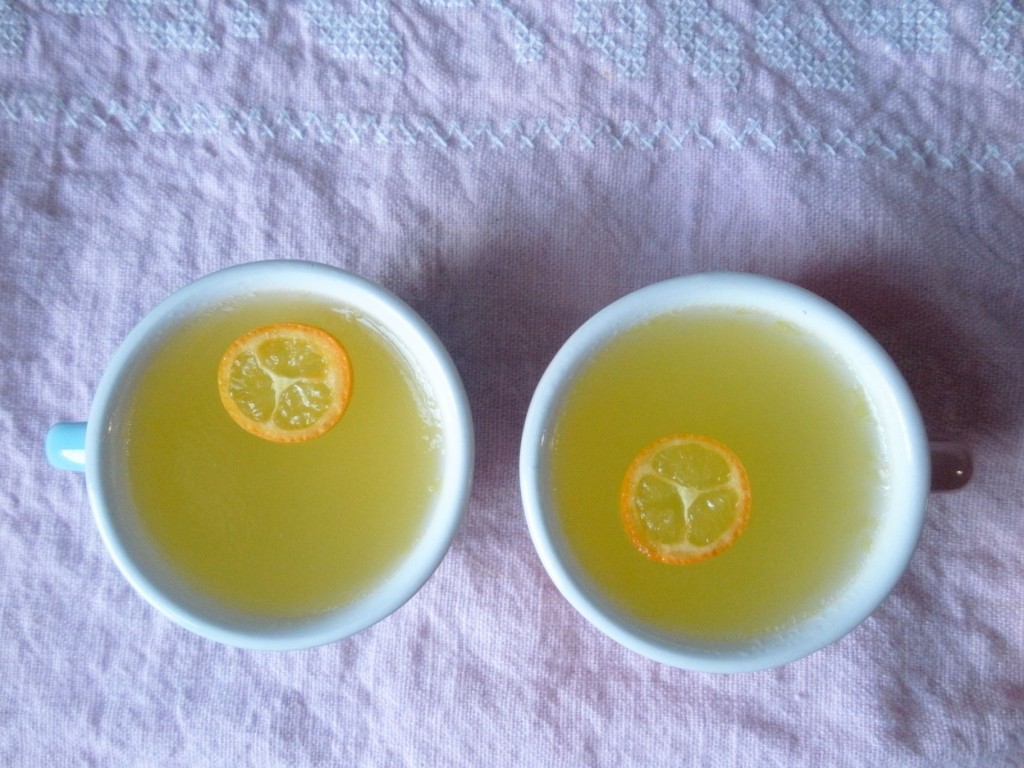
And because I didn’t feel like marmalade adequately showcased the cuteness of the kumquat, I made these:

Kumquat Jello shots in miniature teacups, of course.


{ 7 comments }

During my last couple years high school, before I knew that I couldn’t eat gluten, I’d often start the day with a scone and a Red Bull. There was a great local bakery—conveniently located just across the street from my school—which kept me full of butter and flour. As for the Red Bull, I don’t have an excuse for that. I suppose there are a lot worse things a teenager could be doing to her body.

What I learned after I got the the “real world” is a) it’s not a great idea to begin the day with Red Bull and b) the scones I was eating were not scones at all. They were darn good, but they were also a pizza-like circle dotted with berries (usually) and cut into triangles to be served. I’m pretty sure they didn’t contain any baking powder. Turns out, my little local bakery had taken some liberties with the “scone.”

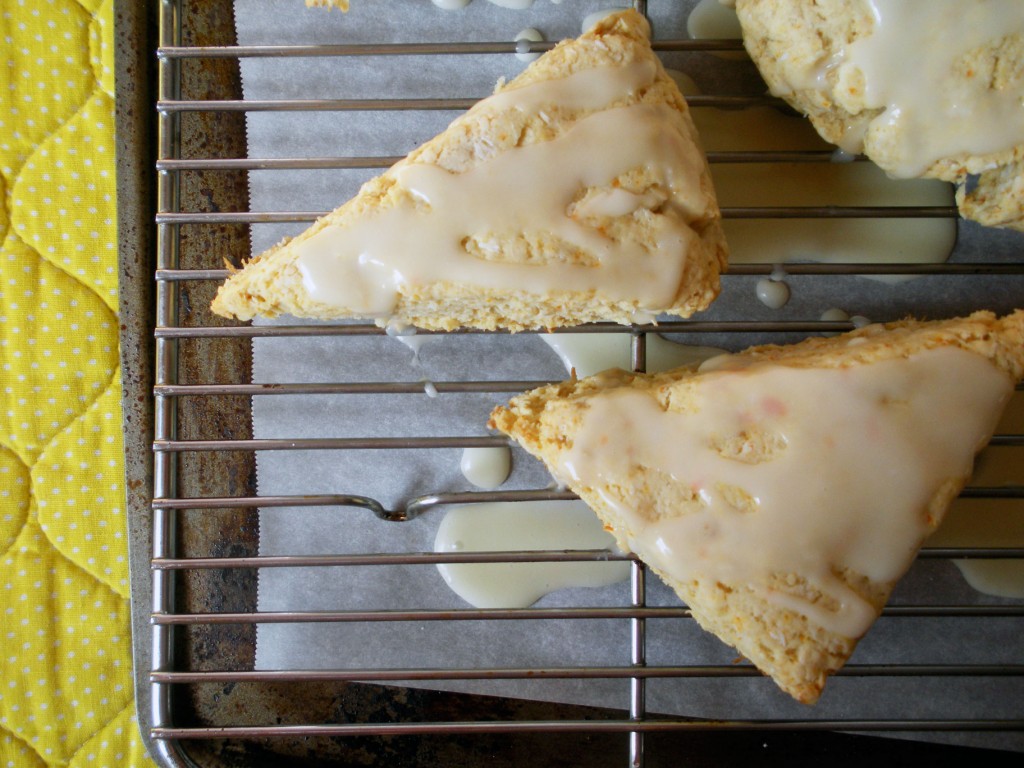
This week’s Baked Sunday Mornings recipe, Carrot Coconut Scones with Citrus Glaze, also takes some liberties, but—like all the recipes in Baked Explorations—in the best way possible. If these sound like a vacation for breakfast, it’s because they are. They’ve got a lot going on (oats, coconut, carrots, and OJ), but set against a classic scone backdrop, it just works. The recipe calls for carrot puree, which I really liked in a complete baking nerd way. Of course I’ve added grated carrots to treats before, but never puree; it’s such a good idea.

To make these gluten-free, I used 385 grams (140 grams per cup of all purpose flour) of my favorite gluten-free all purpose blend from Authentic Foods, subbed in gluten-free oats from Bob’s Red Mill, and added some xanthan gum into the flour mix.

Head on over to Baked Sunday Mornings to see all the scones!

{ 9 comments }

Lemon Tarragon Wine Mustard

by autumn on March 21, 2011

I just heard on twitter (where, I kid you not, I learn all the really important stuff) that the first ramps will be at the Union Square Greenmarket the second week of April. This means spring.

Last year, when I got word that ramps would be making their spring debut, I got up early to go to the market before work to get some. Well my source (twitter) had been wrong and the farmer had one lonely bunch of ramps, a visual promise that the little wild leeks would definitely be there in bunches the following week.

I must have looked pretty heartbroken—if there’s an adult who will cry over vegetable disappointment, it’s me—because the farmer tore a green top out of the smelly bouquet, ripped it in half, and together we ate, toasting the coming spring.

This is all to say that it’s not that time yet. When it is, you better believe that I’ll be pickling and pesto-ing the heck out of some ramps. Until then, I am enjoying around with less seasonally-dependent canning and preserving projects.

My retail therapy is typically food related. I went on a spice binge recently, the spoils of which included a good amount of yellow mustard seed and some decent quality dried tarragon. I had some leftover wine in the fridge, the stars aligned, and I made mustard.

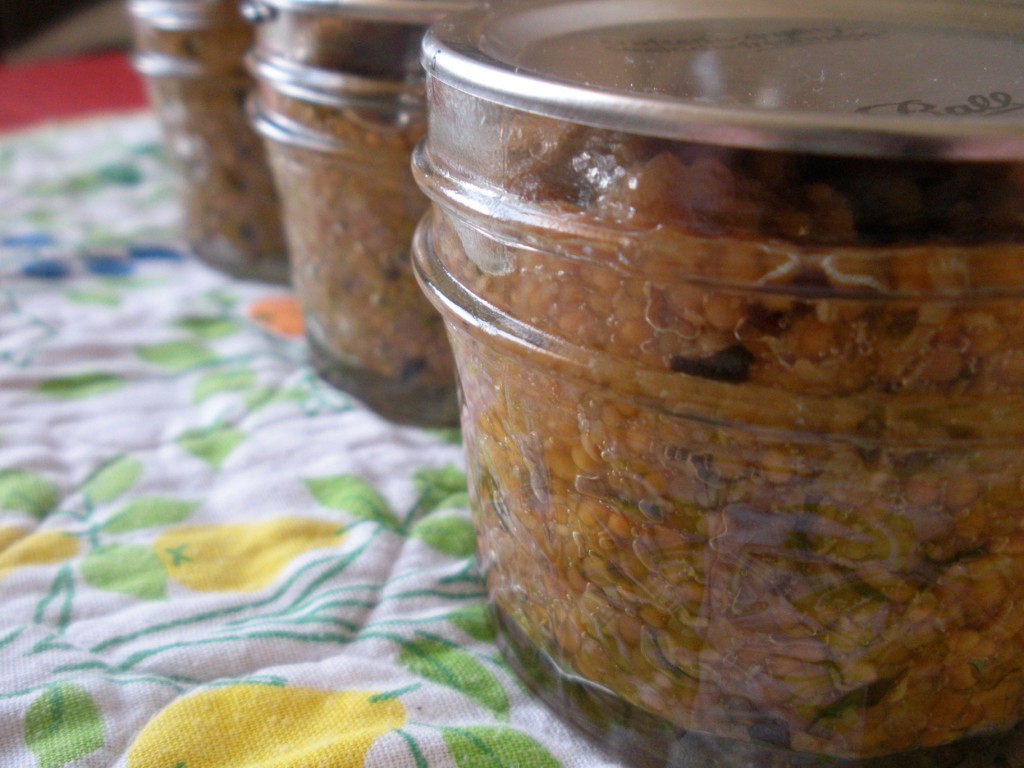
This is a tweak of a mustard recipe from the Ball Complete Book of Canning and Preserving. It was my first time making mustard and I was surprised at how easy it was. It has quite a bit of bite because I used standard white vinegar, rather than the white wine vinegar that the original recipe called for. This is an upgrade, if you ask me.

The one thing I might play with next time is the texture. What looked like a “slightly grainy” texture in the blender, was pretty grainy after cooking. I don’t dislike it. In fact, I think it’s far more interesting than the yellow stuff, but I’d be curious to see if I could get it a little smoother.

Lemon Tarragon Wine Mustard
adapted from The Ball Complete Book of Canning and Preserving

1/4 cup dried tarragon, divided in half
3/4 cup dry white wine
3/4 cup yellow mustard seeds
1 cup white vinegar
1/4 cup lemon juice
1/2 cup honey
1/4 tsp salt

1. Place 1/8 cup of the dried tarragon in a spice bag.
2. Over high heat bring the wine and the spice bag to a boil. Turn off heat, cover, and let steep for 5 minutes.
3. Add mustard seeds and allow to stand at room temperature for about 2 hrs.
4. Remove the spice bag, squeezing it to extract as much liquid as possible.
5. In a medium sauce pan combine the wine soaked mustard seeds and all of the remaining ingredients.
6. Bring to a boil over high heat, then reduce heat to low. Simmer for 20 minutes.
7. Process in a water-bath canner according to the directions in steps 7 and 8 here in the original recipe.


{ 1 comment }

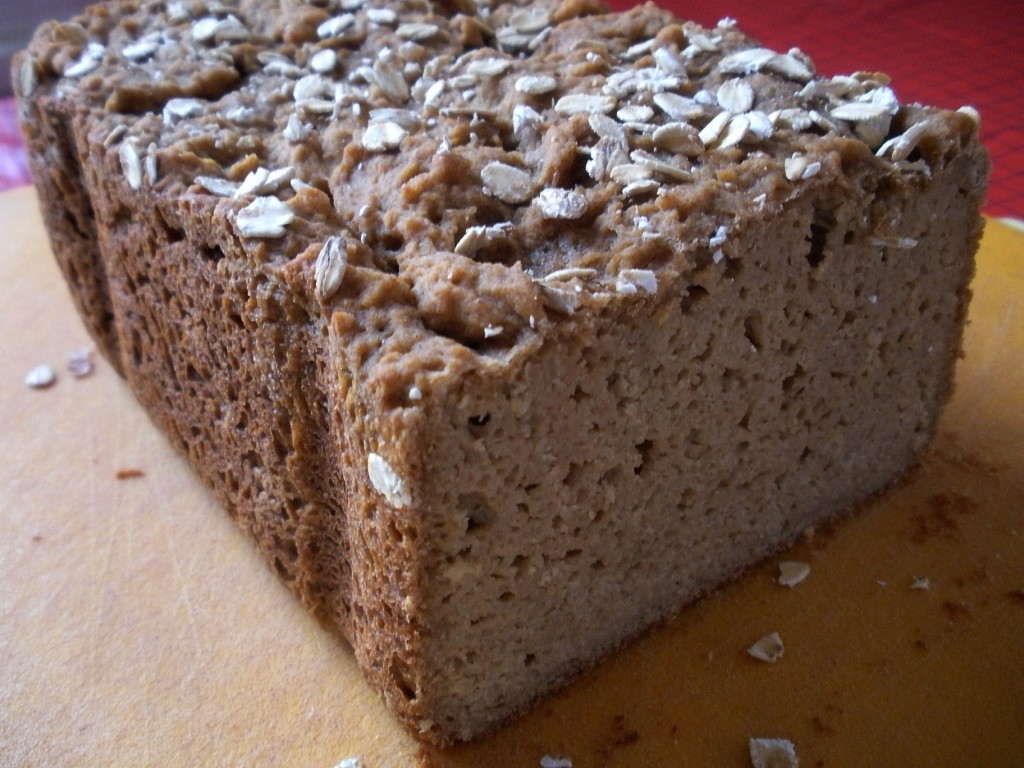
This is darn good bread. After I stood over the bread maker cursing that it “better f***ing turn out,” I’m sure it was afraid to be anything but amazing. Like most great things, a couple of major disasters went into this loaf.

The first time I made this, after carefully weighing out the different flours and combining them with the wet ingredients in the bread maker, I opened the lid to find something that resembled a smashed sandcastle. After the panicked addition of over a cup (!) more water, I gave up and let the bread maker do its thing, sure that I would have a disaster on my hands. To my surprise, it was good. Really good.

I made the loaf that you see above (my second try) after a less than stellar week, which included a surprise root canal (whee!). I didn’t realize how exhausted, out of it, and just done I was until I poured the liquid ingredients of the bread directly into the bread machine, rather than into the pan. After I determined that I had not, in fact, ruined my bread maker, I somehow managed to bake this great loaf of bread.
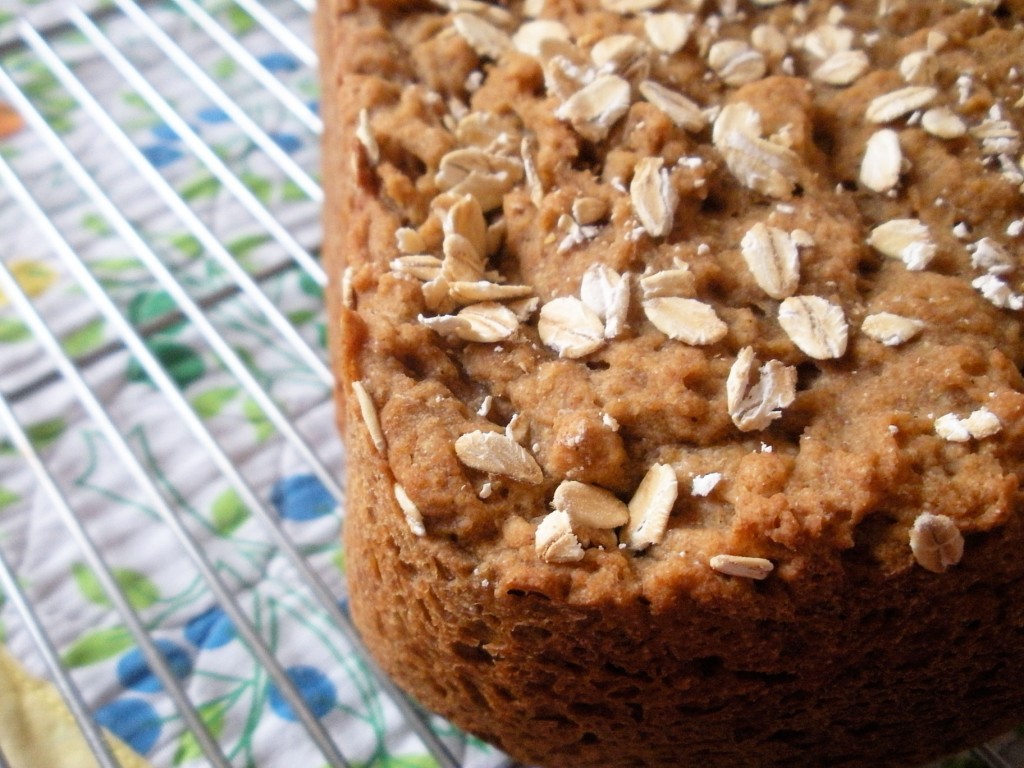
I’m particularly proud of this bread because of what’s in it. It’s not always as easy for gluten-free folks to get as many whole grains in their diets. Many commercially produced gluten-free products rely heavily on rice flours and starches because they approximate the texture of gluten-y products much more readily. Baking gluten-free with whole grains requires a little more finesse and, in my case, cursing your kitchen appliances.

Even with how proud I was of this bread, I was reluctant to post the recipe. A kitchen scale is essential to making this bread; you’ll see below that the flours are measured in grams instead of cups. Although I’ve been baking (and canning!) with a kitchen scale for quite some time and could tell you how wonderful and necessary it is until I’m blue in the face, I know it just isn’t on some folks’ to-buy lists (or in some folks’ budgets; it certainly wasn’t in mine for a while).
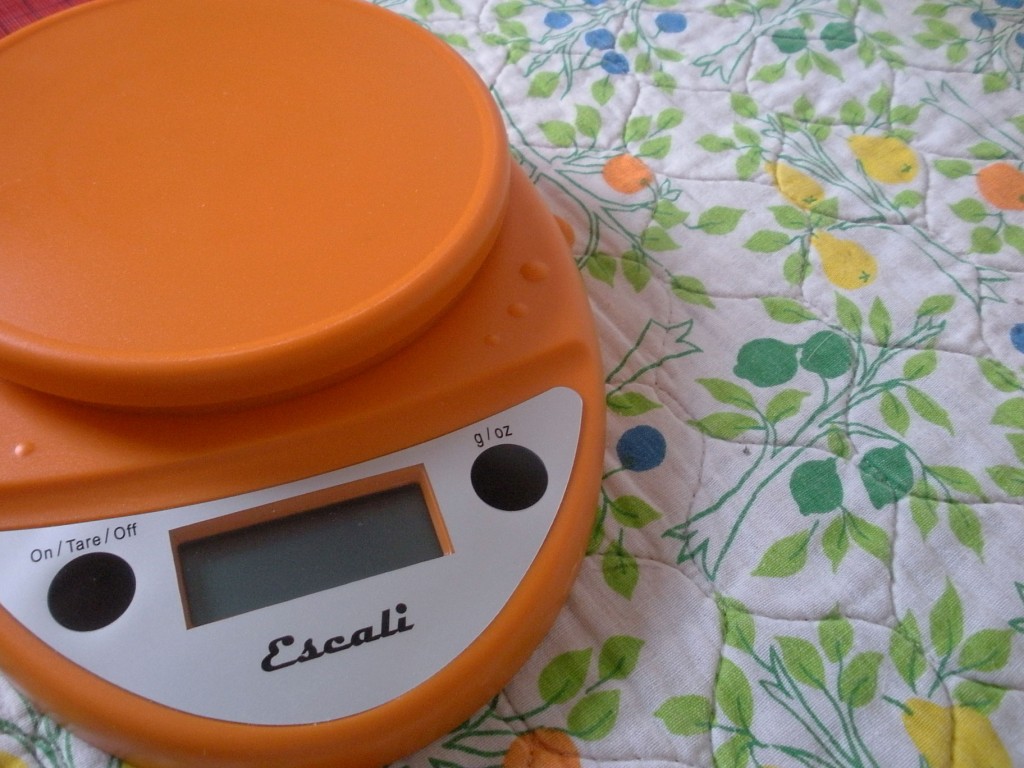
So, I’m giving away one Escali Primo Digital Kitchen Scale. This one’s mine. I picked orange, but there are lots of colors. You can pick the one you like. As much as these simplify gluten-free baking, they’re essential for home canning and preserving. For a chance to win, leave a comment on this post, telling me a kitchen disaster story with a happy ending (or what color scale you’d like, if you don’t have a story). After Friday, 3/18 at 5 pm ET, I’ll randomly choose a winner from the comments. Be sure to leave an email (they’re not displayed), so I can contact you if you win. I can only ship to a US address (sorry!).

For another chance to win, you can like me on Facebook and leave an additional comment on this post letting me know that you’ve done so. If you already like me, just leave a comment here telling me so!

Gluten-free Whole Grain Oatmeal Bread for the Bread Maker
UPDATE: Please read the updated version of this recipe here. 

100 g millet flour
75 g teff flour
75 g gluten-free oat flour
100 g sorghum flour
50 g arrowroot starch
25 g potato starch
1 T xanthan gum
1 1/2 t salt

1/2 cup + 2 T gluten-free rolled oats
2 cups water, brought just to the point of boiling
3 T canola oil
2 T agave or honey
1 T apple cider vinegar
1 T molasses

2 eggs, at room temperature

1 packet active dry yeast

1. Put 1/2 cup oats in a large bowl. Reserve the 2 T for sprinkling on top. Pour the 2 cups boiling water over the oats. Add the oil, agave or honey, cider vinegar, and molasses. Set aside to cool while you measure and combine the flours.
2. Measure the flours. I made nice round numbers so you can use one big bowl and measure them one on top of the other on the scale.
3. Combine the flours with the xanthan gum and salt in a large bowl. Stir to thoroughly combine.
4. Just to be safe, temper the eggs and add them to the liquid ingredients. Or live dangerously and don’t temper. (You should be fine, but I don’t want anyone making scrambled egg bread on my watch).
5. Pour the liquid ingredients into the bread maker pan.
6. Without stirring, gently pour the dry ingredients into the pan, on top of the wet. Make a small well in the center of the dry ingredients and  dump in a packet of active dry yeast.
7. Process in a bread maker on the basic or gluten-free setting (if you have it). If you can select loaf size and darkness, use 2.5 lb and medium. Use a spatula to scrape down the sides near the end of the first knead cycle. Just before it begins to bake, sprinkle the loaf with the remaining 2 T of oats.
8. Allow to cool completely and enjoy!
{ Comments on this entry are closed }

Star fruit Upside Down Cake

by autumn on March 11, 2011

When you’re new to being gluten-free (or new to cooking, for that matter), pre-packaged mixes are a godsend. Bob’s Red Mill, Pamela’s, and now more mainstream folks like Betty Crocker (I used Betty’s gluten-free yellow cake here) make brownie, bread, and pancake mixes that are darn good versions of their gluten-y counterparts. They’re a great starting point for newbies and good if you’re in a pinch.

I’m often gifted box mixes (in lieu of gluten-y baked treats) by folks in my life, a gesture I really appreciate. It makes a lot of sense to give a gluten-free person the gift of something good that they can feel good eating.

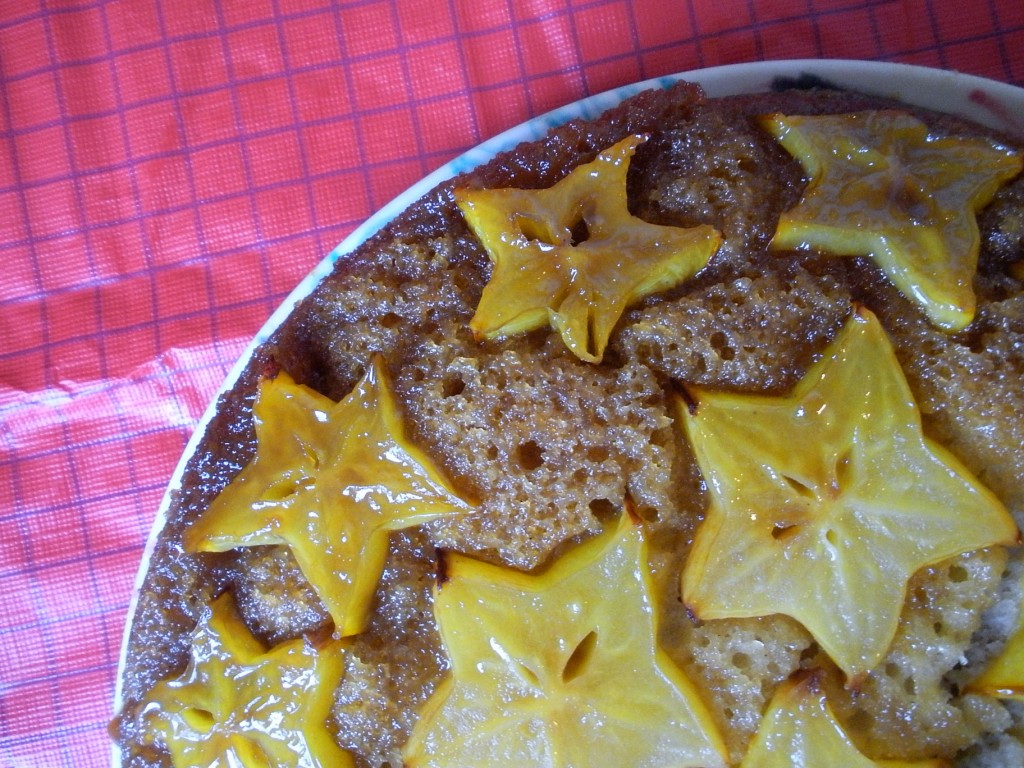
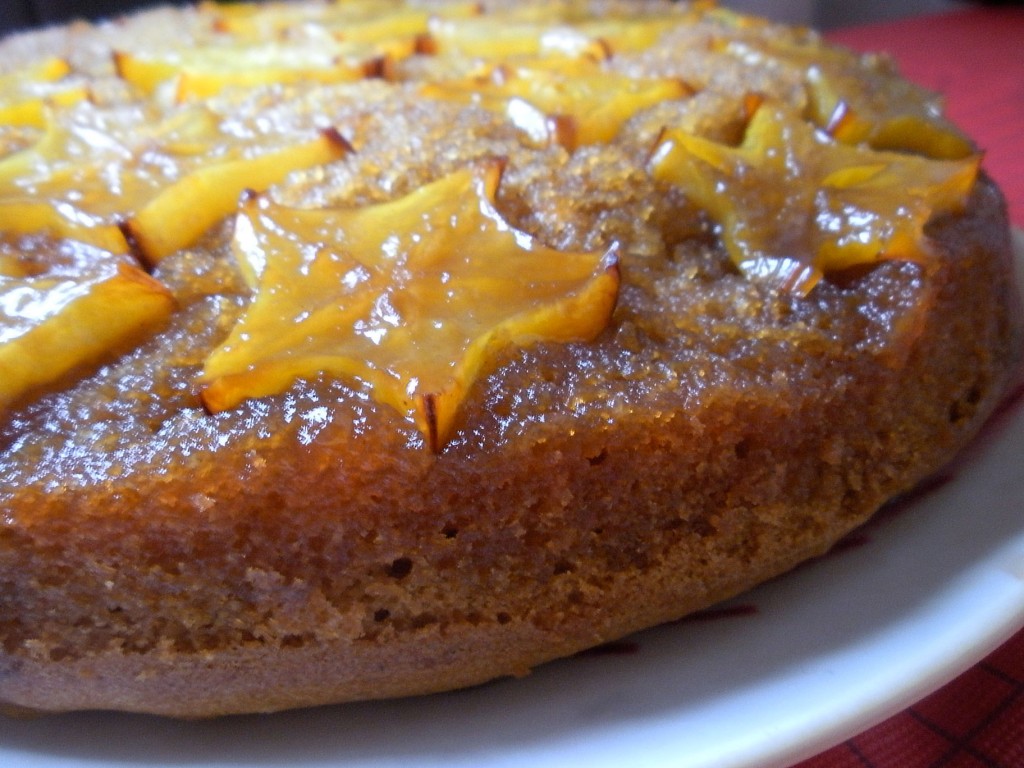
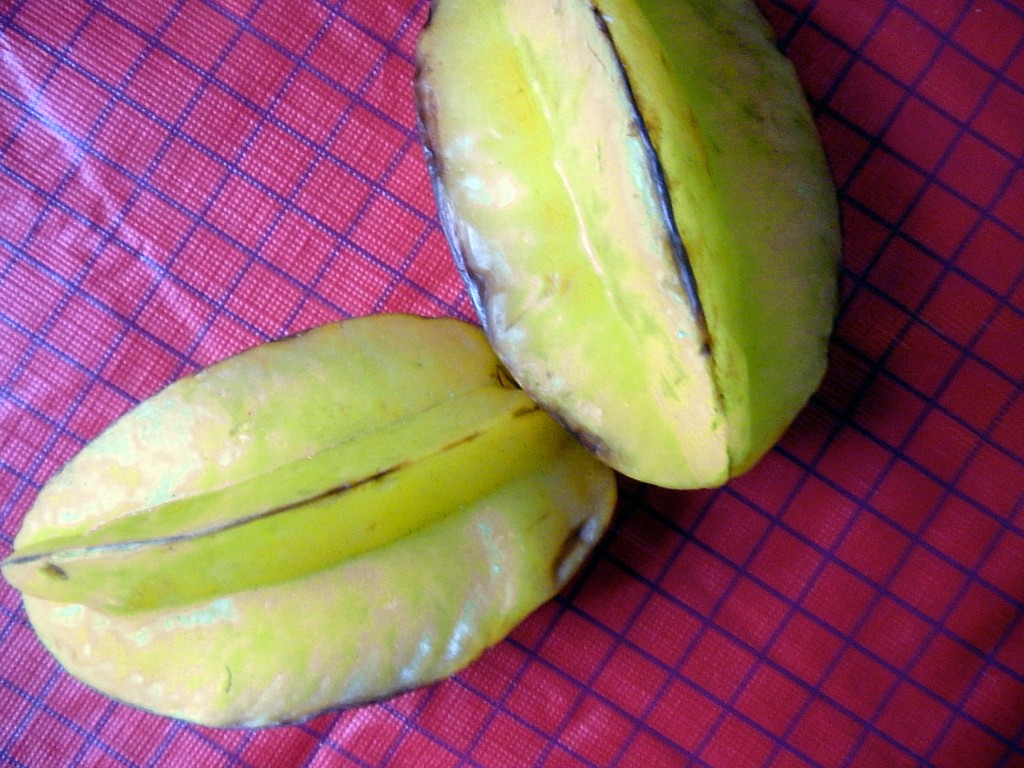
What I’m saying is, this cake was inspired by my baking neurosis and Betty Crocker, which turns out to be a GREAT combo. One of the first things that I noticed after moving into my new apartment was that the corner produce stand had star fruit 2 for $1. Priorities. I got a pair and let them ripen up. (Fun fact: they’re ripe when any green on the flesh is replaced by yellow.)

I have no memory of ever eating a pineapple upside down cake, but it seemed like the only appropriate way to showcase the rather adorable star fruit. I made a few adjustments to Betty’s recipe, but not too many. This still has the ease of a box mix, while the final result satisfies my inner wanna-be pastry chef.

Starfruit Upside Down Cake
Adapted from here and here. If you’re not gluten-free, use your favorite recipe for a single, 8-9 inch round yellow cake here. If star fruit are cost-prohibitive where you are (or you just can’t find them) I imagine another soft-fleshed fruit would work. Finally, I’ve been on a panela kick lately, but you could try brown sugar, not as tightly packed.

2 star fruit, seeds removed and sliced between ¼ and 1/8 inch thick

½ cup panela (packed), chopped
¼ cup butter

1 box Betty Crocker gluten-free yellow cake mix
2/3 cup whole milk
1 stick butter, softened
2 eggs
2 T applesauce (unsweetened is best)
1 t ground cardamom
2 t vanilla extract (make sure it’s gluten-free)

1. Preheat oven to 350. Arrange the sliced star fruit along the bottom of a non-stick 8 or 9 inch cake pan. Set aside.
2. In a small saucepan over low heat, combine ¼ cup butter with the panela, Heat, stirring occasionally only until completely combined. Remove from heat.
3. Pour the panela and butter mixture into the cake pan, directly over the star fruit. Set aside.
4. Mix the remaining ingredients for 30 seconds on low until combined, then on med-high for about 2 minutes
5. Pour into the cake pan, over the star fruit/panela mixture.
6. Bake until the top is brown and a toothpick inserted in the center comes out clean, about 40 minutes.
7. Remove from the oven and immediately run a knife around the edge, between the edge of the cake and the pan.
8. Place a plate over the cake and flip to turn it out on to a plate. Be careful, some of the caramel-y liquid may splash out when you invert. Serve warm.

{ 1 comment }