Basil, Bourbon, and White Pepper Ice Cream

by autumn on July 12, 2011

Today was Day 1 of an impending 4 week (!) vacation. When I started working at a school, I knew the elusive month off was coming, but it’s here now and it still doesn’t seem real. Of course it’s nice. I’m deeply grateful and it couldn’t have come at a better time. And yet, I am notorious for—what’s the nicest way to say it?— not being great at relaxing. So I’m getting used to being my own boss for a while and reminding myself to breath.

Turns out, when I’m charge there’s bourbon. And pretty spices. I’ll deny it in the press, but I’m officially announcing my run for office soon.

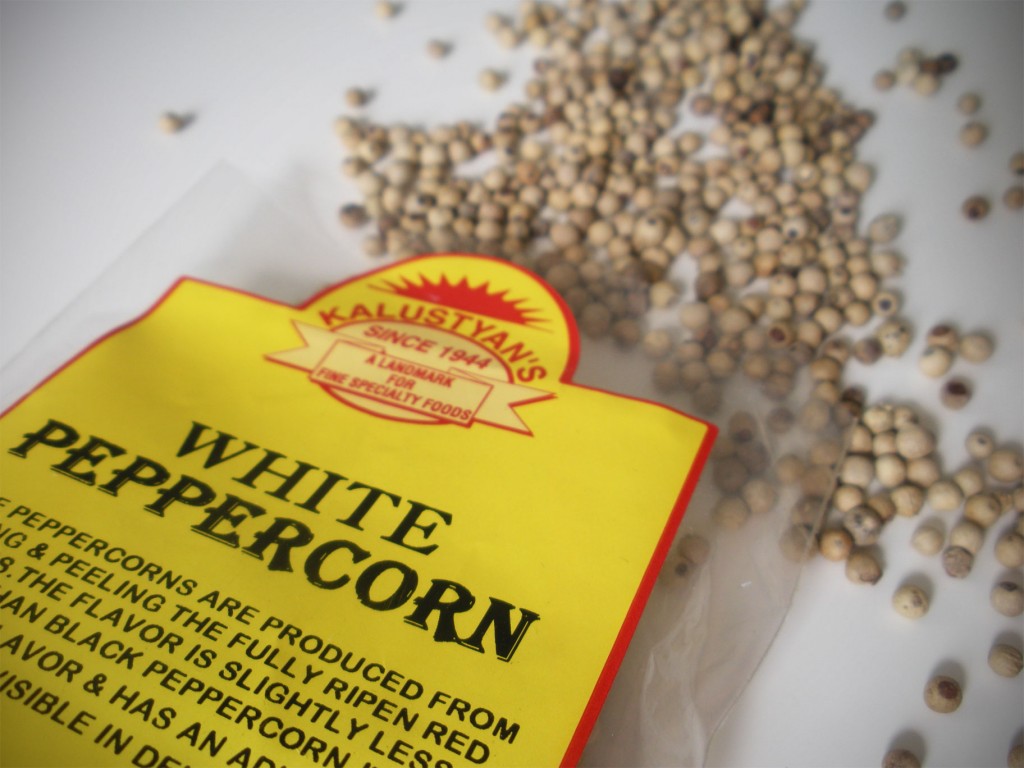
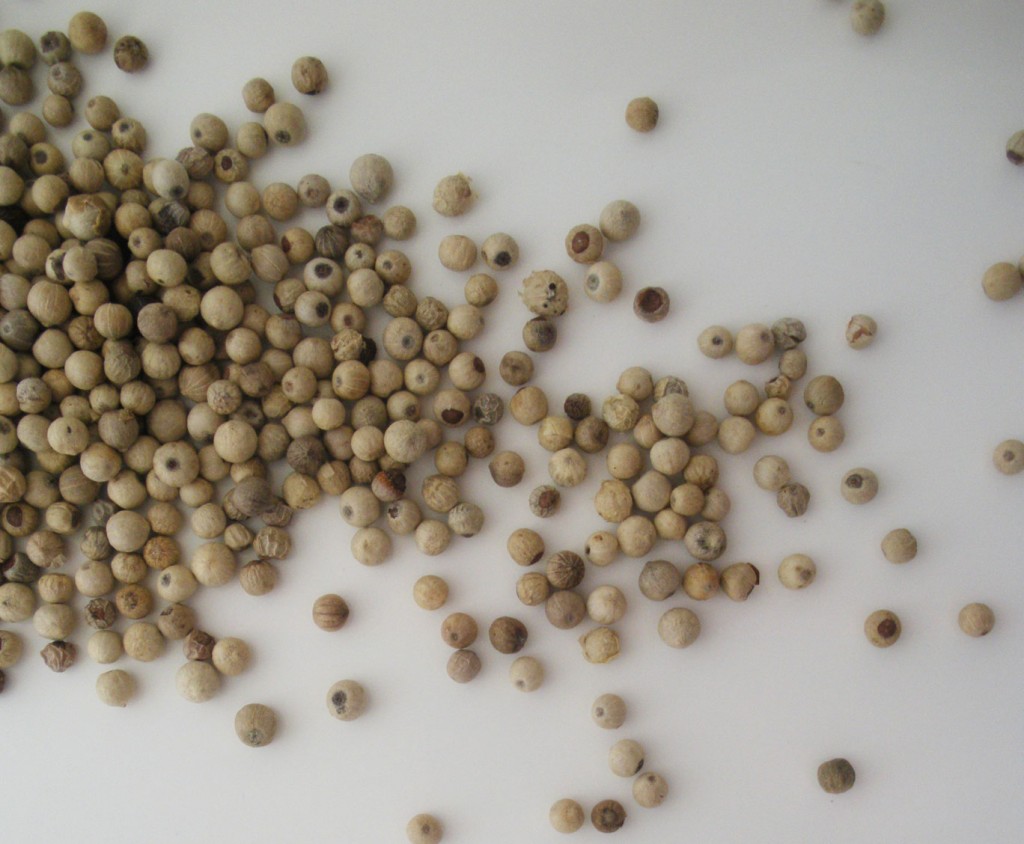
As Kalustyan’s will tell you, white peppercorns are a little milder than black peppercorns. They’re perfect for accenting (but not overpowering) the peppery qualities of both basil and bourbon. I considered infusing them, but ground them right up and threw them in.

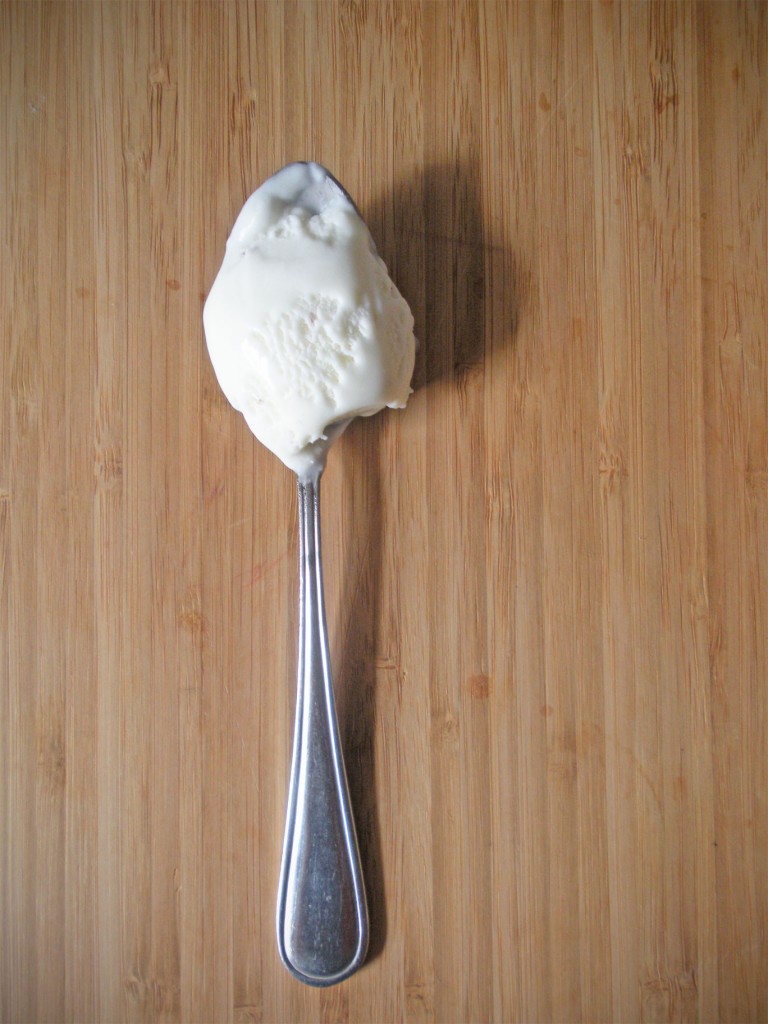
I did decide to infuse a generous amount of basil into the ice cream base. I have to give credit where credit is due and mention that once upon a time, The Bent Spoon’s beet basil ice cream rocked my world and got me excited about basil-y ice cream in the first place. Liza over at food. curated. just did a fantastic (and adorable!) video on The Bent Spoon.

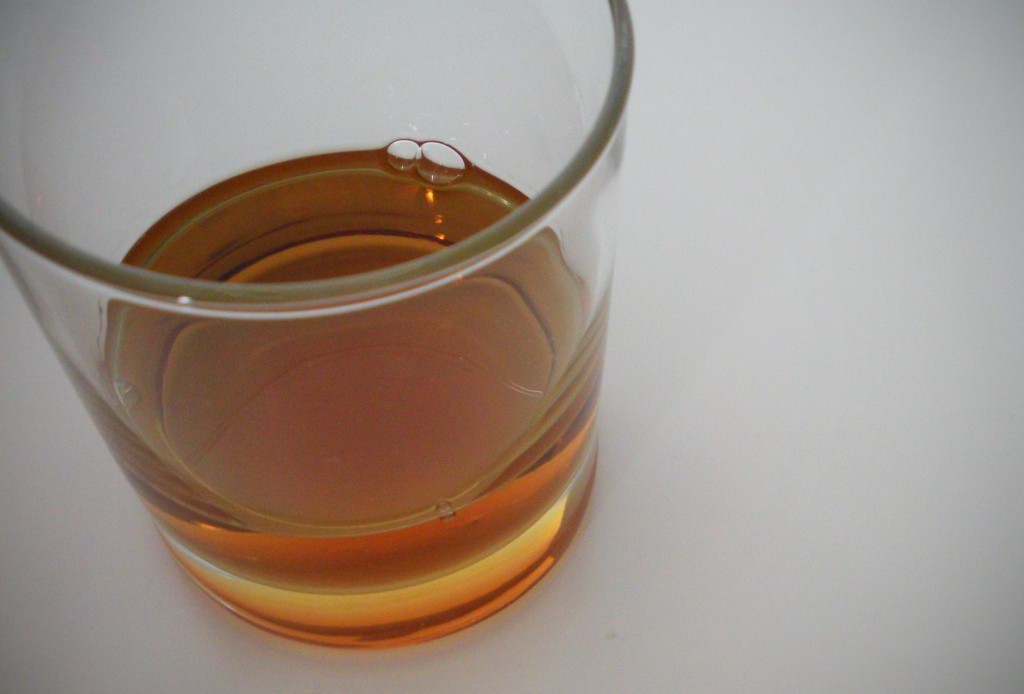
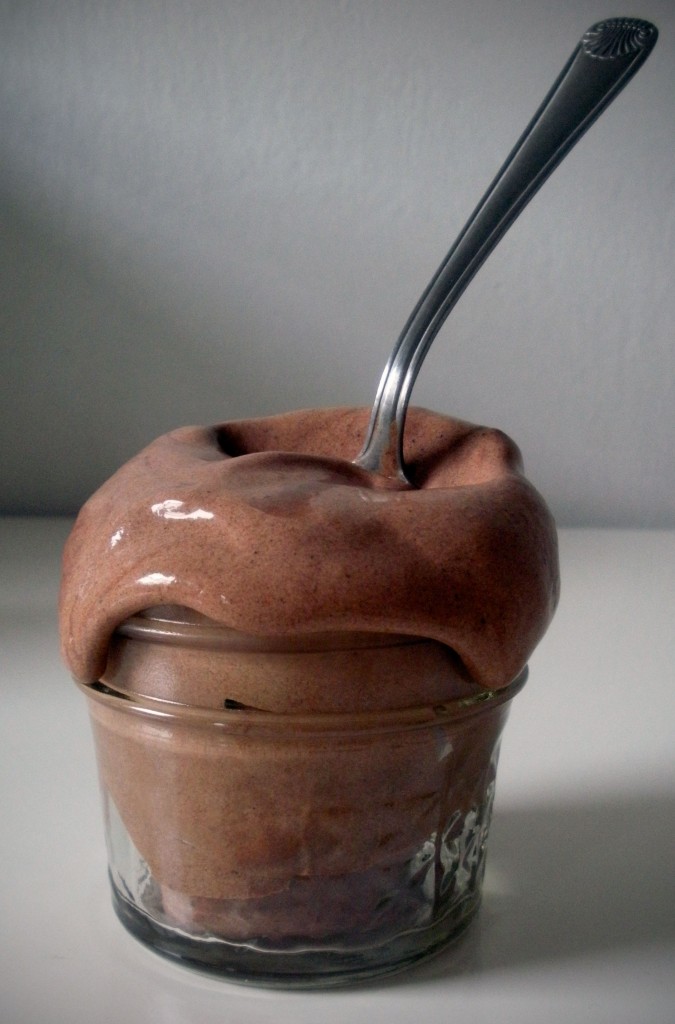
As you may know, I like to add a splash of alcohol to my homemade ice creams to help the texture stay smooth (and because David Lebovitz says so), but usually I choose something more neutral flavor-wise. However, this little number needed some bourbon. In spite of the trio of strong flavors at work here, the result is surprisingly well-balanced.

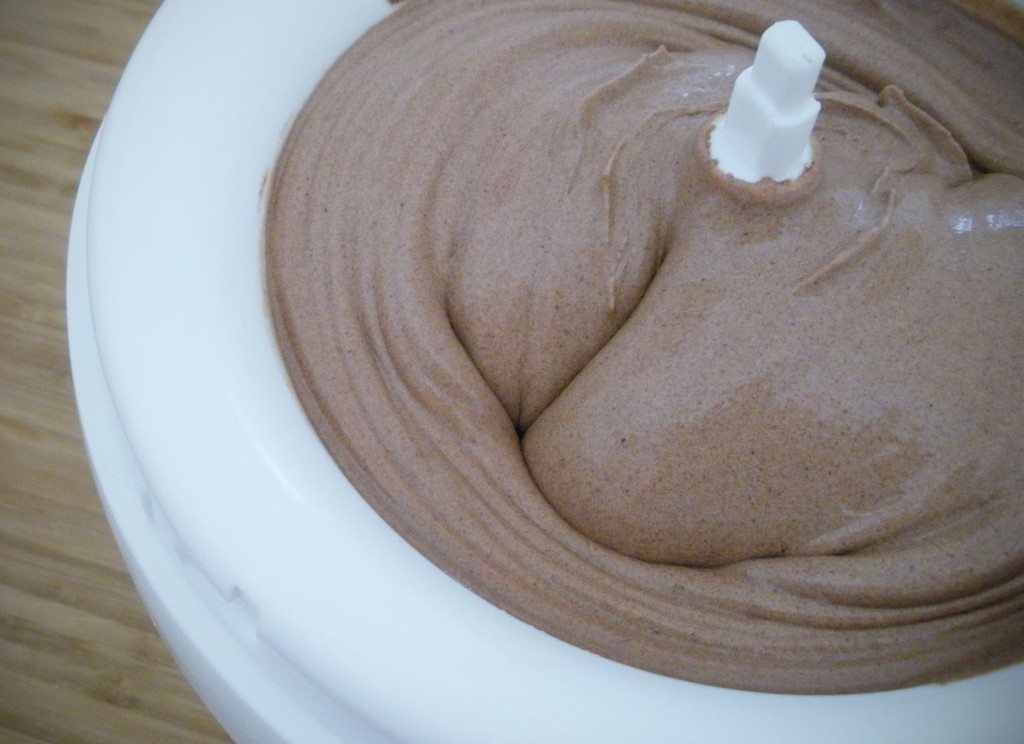
Basil, Bourbon, and White Pepper Ice Cream

Ingredients

  • 1 1/2 cup + 1/4 cup whole milk
  • 1 1/2 cup heavy cream
  • 1 generous handful basil leaves
  • 3 T tapioca starch
  • 3/4 cup sugar
  • 1 t bourbon
  • 1/2 t coarsely ground white pepper

Cooking Directions

  1. Reserve 1/4 cup whole milk.
  2. Heat remaining whole milk with the cream, sugar, and basil over medium-high heat. Stirring until the mixture begins to steam and sugar has dissolved.
  3. Remove from heat and allow to steep for 20-30 minutes.
  4. While the mixture steeps, mix the reserved milk with the tapioca starch.
  5. Strain basil infused cream mixture through a fine-mesh sieve, pressing the leaves to extract the most flavor.
  6. Return the basil infused cream mixture to a pot over medium-high heat and when it begins to steam again, stir in the slurry (tapioca starch and milk). It should thicken almost immediately.
  7. Remove from heat and stir in the bourbon and white pepper. Add more of each to taste, if you prefer.
  8. Cool completely and process in an ice cream maker, according to the manufacturer's instructions.

{ 0 comments }
Pick-your-own Strawberries

by autumn on July 8, 2011

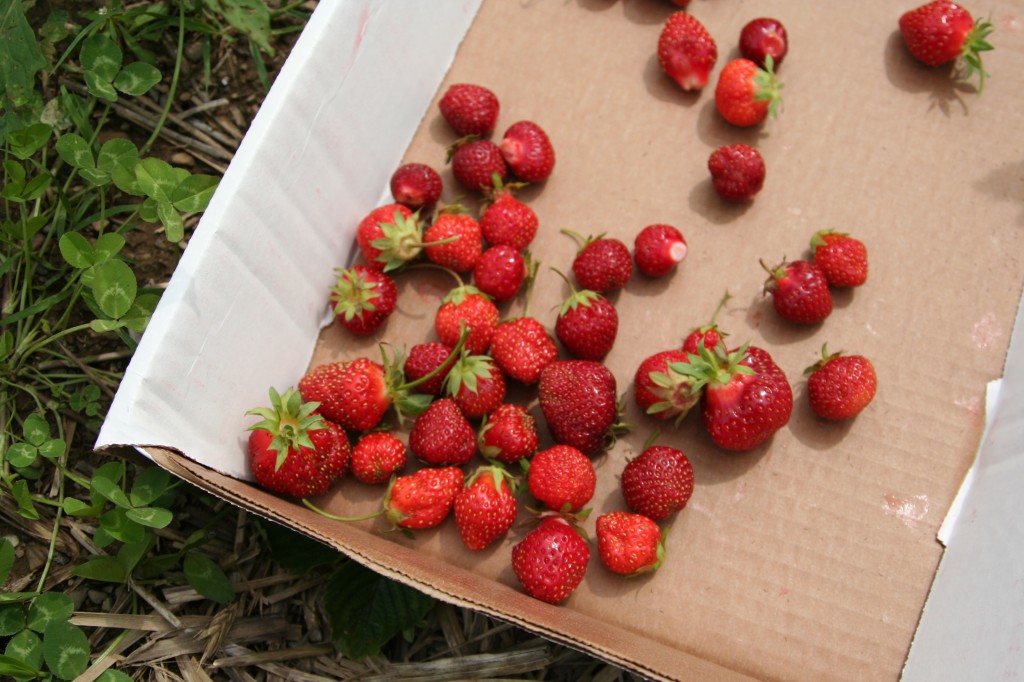
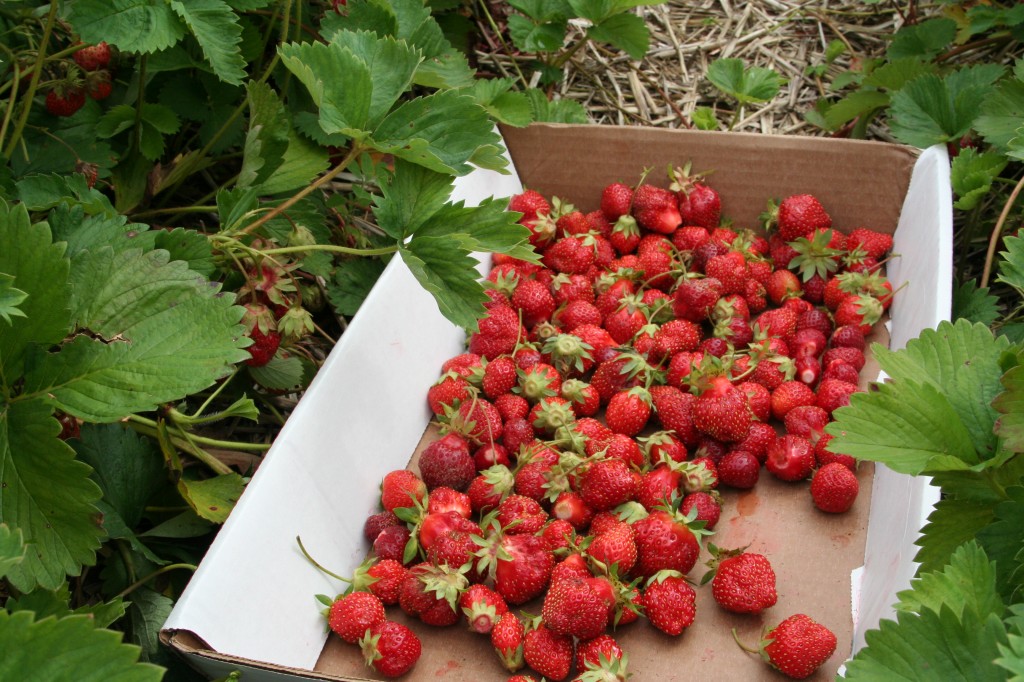
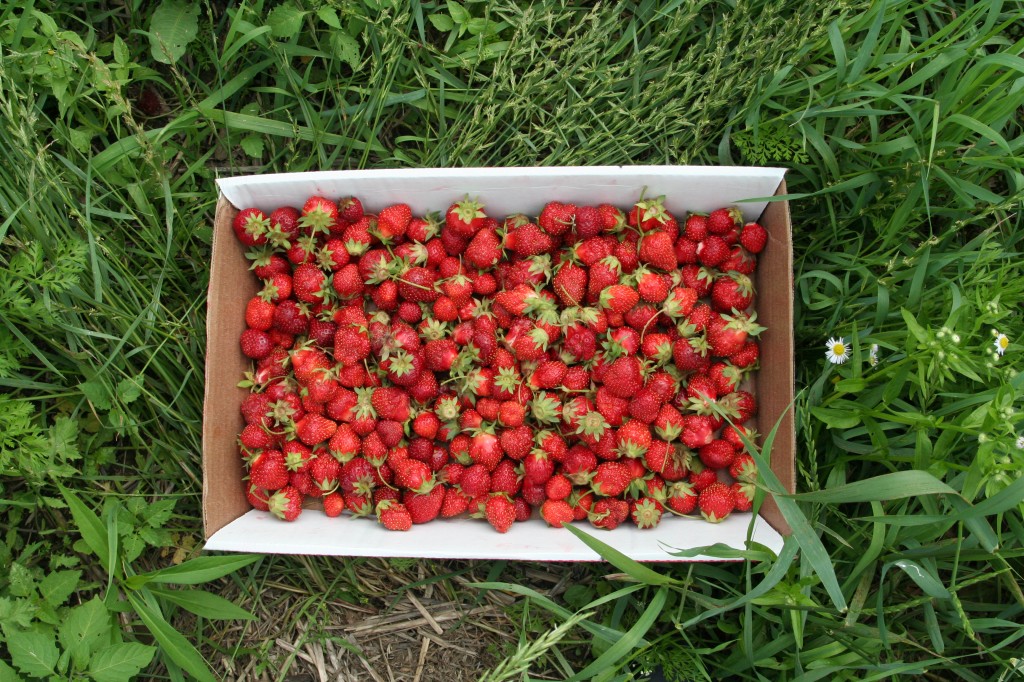
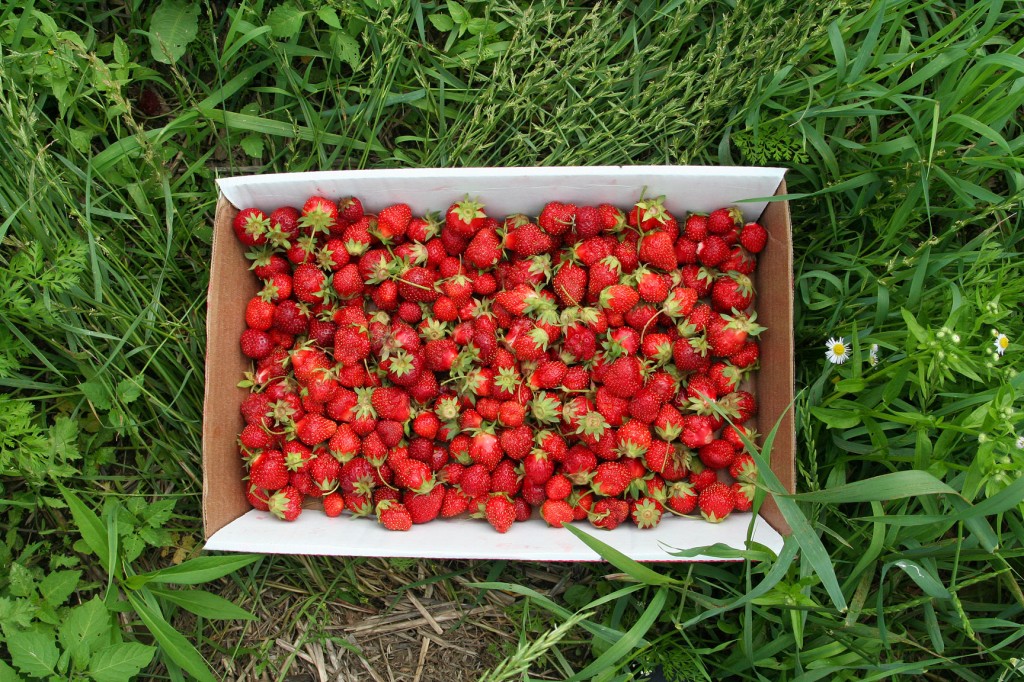
Strawberry season is done here in New York, but the pick-your-own season is just getting started. I snuck in some strawberry picking recently, just before our focus shifted to raspberries and blueberries. I wanted to share what I did with my modest 6 pounds of berries. I figure some folks may be interested in doing pick-your-own for the first time, but wondering what one might do with all those berries. Plus, I grew up in a place with a super-short growing season, so I know some of you local-eaters out there still have strawberries.

Good Morning, Queens! Strawberry picking involves getting up mad early. Small perfect strawberries will make it worthwhile, but it was this early:

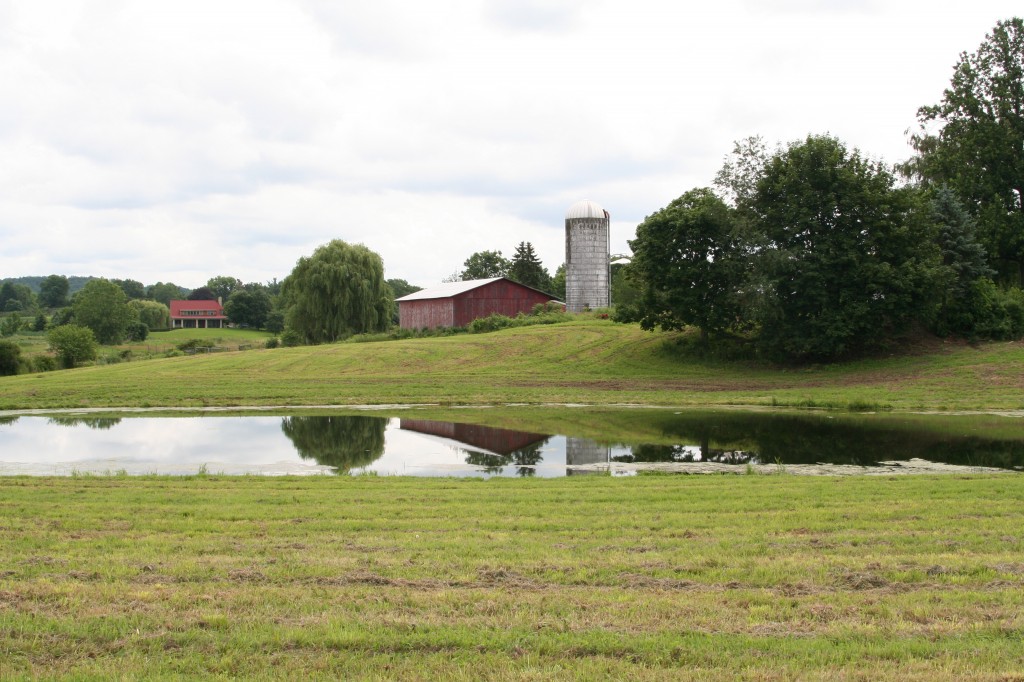
I met Emily in Brooklyn then Emily’s friend Kathryn and her boyfriend Ed picked us up in a zipcar. We headed up to Greig Farm in Dutchess County. We decided on Greig Farm because Kathryn had been there when she was just a wee one, but check out pickyourown.org to find a farm near you!

We picked….

And picked…

And picked! Everyone warned me of this, but strawberry picking is really hard work. You’ll probably be sore the next day. Unless of course you do a lot of squats at the gym. If that’s the case, I’d like to invite you berry picking.

Even for just a little while, it was really nice to get out of the city. Upstate New York amazes me every time. It’s hard to believe that such a short drive from the city, the planet is still intact. Good to know. Even though I was exhausted, I got to work on my berries as soon as I got home. Here’s what happened:

  • Strawberry Balsamic Black Pepper Jam from Hitchhiking to Heaven: This recipe is from Shae’s e-book of prizewinning (literally!) jams and jellies. I didn’t want to devote all my strawberries to jam because I already had made a good amount, but this one’s a show stopper.
  • Strawberry Shrub from Serious Eats: I am such a fan of strange vinegary drinks and this cold-processed shrub from Serious Eats is the little black dress of strange vinegary drinks.
  • Strawberry Cashew Milk: You were there for this.
  • Strawberry Blueberry Pie: I can’t sell out this recipe because it’s a family favorite that one of my bosses shared with me. It was darn good. I’d know because I ate the entire thing myself. I used my gluten-free pie crust recipe.
  • Strawberry Basil Ice Cream: 100% as good as it sounds. I used my strawberry chamomile ice cream recipe as a guide and subbed sugar for the honey.


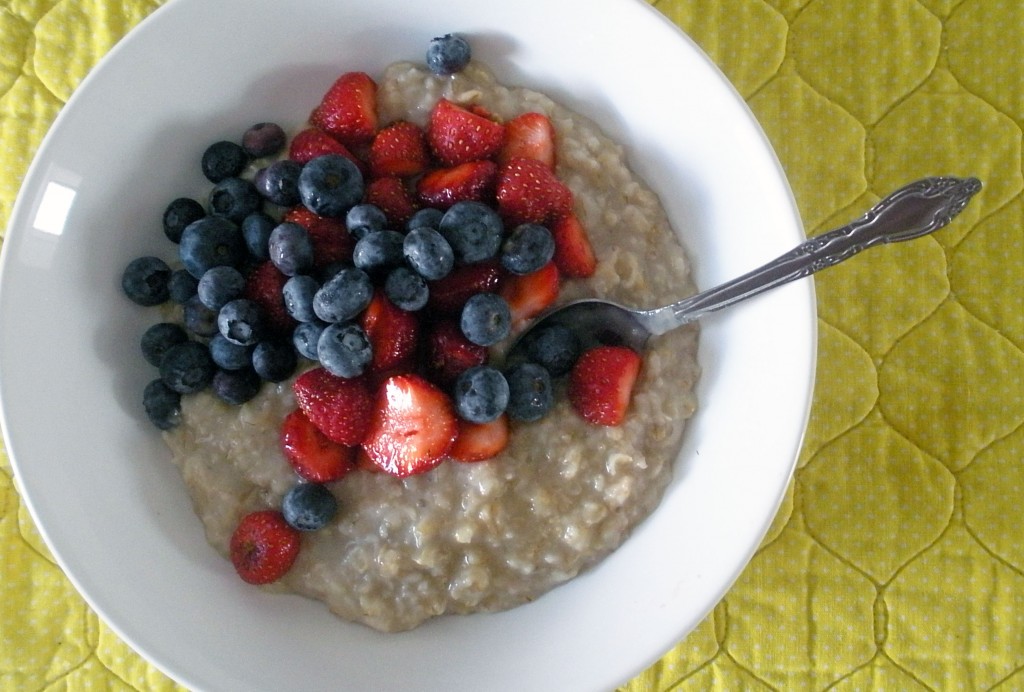
And I had just enough left for my morning gluten-free oats!

More folks doing good with strawberries:


{ 2 comments }
Hot Cherry Preserves

by autumn on July 3, 2011

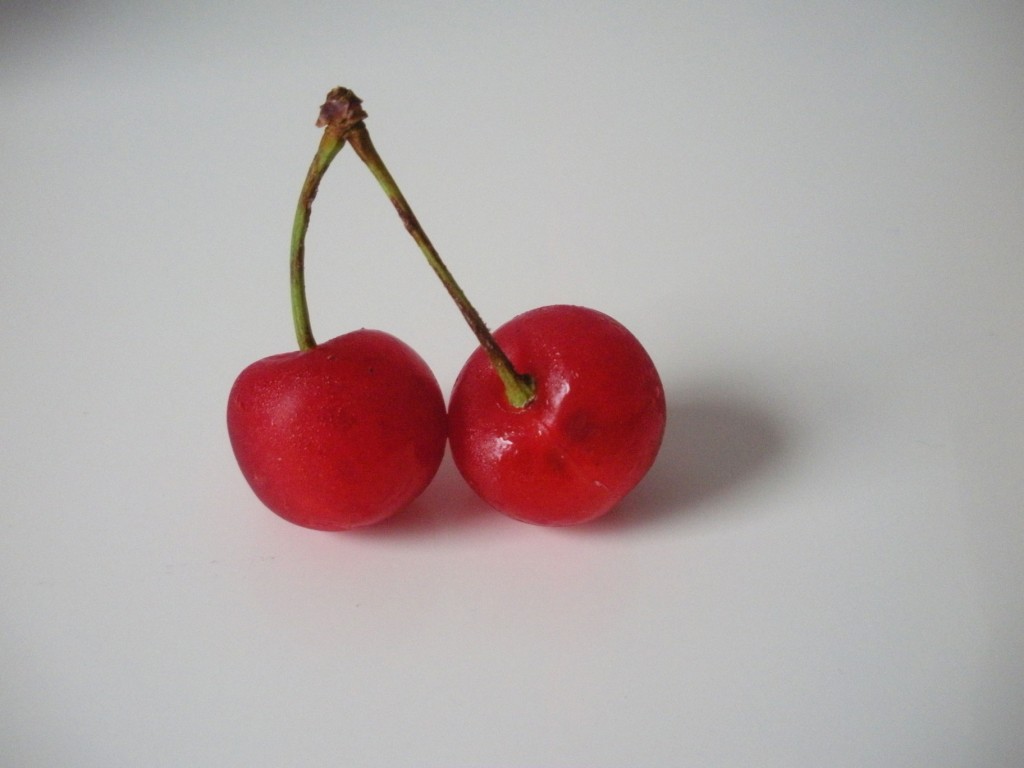
sour-cherries

I don’t usually overshare, certainly not on the internet and not in real life either. In fact, I tend in the opposite direction, to a fault: I’m pretty much a closed book. So I guess I’m making an exception to tell you that the last month of my life has been a doozy. People have been dying, I’ve had awful medical procedures, and work was the busiest it has been all year. But it’s  a new month, things seem to be calming down, and—thank god!—I’ve got sour cherries.

My sister and I text about farmer’s markets. When I texted her about my sour cherry score this weekend, her response was simply, “Drinks?” Why, yes. One of my favorite cherry-based cocktails is the Spicy Cherry Margarita from Sweet Afton right here in Queens. These hot cherry preserves were inspired by the great drinks at Sweet Afton.

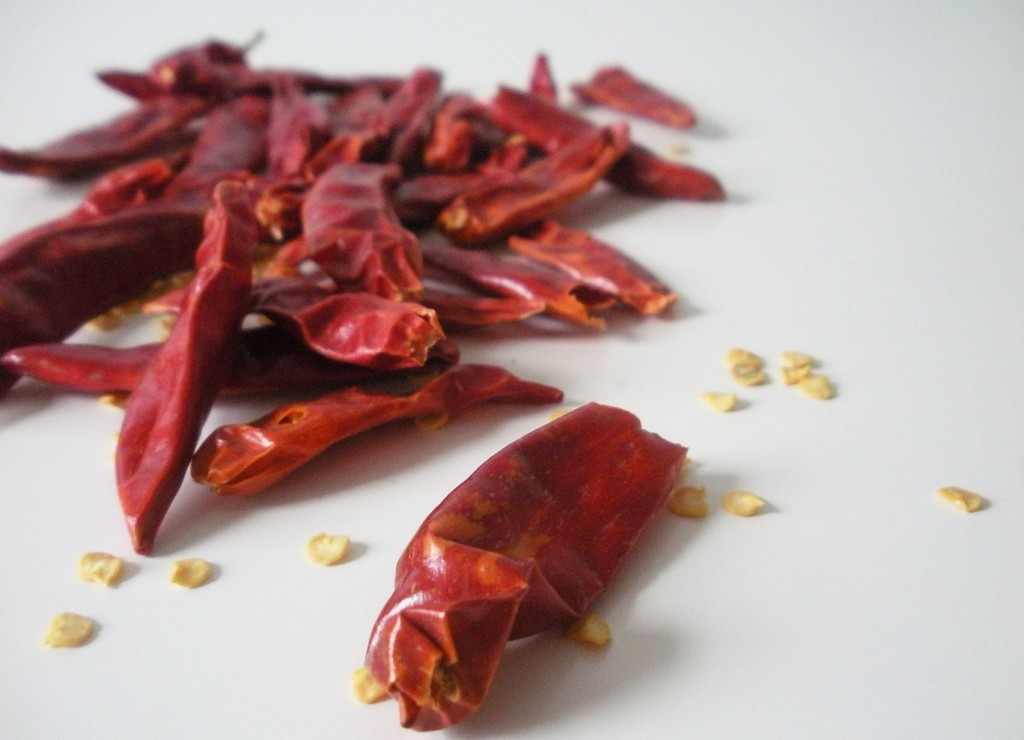
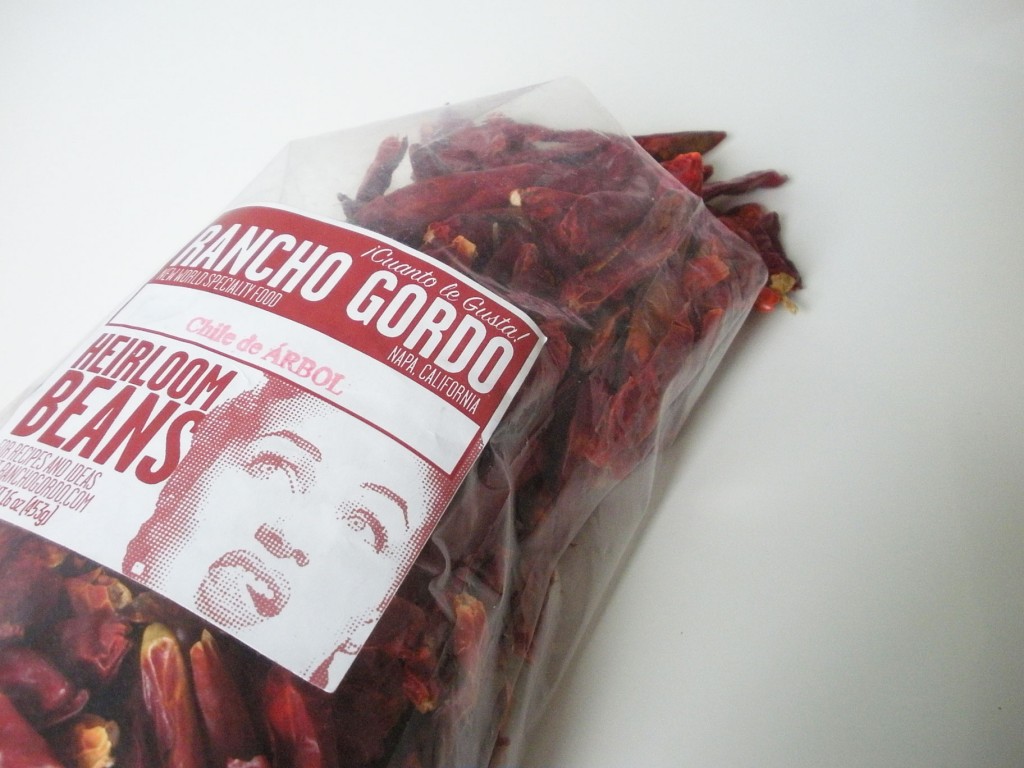
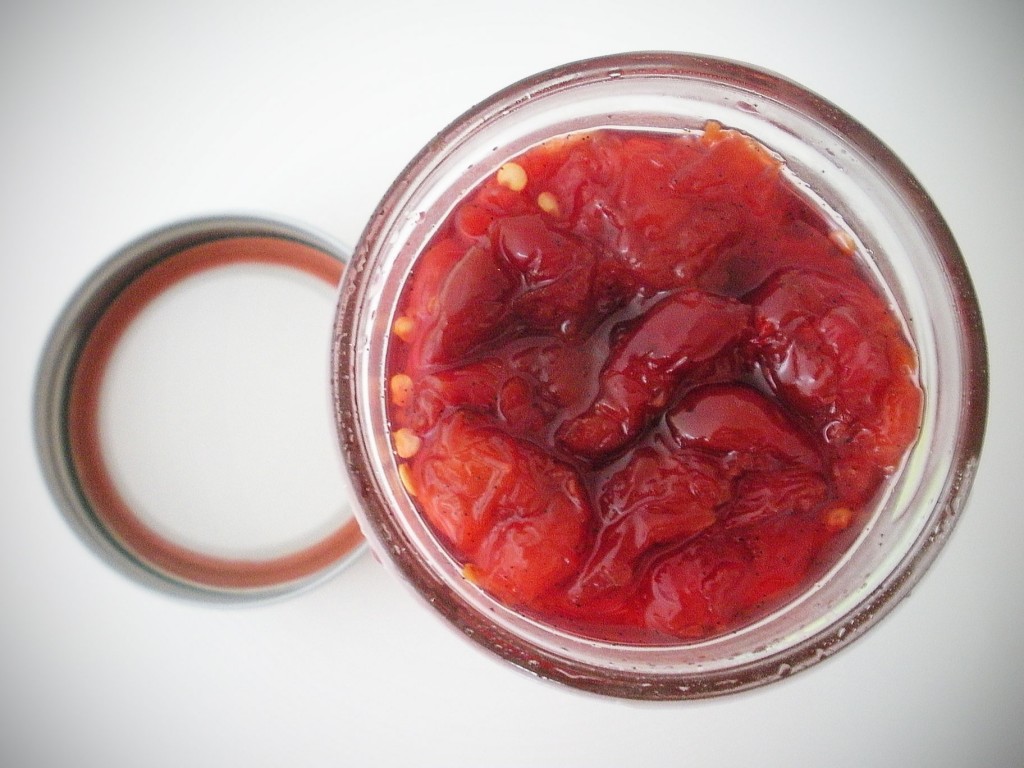
Cherries and heat are a perfect pair and the tart kick of sour cherries makes the sweet/hot/sour marriage especially magical. This is a small batch preserve; it’ll make just enough to stash in your fridge. It’s pretty easy too, but requires a little planning ahead as the cherries are tossed with sugar and dried chiles before an overnight rest in the fridge. I used 3 little chiles de árbol from Rancho Gordo.

I left the chiles whole during both maceration and cooking so it was possible to pick them out later (which I am totally gonna do). I also had some spent (used once) vanilla beans around, so I threw those in as well. Don’t go out and buy vanilla beans for this, but if you had an already used bean or 1/2 of one on hand this is a great use for it.

hot-sour-cherry-jam

If you can resist eating this preserve straight from the jar, it’d be amazing on ice cream or with a creamy cheese. I’ve been enjoying it in a Hot Cherry Daiquiri (1 1/2 oz dark rum, juice of 1 lime, and a heaping spoonful of hot cherry preserve), which I strongly suggest you do as well. Taking the time to macerate the fruit makes for an awesome syrup, which you could even use on its own as a seltzer add-in.

Hot Cherry Preserves

Yield: one half-pint

Ingredients

  • 12 oz (a scant 2 cups) pitted sour cherries
  • 2/3 cup sugar
  • 3 dried chile de árbol (can sub cayenne or pequin if unavailable)
  • 1 spent vanilla bean (optional)
  • 1 teaspoon lemon juice

Cooking Directions

  1. Toss all ingredients except the lemon juice in a medium bowl and store covered in the fridge overnight.
  2. Place the contents of the bowl in a small saucepan and cook over low heat, stirring until sugar is dissolved.
  3. Increase heat to medium-high and boil for about 10 minutes, stirring frequently. The cherries should be beginning to break down and the liquid should be slightly thickened.
  4. Remove from heat and stir in lemon juice.
  5. Let cool to room temperature and store in a clean half-pint jar in the fridge.


More small-batch cherry treats:

Balsamic Cherry Preserves from Nomnivorous

Cherry Bounce from Food in Jars

No-recipe Cherry Jam from David Lebovitz

{ 13 comments }
Strawberry Cashew Milk

by autumn on June 29, 2011

pick-your-own-strawberries

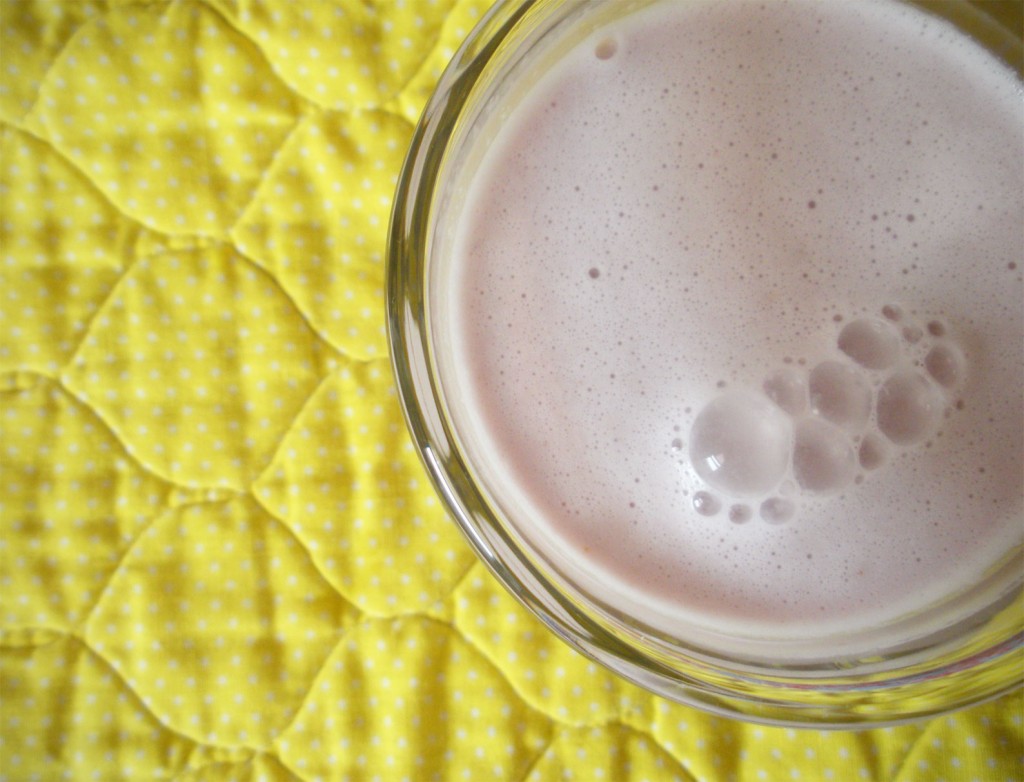
I picked some strawberries with some friends. Much more about this soon. I’ve been working my way through the flat and want to share with you just what I did. For now, I want to give you this super easy recipe for the most refreshing drink I’ve had in a while: Strawberry Cashew Milk.

Here’s a little secret: cashews do amazing things when soaked in water and blended. Not in one of those fancy blenders that we all want, just a regular old blender. Even if you’re someone who gladly eats cow-dairy products like sour cream and crème fraiche, I’d urge you to give the creaminess of cashews a chance. Soak a handful of raw cashews overnight and then place in a blender on high speed, adding water gradually until there’s just enough to blend. Cashew cream is that easy and you can use it like you’d use any fresh, soft cheese.

Unlike other homemade, non-dairy milks, cashew milk doesn’t need to be strained. You certainly can if you prefer to, but I’m guessing you’ll find it isn’t necessary. I didn’t sweeten mine because I really love the clean flavors of the cashews and the strawberries, but do mix in your preferred liquid sweetener if you’d like. Cashews, strawberries, water, a pinch of salt: that’s it.

raw-cashew-milk-with-strawberries

Adapted from Elana’s Pantry

Strawberry Cashew Milk

Ingredients

  • 1 cup raw cashews
  • 4 cups water
  • 1 cup fresh strawberries, coarsely chopped
  • 1 pinch salt

Cooking Directions

  1. Place the cashews in a bowl and cover them with water by 1 inch. Leave them to soak overnight.
  2. Drain and rinse the cashews and place them in a blender with the remaining ingredients. (Note: your blender may be quite full, but as long as your lid is on tight, you shouldn't get too much splashing. If you're worried about spills, blend in two batches.)
  3. Blend on high speed for between 1-2 minutes. The time will vary based on the quality of your blender. Mine's crappy, so I blended for closer to 2 minutes, until the mixture looked homogeneous.
  4. Store in a jar in the fridge and shake before drinking.


More homemade non-dairy drinks:

Cashew Oat Milk with cinnamon and agave from Joy the Baker

Almond Milk from Simple Scratch Cooking

Horchata from David Lebovitz


{ 5 comments }

Paletas, by Fany Gerson

by autumn on June 25, 2011

It seems like every summer there are a few days when it gets scary hot, scary early. A couple weeks ago, just after the calendar had tipped from May to June, we had those annual “Oh god, why do I live here?” hot days. For city dwellers like me  who stick around and sweat it out during the summer (aka: poor people), those early, almost unbearable days are not great for morale. You know what is good for morale? Paletas.

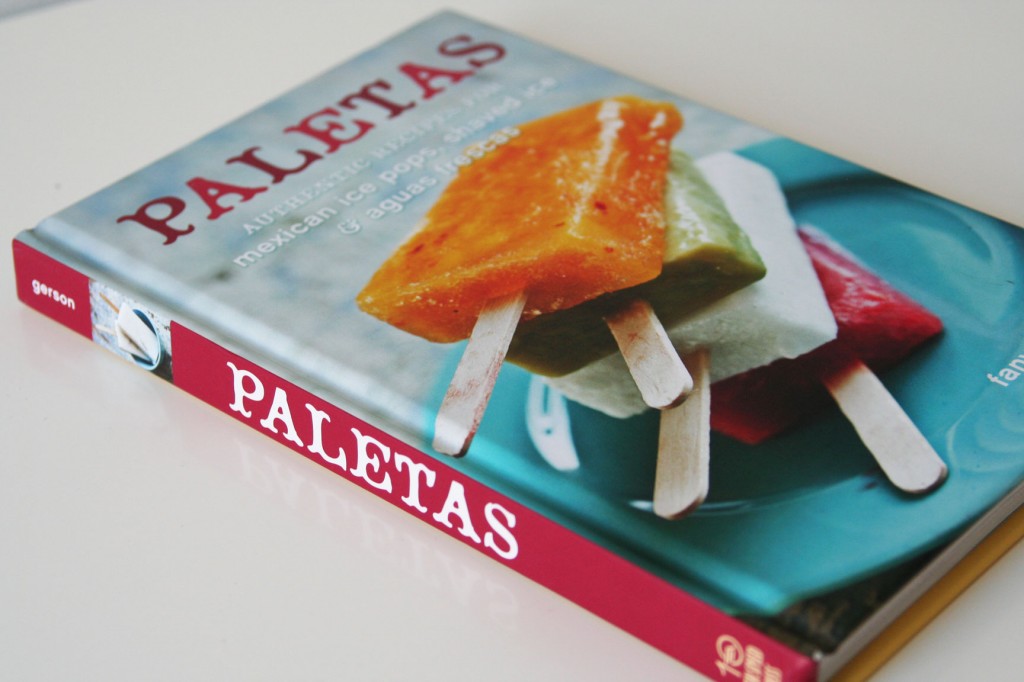
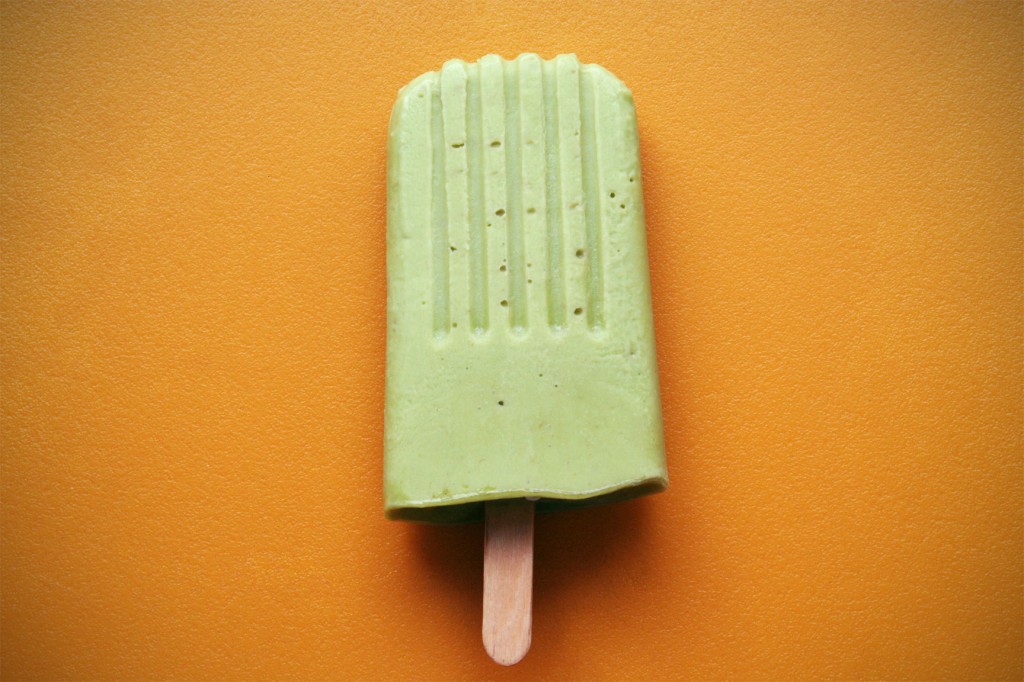
I was delighted to receive a review copy of Paletas, by Fany Gerson, from Ten Speed Press. Fany Gerson is the founder of La Newyorkina and author of the stunning, authoritative volume on Mexican sweets My Sweet Mexico. Like My Sweet Mexico, Paletas is gorgeous and well-researched. Gerson shares not only the recipes for her unique paletas like Spicy Pineapple, Rice Pudding, and Avocado, but also really interesting bits of food history like how and where paletas were first made. She clearly knows her stuff!

Beyond paletas, the book offers recipes for aguas frescas (refreshing drinks like Limeade with Chia Seeds and Hibiscus Cooler) and shaved ices that are a far cry from stuff that comes out of a Snoopy sno-cone maker (I know I am not the only person with Snoopy sno-cone maker experience). I was particularly struck by the smart flavor combo of the Queso Fresco Granita with Syrupy Apples—I love the idea of a refreshing frozen treat that’s fancy enough to serve to guests.

For the gluten-free folks, I only noticed one gluten-containing ingredient in the entire book (and it was an add-on) and a good bunch of the recipes are dairy free as well. I absolutely love it when things work out like that.

Avocado Ice Pops, Paletas de Aguacate, excerpted with permission from Paletas

1 cup water
1/2 cup sugar
2 small ripe avocados
Pinch of salt
2 T freshly squeezed lime juice

Combine the water and sugar in a small saucepan and cook over medium-high heat, stirring, until the mixture comes to a boil and the sugar has dissolved. Let cool to room temperature.

Cut the avocados in half lengthwise. Remove the pit and scoop the flesh into a blender, along with the cooled syrup and salt. Blend until smooth, scraping the sides as needed. Add the lime juice and blend until just combined.

If using conventional molds, divide the mixture among the molds, snap on the lid, and freeze until solid, about 5 hours. If using glasses or other unconventional molds, freeze until the pops are beginning to set (1 1/2 to 2 hours), then insert the sticks and freeze until solid, 4 to 5 hours. If using an instant pop maker, follow the manufacturer’s instructions.

More paletas:

{ 6 comments }

Chocolate Ice Cream

by autumn on June 16, 2011

Ever since spring sprung here in NYC (and then summer sprung, then September, then spring again…), I’ve been focusing my kitchen efforts on seasonal stuff. Can you blame me? How am I supposed to ignore stained baskets of small, perfect strawberries? That’s not a rhetorical question. If anyone has tips for saying “no” to strawberries, I’ll take them. I haven’t been successful yet.

Last weekend I made this strawberry currant jam from Edible Portland. I’m still a total novice at figuring out when a jam is properly set, but the pectin in the currants makes this recipe nearly foolproof. It sets beautifully and quickly too! It’s tart and sweet (like strawberries and rhubarb) and the currants keep the jam a really vibrant red. Why, then, am I about push a completely un-seasonal treat like chocolate ice cream on you?

Berries love this ice cream. It has everything that makes them happy: full-fat yogurt, heavy cream, dark chocolate, and vodka. Turns out, berries and I have a lot in common. Rather than the typical half milk/half cream, the dairy base for this ice cream is heavy cream and full-fat greek yogurt. This means it’s unbelievably creamy and has just the right amount of tang.

This recipe is adapted from this milk chocolate and black pepper ice cream, from David Lebovitz.

Chocolate Ice Cream

Ingredients

  • 1 1/2 cups heavy cream
  • 1 cup sugar
  • 1/8 t salt
  • 4 egg yolks
  • 5 oz unsweetened chocolate, chopped
  • 1 1/2 cups full-fat greek yogurt
  • 1 T vodka (optional)

Cooking Directions

  1. Place chocolate in a large bowl and set a wire mesh strainer over the bowl. Set aside.
  2. Whisk the egg yolks together in a small bowl. Set aside.
  3. Combine heavy cream, sugar, and salt over in a saucepan over medium heat, stirring frequently until the mixture begins to produce steam.
  4. Pour about 1 cup of the heated cream mixture into the egg yolks slowly, while stirring constantly.
  5. Reduce heat to med-low and pour the yolk/cream mixture back into the saucepan slowly, while stirring constantly.
  6. When the mixture has thickened and coats the back of a spoon, remove from heat and pour through the mesh sieve, over the chocolate. Stir until smooth.
  7. In 1/2 cup increments, add the yogurt, stirring until smooth after each addition.
  8. Mix in the vodka, if using (it helps the texture a bit, but you'll be fine without it).
  9. Refrigerate until cool and process in an ice cream maker according to the manufacturer's instructions.

More Chocolate Ice Cream:

Chocolate Ice Cream Recipe, from Simply Recipes

Recipe: The Best Chocolate Ice Cream, from the kitchn

Chocolate Ice Cream, from The Brown-Eyed Baker


{ 3 comments }

Rhubarb Jelly

by autumn on June 10, 2011

In college, I took a class called “Physics for Poets.” It was the class all the liberal arts majors took to fill their lab requirement. Basically, it was a cliffsnotes version of the major concepts in physics that spared the artsy kids all that pesky math.

Much to my surprise, I got really psyched about quantum mechanics. I watched Nova instead of studying for my midterm, read some Brian Greene, and even wrote a couple of wildly unsuccessful physics poems.

I latched onto the Heisenberg Uncertainty Principal, which my 20-year-old mind interpreted very liberally to mean something like “the more you know, the less you know,” making it applicable to basically everything. I got to the point where I could relate pretty much anything to the Uncertainty Principle. It was a little like six degrees of Kevin Bacon, except with pseudo-science.

For example, I could tell you about this rhubarb jelly and how the very act of figuring out what you want to do with your rhubarb, somehow makes you further from figuring out what you want to do with your rhubarb. How after finally deciding absolutely on chutney, somehow you end up with a pie; you’ll need more rhubarb.

This jelly defies rhubarb physics. It won’t be a decision. You’ll need to make this jelly and you’ll make it. It will be a perfect, peachy-pink, but you’ll still need more rhubarb.

Sparkling Rhubarb Jelly
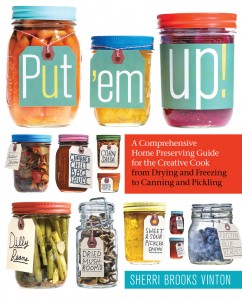
Recipe excerpted from Put ’em Up! (c) by Sherri Brooks Vinton, used with permission from Storey Publishing. (Thanks, Storey!)

2 lbs rhubarb, trimmed and cut into 1-inch pieces
1 cup sugar
2 teaspoons Pomona’s Universal Pectin
2 teaspoons calcium water (included in the Pomona Box)

Prepare

1. Combine the rhubarb and 1 cup of water in a medium saucepan and simmer until the rhubarb falls apart, about 10 minutes.

2. Hang a jelly bag or set a colander lined with several layers of damp cheesecloth over a large bowl. Pour fruit mixture into the jelly bag and let drain, refrigerated, overnight.

3. Bring 1 cup water to a boil, and then pour it over the pulp in the jelly bag to release any remaining juice. Drain for an additional 30 minutes. Discard pulp.

4. Combine sugar and pectin in a small bowl and stir to combine. Set aside.

5. Measure 2 cups rhubarb juice into a small saucepan and bring to a boil. Add the calcium water. Pour in the sugar-pectin mixture, stirring to dissolve. Return to a boil, and then remove from the heat. Skim off any foam.

Preserve

Refrigerate: Ladle into bowls or jars. Cool, cover, and refrigerate for up to 3 weeks.

Can: Use the boiling-water method. Ladle into clean, hot 4-ounce or half-pint canning jars, leaving 1/4 inch headspace. Release trapped air. Wipe the rims clean; center lids on the jars and screw on jar bands. Process for 10 minutes. Turn off heat, remove canner lid, and let jars rest in the water for 5 minutes. Remove jars and set aside for 24 hrs. Check seals, then store in a cool, dark place for up to 1 year.


{ 8 comments }

Strawberry Chamomile Ice Cream

by autumn on May 31, 2011

I imagine that I won’t have to argue too hard to convince you of the medicinal properties of ice cream. I found myself wanting nothing more than rhubarb sorbet for lunch the other day and realized that it’s actually beginning to feel like summer.

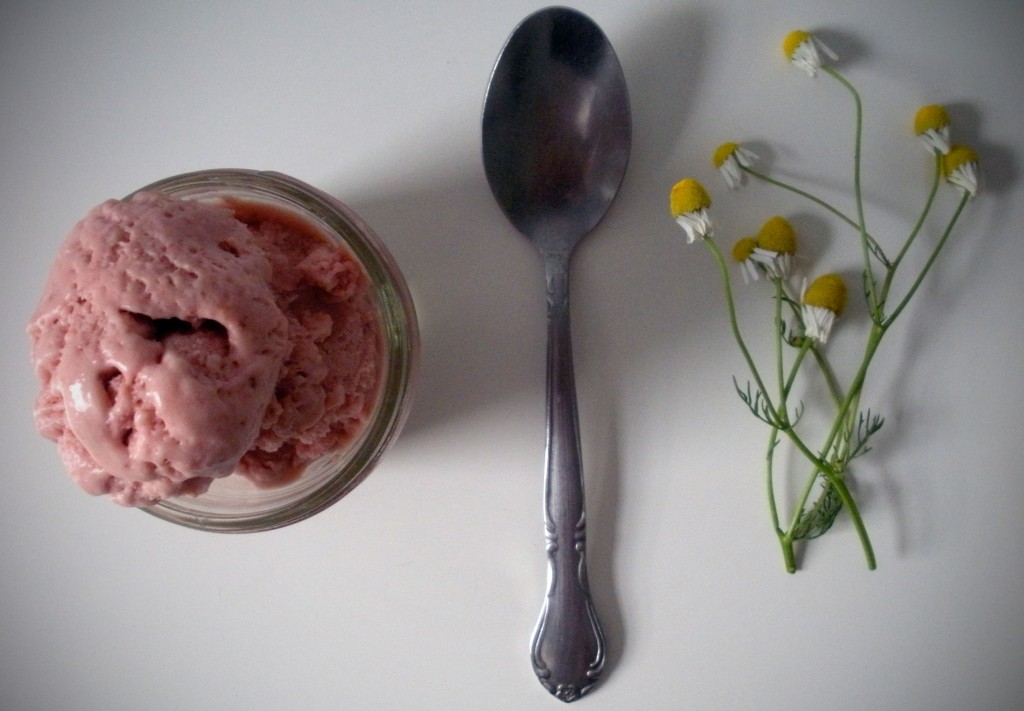
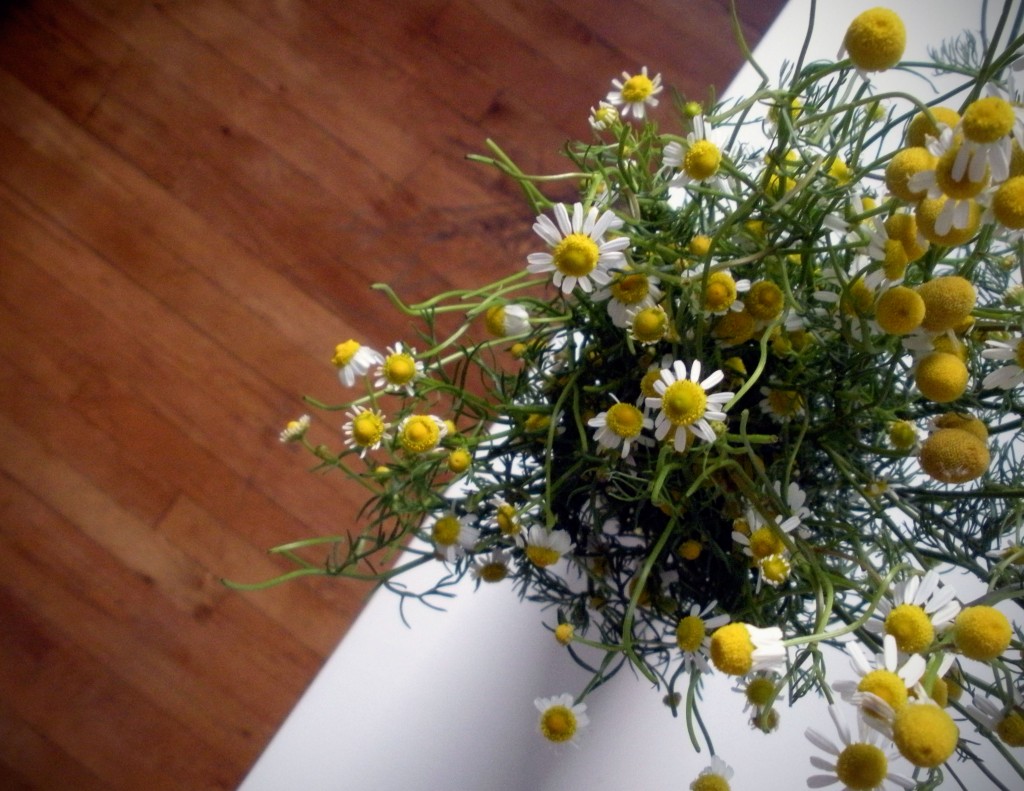
Ice cream will cure what ails you. This ice cream is no exception. In fact, it takes the concept of medicinal ice cream to a whole new level. This is a pretty basic homemade strawberry ice cream recipe, except before whipping it up—and I do mean that, it’s quite easy—I infused the heavy cream with fresh chamomile flowers. (In an effort to keep it fresh I stuck the chamomile in a jar of water. It was too tall for the fridge, but made a lovely, functional bouquet for the table.)

And actually, now that I’ve gone ahead and claimed that this is more or less just a good old strawberry ice cream recipe, I have to tell you that it’s sugar-free. No, I haven’t gone and ruined my ice cream with Splenda, it’s sweetened with honey. The strawberries and chamomile have honey in common; it’s a flavor they both like.

I’ve talked before about how I like to use tapioca starch to thicken ice cream–because it’s cheaper than eggs and I like the taste and texture it produces (It’s the Jeni’s method!). Except for the starch, this ice cream is made entirely from greenmarket ingredients, which is another reason why honey found its way into the mix. The result is a strawberry ice cream that’s just a little grown up, but still strawberry-ice-cream-enough to run down your arm.


Strawberry Chamomile Ice Cream

Ingredients

  • 1 1/2 cups heavy cream
  • 1 lb strawberries, washed and stems removed
  • 1/2 cup honey
  • 1/2 cup fresh chamomile flowers, washed and patted dry
  • 2 T tapioca starch

Cooking Directions

  1. In a large pot, heat the cream over medium heat. Remove from heat as soon as it begins to steam. Stir in the chamomile flowers and let steep for 30-40 minutes.
  2. Strain out the chamomile flowers using a mesh sieve, pressing the flowers to extract as much liquid as possible.
  3. Place the infused cream in a blender with the honey and strawberries and carefully blend until smooth.
  4. Return the mixture to the pot over medium heat, reserving a few tablespoons of liquid in a small bowl.
  5. Combine the reserved liquid with the tapioca starch and stir until smooth to create a slurry. When the liquid in the pot begins to produce steam again, slowly pour in the slurry, stirring briskly. The mixture should thicken almost immediately.
  6. Remove from heat and refrigerate until completely cool.
  7. Process in an ice cream maker, according to the manufacturer's instructions.


{ 3 comments }

Gluten-free Pie Crust

by autumn on May 29, 2011

Gluten-free pie scared me for a really long time. Normal people—normal bakers—are scared of pie. By that logic, shouldn’t I, a gluten-free baker, be more scared of pie? Terrified even? I was, but I’ve got a little secret for you: you can do it.

The odds are in your favor. The gluten content in all purpose flour is what can make pie crusts tough. Translation: you don’t need gluten for pie. Dare I say, you might be better off without it. If you’re like me, it’s a good thing to have one less thing in a day to potentially screw up.

Maybe you’re under the impression that you need a pastry cutter or a food processor. Nope. I use a fork. Let me say that again, I use a single fork to mix the butter into the flour when I make pie. You can do that! If you don’t own a fork, I can’t help you. You don’t even need a rolling pin. Buy yourself a bottle of wine, drink it, make pie. Maybe not in close succession, but you get the idea.

Before I give you my recipe—and, really, the recipe is the easy part—I’m gonna give you my tried-and-true, learned-from-experience, just-keep-breathing tips for gluten-free pie making. Because I want you to make pie.

You should:

  • Roll your dough out between two sheets of parchment paper.
  • Generously flour (I find that sweet rice flour is best for this) your bottom layer of parchment paper and flour the top of the dough as you roll to prevent sticking.
  • Trust the butter! There should be visible flecks of butter when you add the liquid to the crust. This was the hardest step for me to master.
  • Not freak out if your dough ends up sticking to the parchment. Throw it in the freezer for a couple minutes and it should come off easily!
  • Keep in mind that pie should look homemade. In other words, pies are prettier when imperfect. If it’s flawless, people will think it came from the freezer.

Gluten-free Pie Crust

Yield: crust for 1 double crust pie, can be halved for single-crust pie

Ingredients

  • 1/2 cup tapioca starch
  • 1/2 cup oat flour (make sure it’s from certified gluten-free oats)
  • 1 cup millet flour
  • 1 t xanthan gum
  • 1/8 t salt
  • 2/3 cup cold butter, cut into 1/4 inch pieces
  • 4 T ice water

Cooking Directions

  1. Stir together oat flour, millet flour, tapioca starch, xanthan gum, and salt.
  2. Prepare a cup of ice water.
  3. Add the butter into the flour and begin to incorporate the two. If you don’t have a pastry cutter (I don’t!) just use a fork. You’re done when there are still visible flakes of butter, but you have an evenly incorporated mixture, ie: no big hunks of butter and no flour hanging out by itself.
  4. Using a tablespoon, gradually add cold water, just until the dough comes together. You may need a little more or a little less than 4T. Add 2 T and stir to combine, then add 1 T at a time after that just until the dough comes together. It should hold together in a ball, but not be sticky.
  5. Form two equal size discs with the dough, separate them with a layer of plastic wrap and refrigerate for 20-30 minutes.
  6. Flour a piece of parchment paper with sweet rice flour or tapioca starch, place one disc of dough on the surface, and flour the top of the dough. You'll want to flour the dough a couple times as you're rolling it out to prevent sticking.
  7. When the crust is between 1/4-1/8 inch thick, carefully peel away the top layer of parchment. Use the bottom layer of parchment to quickly flip the crust into the pie plate. Carefully peel away the parchment (this is the step where you might need the freezer) and press down the crust.
  8. Follow directions for the filling of your choice and use the above method to roll-out the top crust.
  9. Follow baking instructions for your chosen recipe.

Pies to try:

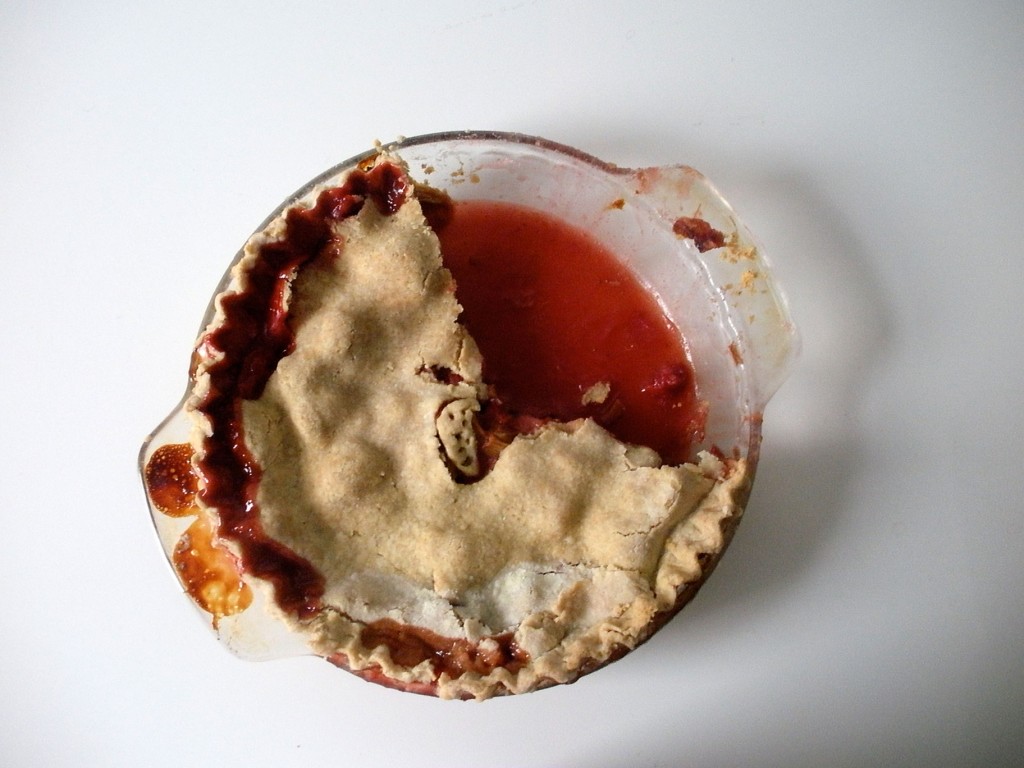
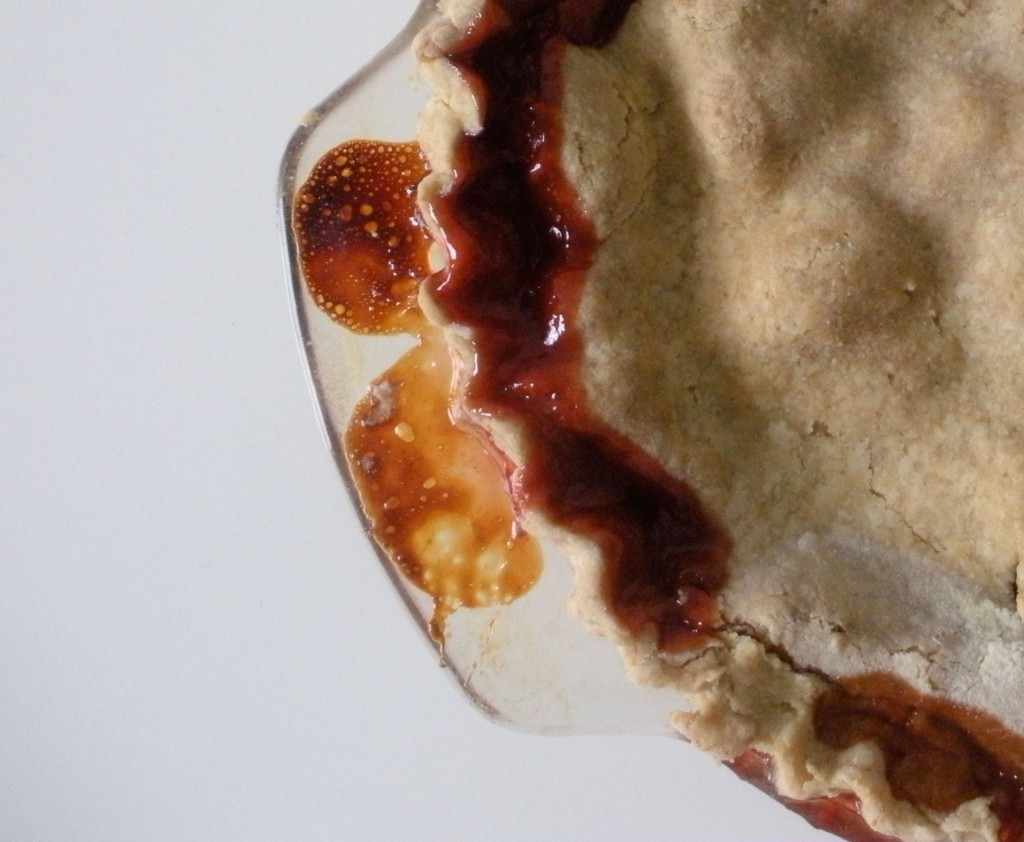
Strawberry Rhubarb Pie: The pie pictured above is my crust with this filling. It seems like a ton of fruit, but don’t skimp! After baking, it’s the perfect amount.Via Epicurious.

Shaker Lemon Pie: I have wanted to try the slightly off-beat Shaker Lemon Pie forever. This one is definitely next on my list. Via Smitten Kitchen.

Sour Cherry Pie: When they’re in the market, I can’t wait to put some sour cherries in a pie! Via Lottie + Doof.


{ 6 comments }

Rhubarb Sage Big Crumb-le

by autumn on May 20, 2011

I had a little trouble thinking of a name for these beauties. Well, not so much thinking of a name as thinking of a name that wasn’t a hot hyphenated mess. You probably don’t know me in real life, but if you did you might be of the opinion that I’m really bad at telling stories because it takes me a darn long time to get to the point. In other words, it’s a pretty big deal that I got my hyphen count down to one—from “It’s-like-a-rhubarb-crisp-and-that-coffee-cake-with-the-big-crumbs-(from-somewhere-good,-not-from-that-cart-under-the-7-train)-got-together-and-had-babies-in-little-jars” to “Rhubarb Sage Big Crumb-le.”

The big crumb-le came out of a desire to address what I believe is a fundamental design flaw in the the fruit crisp: they don’t stay crisp. Especially for gluten-free crisps and crumbles, they come out of the oven perfect, but unless you shove it all in you face right then and there (not that there’s anything wrong with that), the topping gets soggy. In my experience, the crispies and the crumbles aren’t substantial enough to stand up to the fruit ooze. Yeah, it just got scientific.

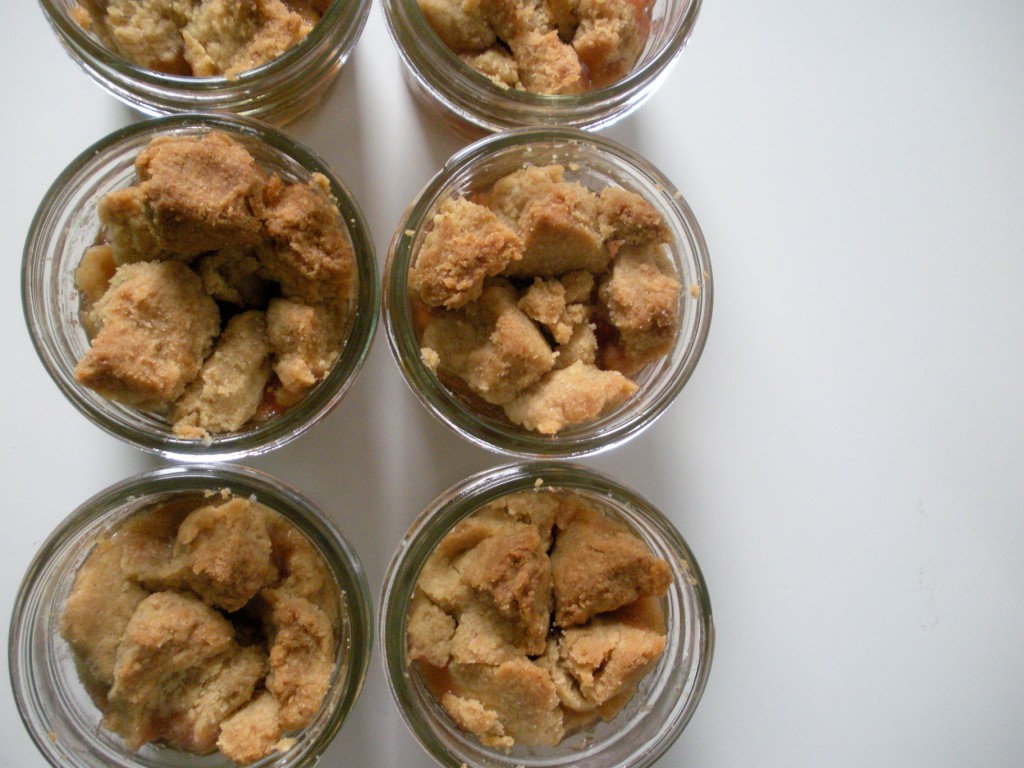
Big crumbs are the answer. Big crumbs, as seen here in their usual habitat on top of the big crumb coffee cake, are basically big chunks of butter, flour, and sugar. The secret to big crumbs, is using melted butter and letting it cool before adding it to your flour mixture. This lets harden, almost like a pie crust, leaving you a big slab of solid crumb that you can break up into hefty chunks.

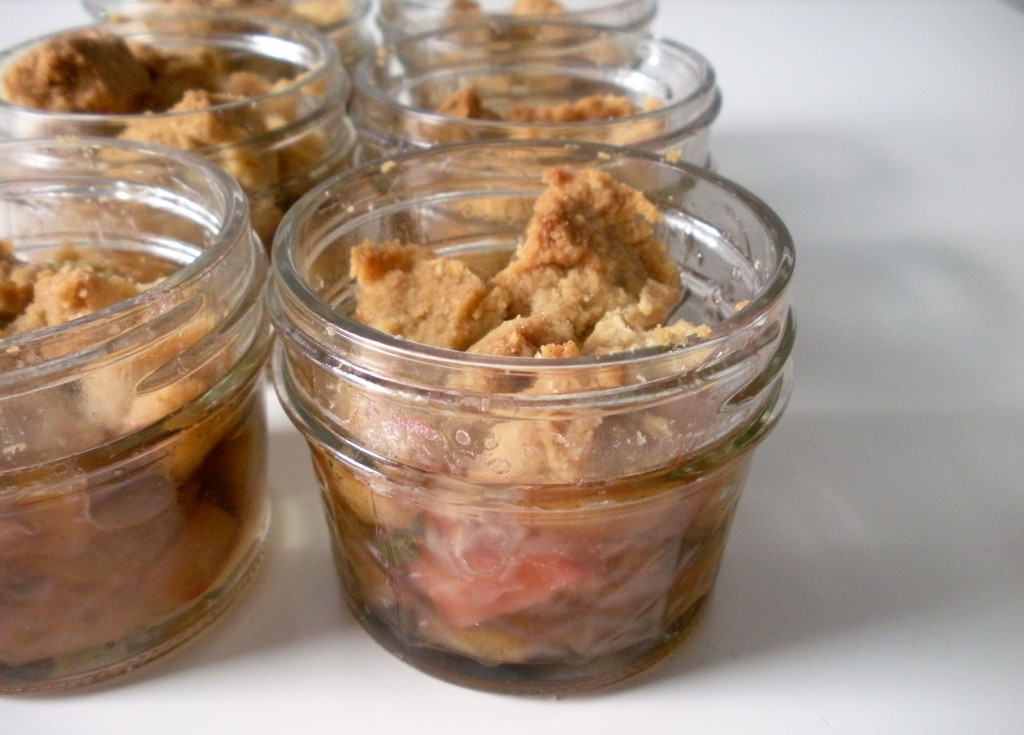
Turns out, baking stuff in jars can be kinda controversial (check out the comments on this kitchn post). I did it because I don’t own ramekins, but I DO own canning jars. If you own ramekins, but not canning jars, definitely use them here. I imagine you could also use a pie plate, but the amount of fruit in this recipe isn’t quite enough for a 8×8 square pan.

Rhubarb Crumble with Sage

Ingredients

  • 2 cups rhubarb, chopped into 1/4 inch pieces
  • 1/3 cup white sugar
  • 1/8 cup tapioca starch
  • 1 T chopped fresh sage leaves
  • 7 oz gluten-free all purpose flour
  • 1/3 cup brown sugar
  • 1/3 cup white sugar
  • 1/2 t xanthan gum
  • 1/2 t cinnamon
  • 1/2 t ground ginger
  • 1/8 t salt
  • 1/2 cup butter, melted

Cooking Directions

  1. Preheat oven to 350.
  2. Mix the rhubarb with the following 4 ingredients and set it aside to let the juices develop.
  3. While mixing all the remaining ingredients except the butter, melt the butter in a small pan over low heat.
  4. Add the melted butter to the dry ingredients and stir to combine. It may be easiest to use your hands. Bring the mixture together with your hands and let it sit at room temperature for 10 minutes.
  5. Grease 6 4-ounce jars and distribute the rhubarb mixture evenly between the jars.
  6. After 10 minutes, begin to break the crumb mixture into chunks and cover the top of each jar.
  7. Place on a baking sheet in the oven and bake 30-40 minutes, or until the crumbs are nicely brown and the rhubarb mixture is bubbly.

Notes:

  • This recipe is adapted from here. People love it.
  • If you make this in jelly jars like me, you’ll probably have a bit of crumble mixture left over. I wanted to include a generous amount, in case folks use something with more surface area than jelly jars. I say, bake the extra and use it as an ice cream topping.
  • I used Bob’s Red Mill AP Gluten-free flour here, but you can try the one you prefer as long as it doesn’t have any leavening agents. If you’re not gluten-free, use 1 3/4 cup cake flour.

{ 5 comments }