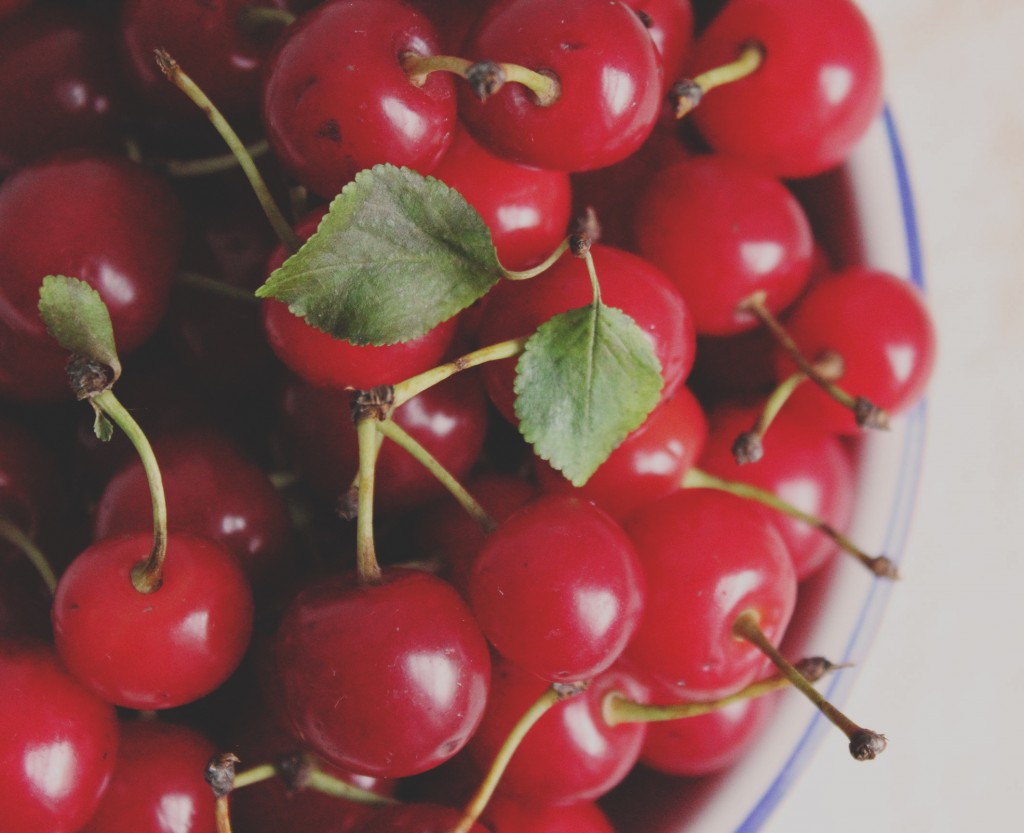
How to Eat a Cherry

by autumn on July 24, 2012

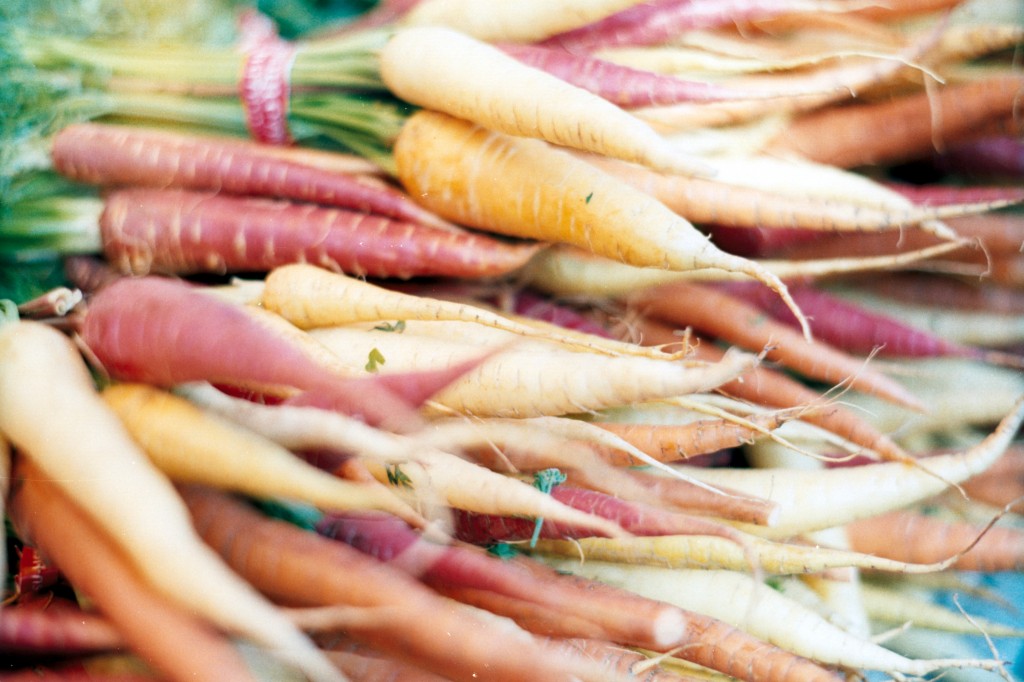
I first ate chokecherries out of a shallow cardboard box in my friend Emily’s fridge. Usually, we shimmied uncooked hotdogs from the package and tore into the backyard, bound for the roof. It was see-through corrugated plastic, but there was a homemade ladder asking you to go right to it. We would pick scraggly carrots out of the garden, shake them off, and, swinging them by their green hair, climb up. We had a meal.

On the roof, we could see the land. High up enough to yell at the paperboy when he rode the street below us and scare the shit out of him good and proper, we were small, dangerous rulers. My mom had already told me not to eat hotdogs straight from the fridge, cold and floppy, after I had come home from Emily’s one day wanting to flaunt my newfound disregard for food safety. A girl who makes a point to eat her raw hotdog on a rickety roof is bound for glory.

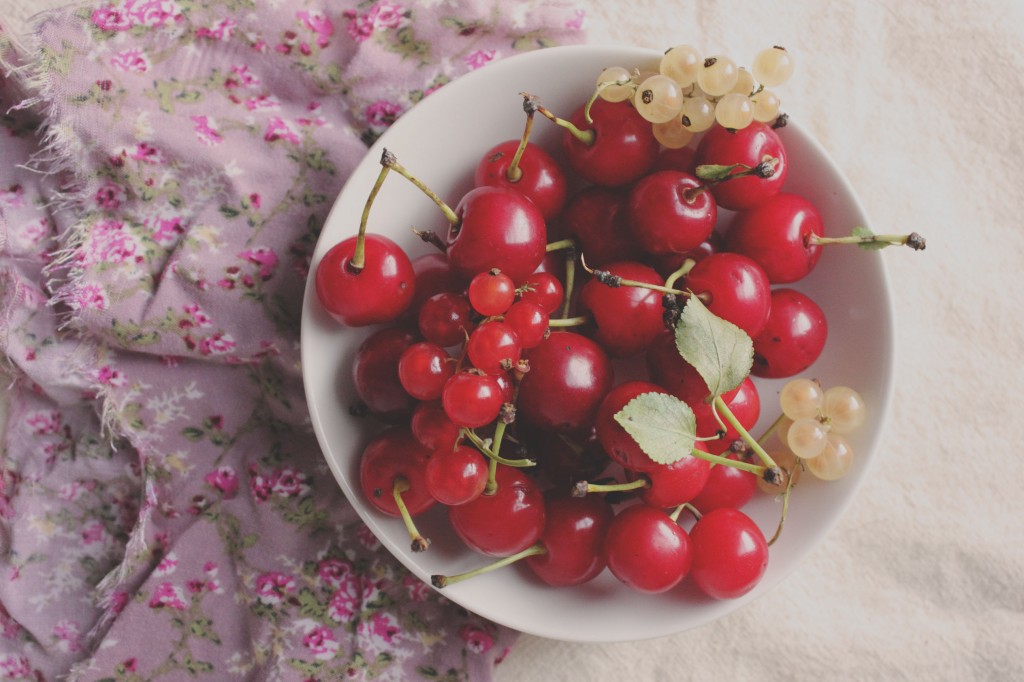
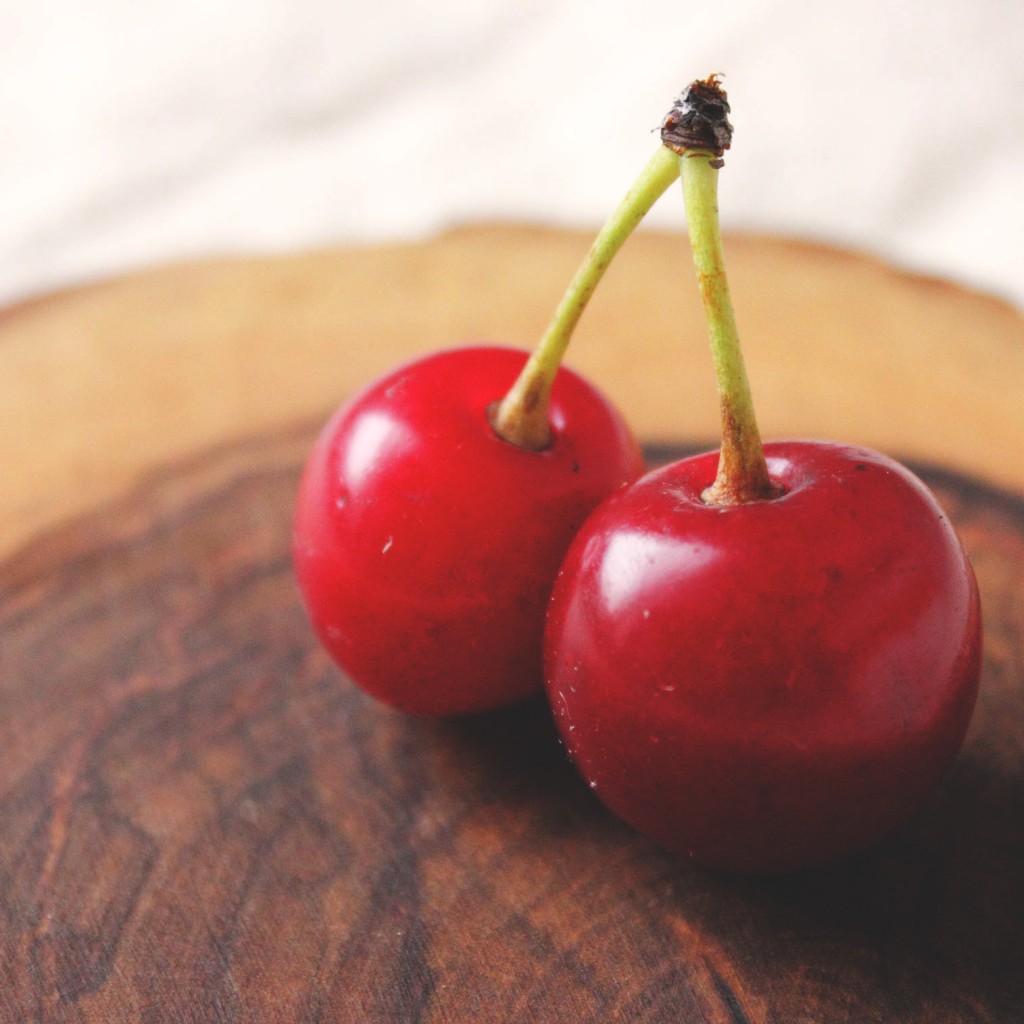
When the chokecherries showed up, Emily told me that I didn’t want to eat them so I wanted to eat them slowly and enjoy them. She told me that they were from the wild, so I wanted to live off of them like a bear and never go inside at night. She tried to warn me, but how can a nine-year-old describe tannins? It was like eating a spoonful of cornstarch and I loved it. Everything left out to dry in the world—even all of Arizona—let out into my mouth when I bit that cherry. It was the type of strangeness that makes you wonder how much of it you can take.

After college, on my first grown-up work trip I drove up the Flathead Valley to Kalispell, Montana where Emily’s dad had filled that box with chokecherries. There’s a point on this drive, after the signs have been in Salish for a good while, when you nearly can’t breath for the beauty. It’s the sort of stuff that will have you believing, without question, that there’s someone up in the sky who made everything wonderful exactly for you.

My dad had a saying for that moment, when all of a sudden you round a corner or come over a hill and the whole goddamn world opens up and gives you something you know you don’t deserve—Munch, munch. I didn’t understand it when I was a kid and didn’t want to admit that I wasn’t in on the joke and ask what he meant, but I knew that it was good. All the sense that I can make of it now is that it was a challenge to one of Montanan’s favorite gripes about low wages and high cost of living: “You can’t eat the scenery.”

Chokecherries grow just about everywhere, but Flathead cherries are a small miracle. Lining the banks of Flathead Lake, they’re hard to believe in a place known for snow. They hold out, battling the Washington crop to be the last harvest in the country and often getting their way, sometimes stretching their season into the last weeks of August. Driving back down the valley that day, charged with the simple and particular freedom that can come only from being in your early twenties and having someone else paying for your gas, I bought a paper bag of cherries from one of the roadside stands along the way. I ate with my free hand, spitting the pits out the window and leaving a trail of future cherry trees in my wake.

There’s something about a picnic, about making a point to eat in the presence of wonder. As if the stunning improbability of a cherry, or even a cold tube of meat, ought to be reflected in the place where you eat it and gratitude ought to be a movable feast—not Hemingway’s or god’s, but a feast that is quite literally ready to go where it is needed. As if the easiest way to be grateful for the world, is to eat in it.

{ 9 comments }
Upcoming Events, July 2012

by autumn on July 17, 2012

Hi friends! Just a quick note to share a few upcoming events that I’m lucky enough to be involved in. If you’re in the area, I’d love if you came! Meeting internet friends in real life has proven such a delight in the past that I’m always up for more.

Saturday, July 21st at 8pm: I’ll be reading some food related non-fiction (teaser: it’s about cherries) at Slapdash a monthly, multi-disciplinary art/performance series in Crown Heights, Brooklyn. The theme this month is food and I will also show some of my photos at the event. Here’s the facebook page with all the info.

Sunday, July 22nd at 11:40am: I’m honored to be reading at the New York City Poetry Festival, a two-day, outdoor poetry event on Governor’s Island. I’ll be reading on behalf of the lovely folks at Moonshot Magazine, who were kind enough to publish one of my poems in their current issue. I can promise a poem about huckleberries!

Friday, July, 27th-Sunday July 29th: I’m so psyched to be attending the Big Summer Potluck food blogging conference this year. Let me know if I can look forward to meeting you there!

{ 0 comments }
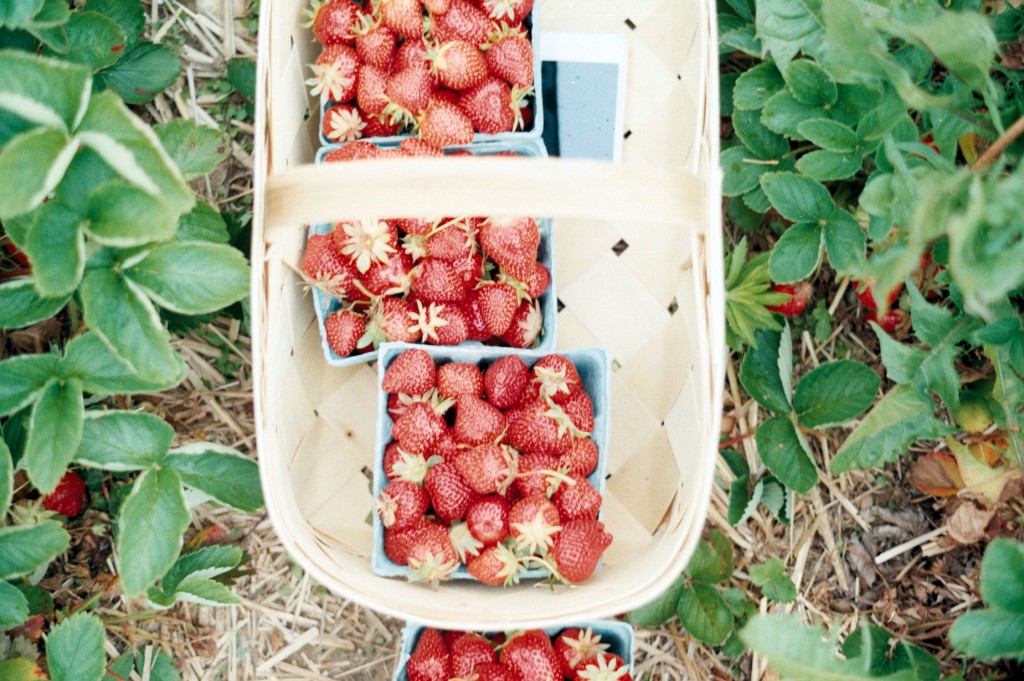
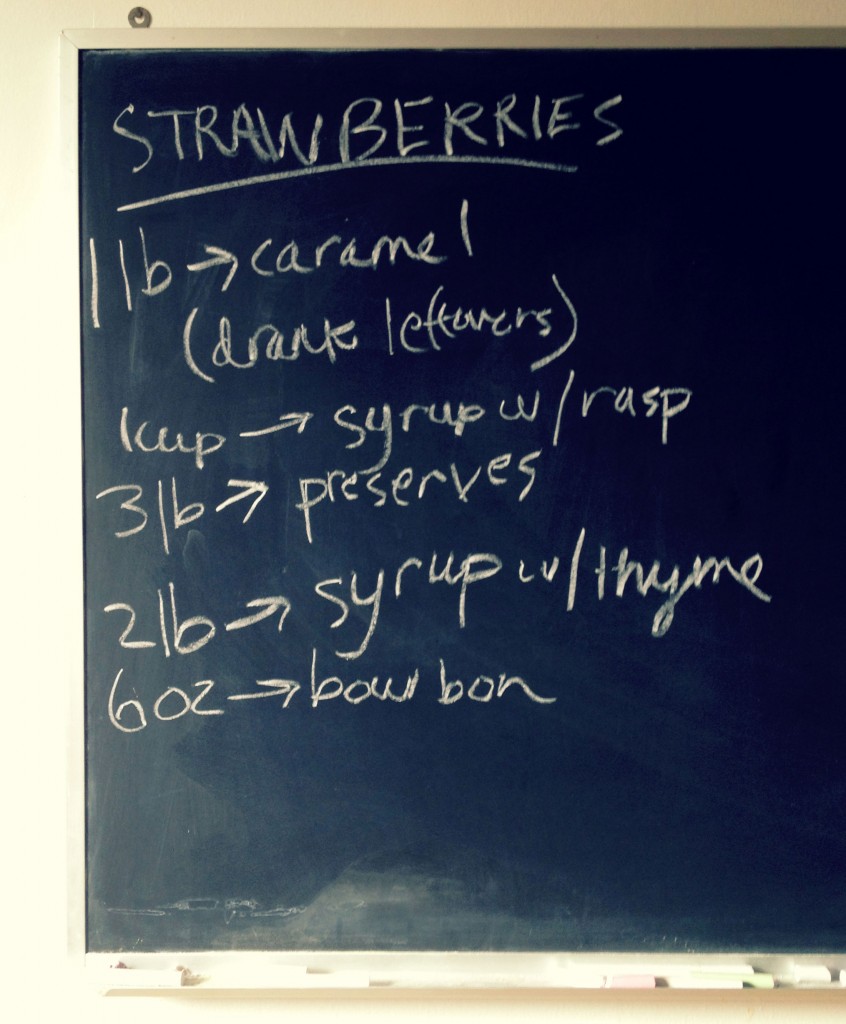
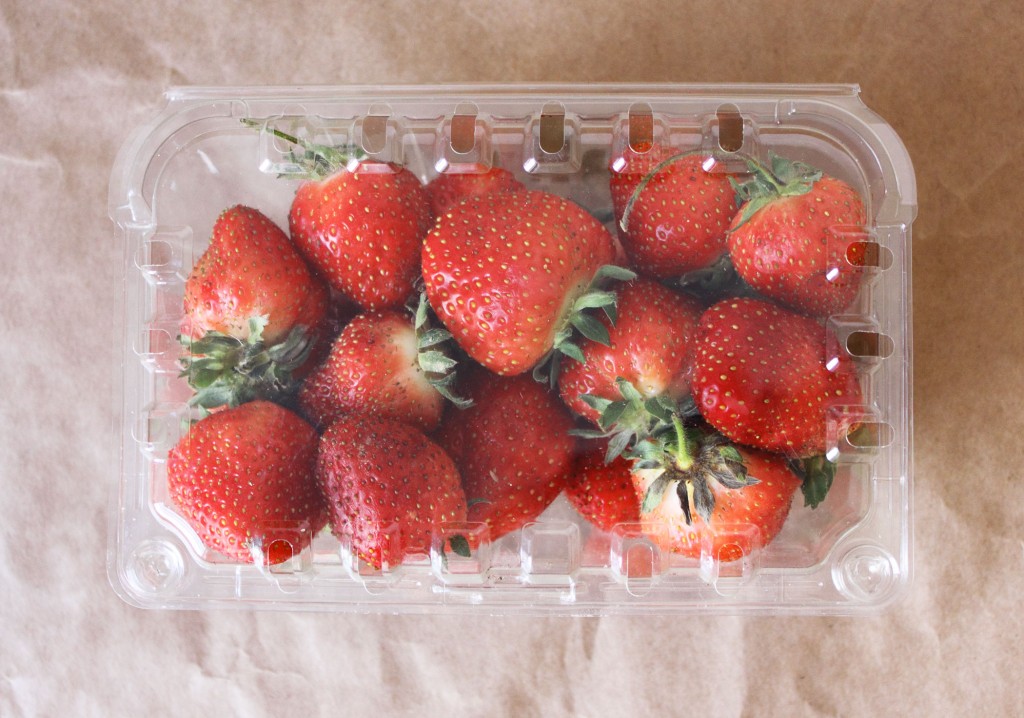
I’m not a very competitive person. In fact, having a bit more ferocity in any given situation probably wouldn’t hurt. The one exception to this is economy—when it comes to the war against waste I always win. (It’s telling that strident thrift is my example of being aggressive right? I told you I could stand to be a touch more cutthroat.) This tendency kicks into overdrive with prized produce like my long island strawberries. Which leads me to my strawberry scorecard, my official tally of what I did with strawberries this season.

Here’s the annotated version:

Finally, strawberry infused bourbon, which hardly counts as a recipe. I covered 6 oz of strawberries with 1 1/2 cups of Wild Turkey 101 and let it infuse for about a week. Higher proof alcohols like Wild Turkey 101 work best for infusions, but any not-too-good bourbon will do. After a week or so, I strained and discarded the solids. I also like to pour infusions through a coffee filter to get any little bits of pulp out, so I did that too.

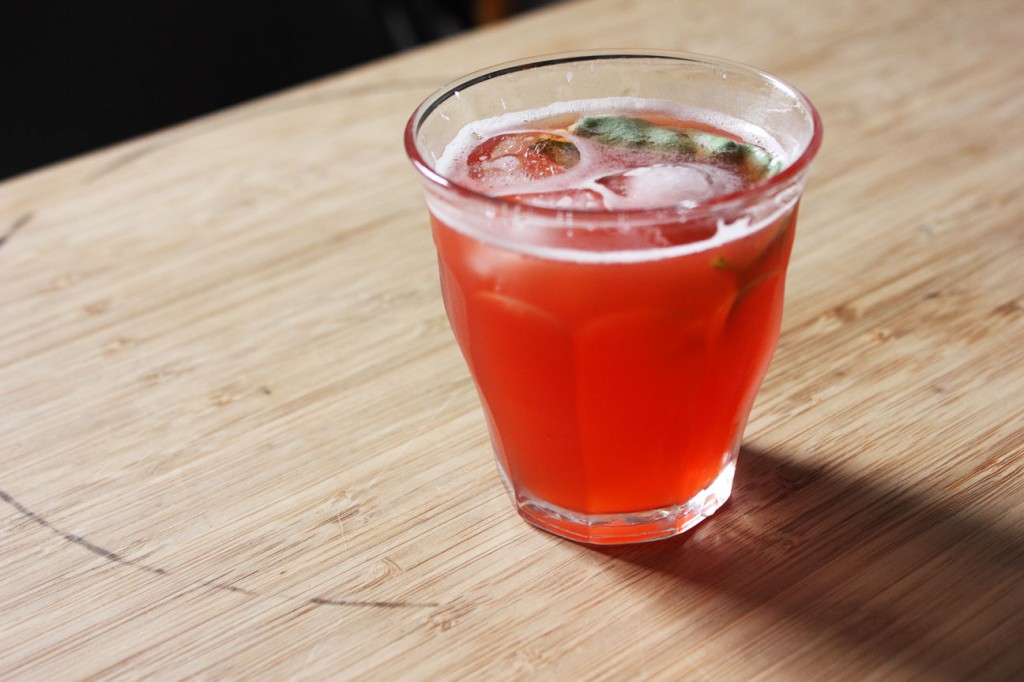
Most importantly, I toasted the tail-end of strawberry season with a Strawberry Basil Bourbon Sour. Combine 2 oz strawberry infused bourbon with 3/4 oz lemon juice, 3/4 oz basil simple syrup, and ice in a cocktail shaker. Give it a good shake. If you have an extra fresh basil leaf or two, muddle them in an old-fashioned glass (or adorable tumbler like the one above that I’m currently in love with) then fill the glass with ice. Strain the shaken cocktail ingredients into the glass and enjoy it while thinking about how you lost that relay race in middle school, but did a lot of good with a few quarts of strawberries.

{ 11 comments }
How to Break Down a Whole Chicken

by autumn on July 3, 2012

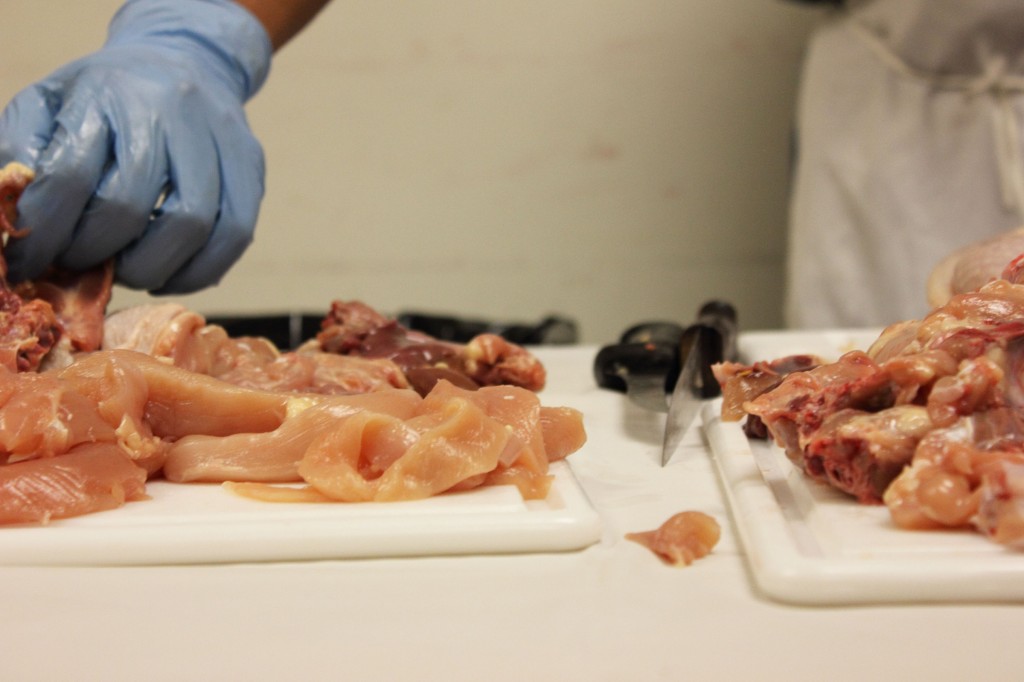
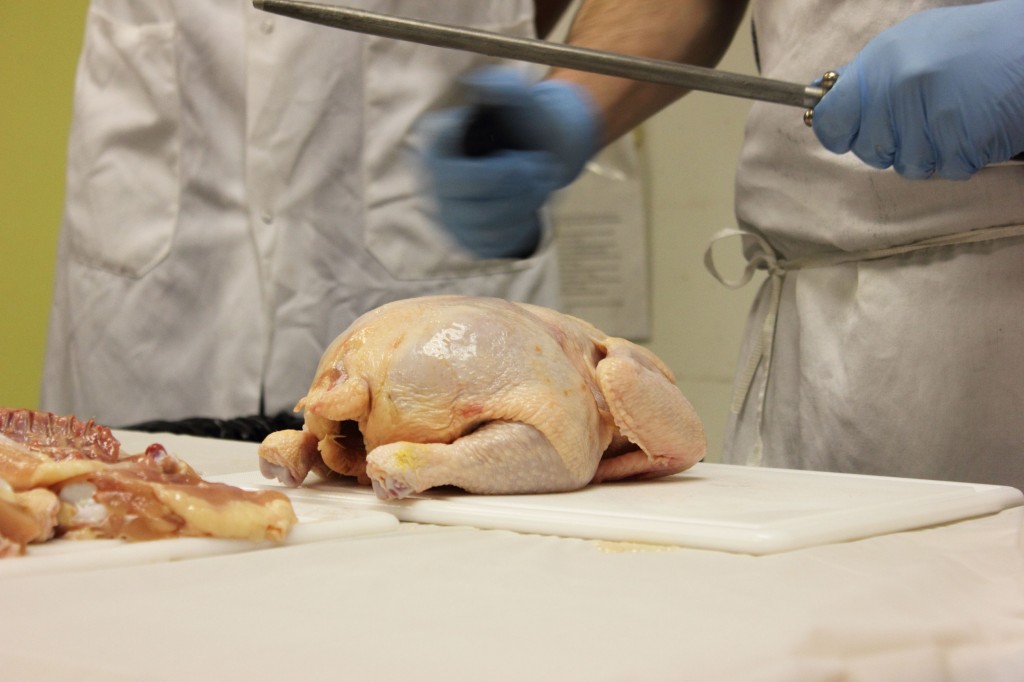
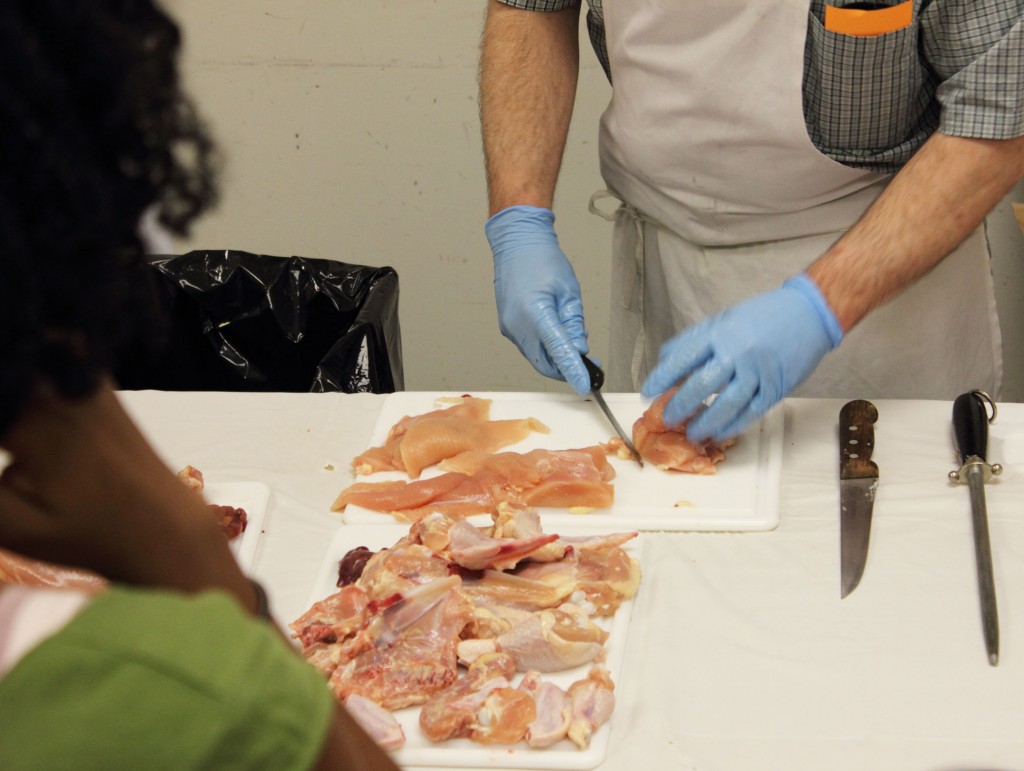
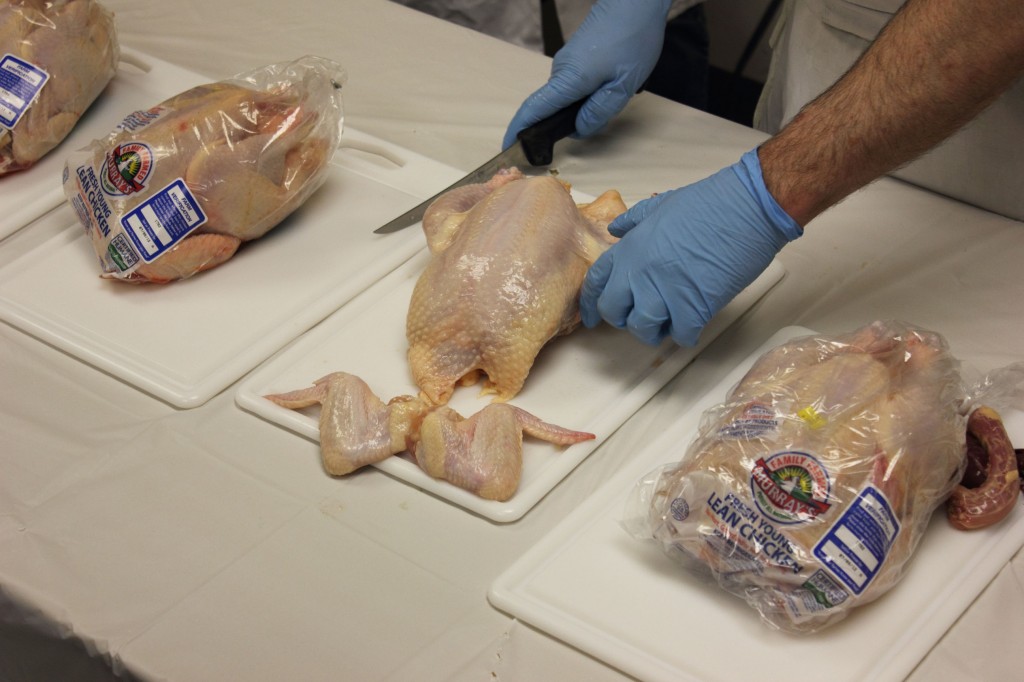
By far, the area of my culinary repertoire that I am least confident in is meat. I don’t have a ton of experience cooking it and when I buy it I tend to cook it in ways that give me little to no opportunity to screw it up. This means when I buy chicken, it’s often a whole chicken and I put it in the oven that way.  Last weekend, at the Queens County Market, I sat in on a chicken butchery demo and came away feeling like just a few simple tips upped my comfort level exponentially. The most helpful takeaways for me were:

  • You don’t need a special knife. I had the misconception that the one knife I own, a pretty basic chef’s knife, wouldn’t be up to the job. Not so. A chef’s knife is great, as long as it’s sharp.
  • Look for the joints: A big part of breaking down a chicken is just using your knife to help you cut through the skin and flesh and expose the joints. Once you find the joints, you’re just popping them apart. Another misconception that I had was that breaking down a chicken involved a lot of cutting through bone. Also not true.
  • It shouldn’t be hard: The anatomy of the chicken should be your guide and you shouldn’t meet a lot of resistance at any point. If you do, take a deep breath, sharpen your knife, and study your chicken anatomy.

With the concerns that I had going in, these were the tips that stuck with me most. There’s a great bon appetit slideshow and a video from Serious Eats on breaking down a chicken. It’s totally helpful to watch someone else do it a few times. I typically choose to buy whole chickens because they’re an economical option, but having a better idea of how to break them down makes them even more economical–and versatile!

(I received free entry into the event in exchange for taking photos, but my opinions remain my own.)

{ 3 comments }
Gooseberry Clafoutis

by autumn on June 29, 2012

I’m not such a fancy lady. I can’t apply make-up to save my life, I don’t own a proper hairbrush, and if left to my own devices I will wear boat shoes and cut off jeans as long as the weather permits. I can cook something pretty legit, maybe even throw some chive flowers on top, but I will ultimately smother it in this. This is why I can’t have nice things.

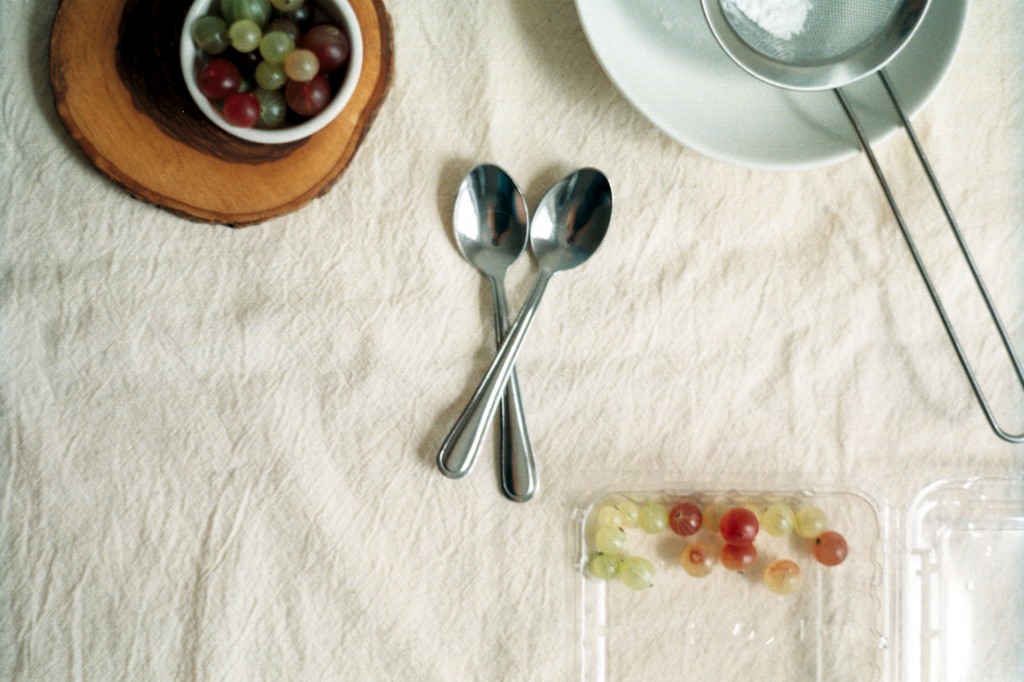
So, clafoutis. Honestly, sounds like something I might ruin. Luckily, my love of the simple and strange kept me thinking about the clafoutis and I finally gave in and tried it. Clafoutis are typically made with cherries (pits in and all!), but they’re super-versatile. Right now, the market is filling up with eligible partners for the custardy clafoutis batter—plums, cherries, currants, peaches, and gooseberries.

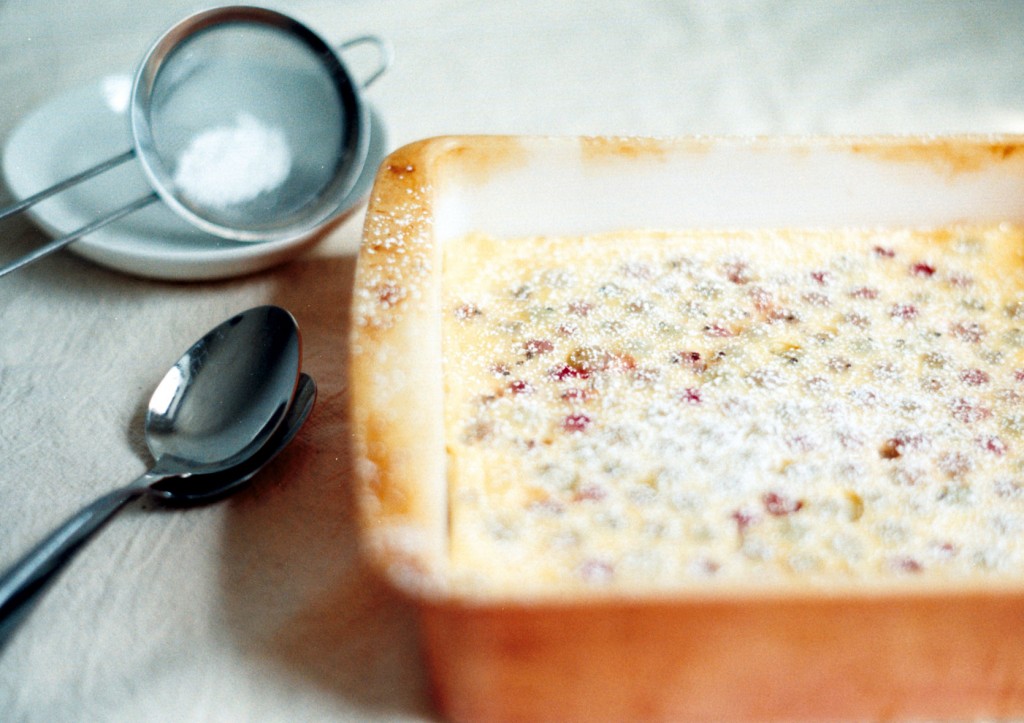
A clafoutis is much easier to make than it is to say without feeling awkward. Pour some sweet custard over fruit and bake. That’s it. Pretty soon you’re eating a fruit-studded flan with a spoon straight from the baking dish. I chose gooseberries because their seeds are a nod to the traditional pits-in cherries and because I wanted an excuse to buy gooseberries. When baked, their flavor becomes spicy and complex. You’ll taste nutmeg, I swear.

Gooseberry Clafoutis

Ingredients

  • 2 oz/ 57 g (about 1/4 cup) sugar
  • .3 oz / 9 g (about 1 T) cornstarch
  • 2 eggs
  • 1 1/2 t vanilla extract
  • 8 oz (227 g) gooseberries, topped, tailed, washed, and dried (phew!)
  • 1 1/4 cup whole milk
  • 1/4 cup heavy cream
  • powdered sugar to top

Cooking Directions

  1. Preheat oven to 350 and butter an 8x8 square baking dish.
  2. Place the gooseberries in an even layer in the dish and set aside.
  3. In a large bowl, whisk together the cornstarch and sugar.
  4. Add the eggs and vanilla and whisk for about a minute.
  5. Finally, add the milk and cream, mixing until fully incorporated.
  6. Pour the custard mixture over the gooseberries and bake for about 45 minutes, or until the custard is set.
  7. Let cool to room temperature sprinkle with powdered sugar. Serve at room temperature.

Notes:

  • Adapted just barely from this Jacques Pepin recipe.
  • “Top and tail” means cut off both the stem and blossom end from the gooseberries. Don’t worry, this is easy to do with scissors.

{ 5 comments }
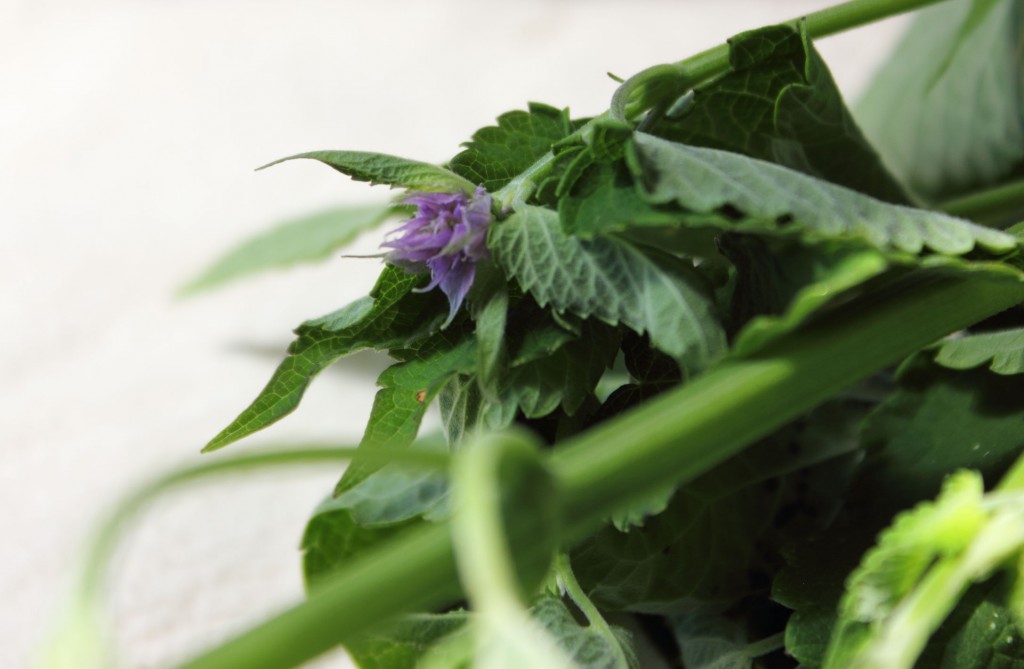
Since my CSA started, I’ve had to really restrain myself in the face of the gorgeous whorls of kale and the rainbow of radishes at the greenmarket. It’s safe to say that at any given time, I don’t need more vegetables. This just means I’ve been giving myself permission to explore the non-necessities a little more. This is how I came to be in love with anise hyssop. (That’s it above, with those pretty little purple flowers.)

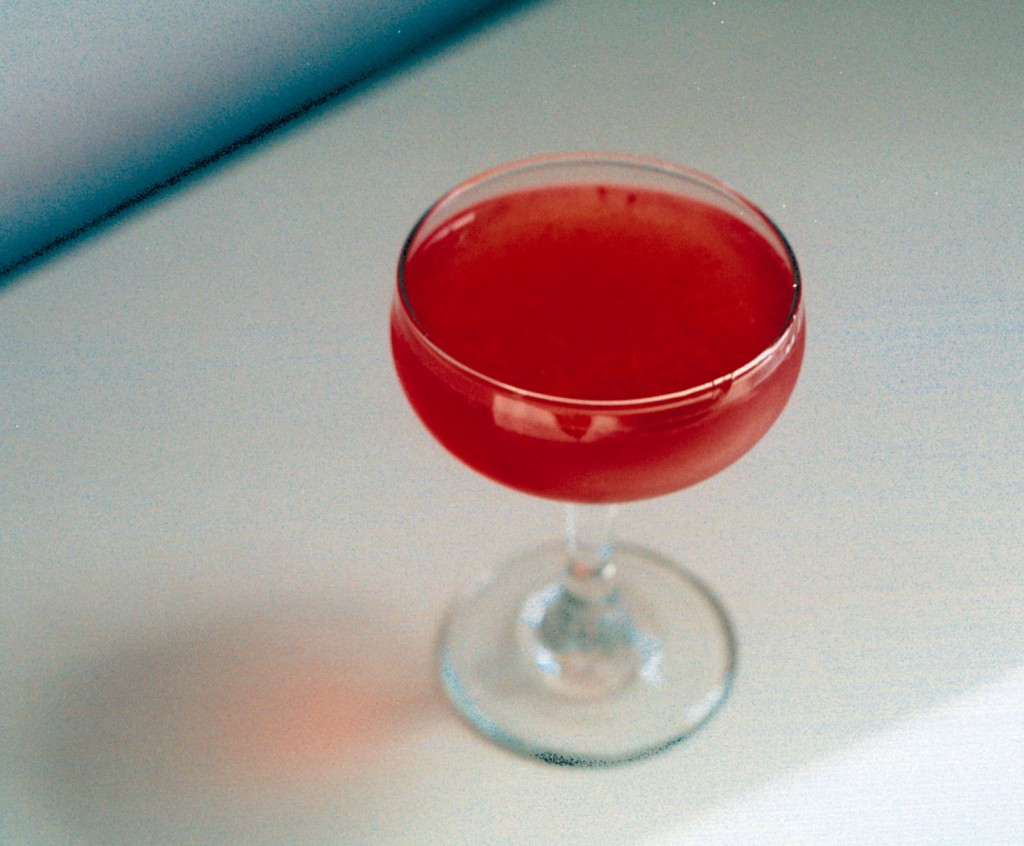
As the name implies, its flavor is anise-y, which I realize may send you running in the other direction. I’ve always been a weirdo that liked black licorice better than red, but I have to say that the flavor of anise hyssop is definitely smoother and lacks the bite and bitterness that I think turns some people off from black licorice. Like I did with lovage, I took the flavor on a test drive in the form of simple syrup and it quickly became a new favorite. When I made this syrup, I still had strawberries in my fridge. Punk Domestics confirmed my suspicions that strawberries go swimmingly with anise hyssop and I was in need of a summery cocktail. Meet the Strawberry Stunner: sweet, totally gorgeous, and a little more complex than you expected.

Strawberry Stunner Cocktail

Yield: 1 cocktail

Ingredients

  • 1/2 oz anise hyssop syrup
  • 3 oz lillet
  • 1 oz vodka (I used tito's)
  • 2 ripe strawberries, washed and stems removed

Cooking Directions

  1. Place ice and all ingredients except the strawberries into a cocktail shaker.
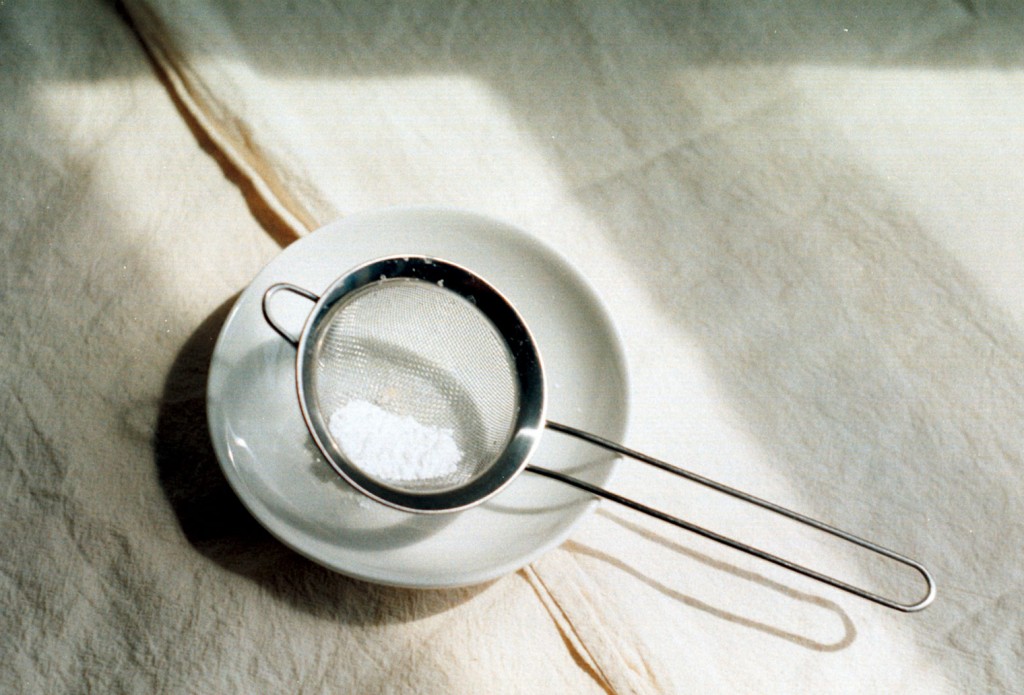
  2. Place a fine mesh strainer (I have a little one that works great for this) over the cocktail shaker and press the strawberries through it with the back of a spoon to "juice" them into the shaker.
  3. Shake until nice and cold and strain into a coupe glass.

Anise Hyssop Syrup

Ingredients

  • 20 leaves (1 handful) anise hyssop
  • 1 cup sugar
  • 1 cup water

Cooking Directions

  1. Combine all ingredients in small saucepan over high heat.
  2. Bring to a boil.
  3. Remove from heat and let steep for 30 minutes. Strain and refrigerate.

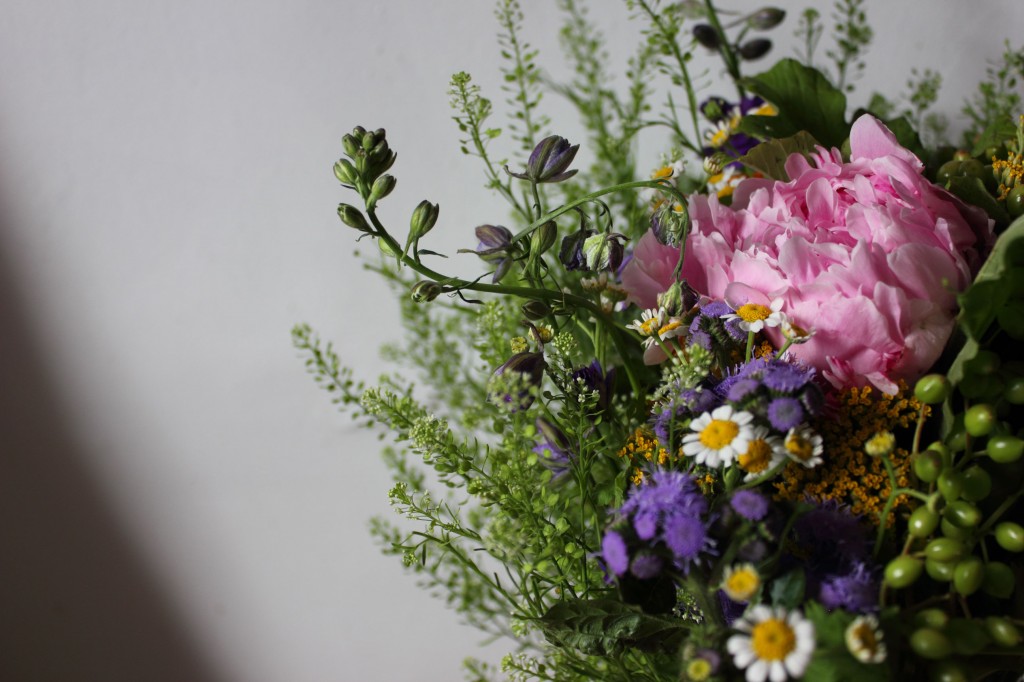
(Psst… Yossy, pic #3 is for you!)

{ 6 comments }
3-ingredient Green Smoothie

by autumn on June 20, 2012

The prospect of drinking a tall glass of bright green can be a little alarming. I remember the first time one of my old roommates saw me with a green smoothie, she messed up her face and asked if I was drinking pesto. IF ONLY.

Some folks are really into green smoothies. To be honest, they’ve come and gone in my life. I cautiously started mixing them up a few years ago as a way to manage my plentiful CSA greens. Clearly, this was before I discovered kale chips. Plus, I didn’t need a doctor to tell me that my iron levels were pretty darn low (although she later told me, in no uncertain terms).

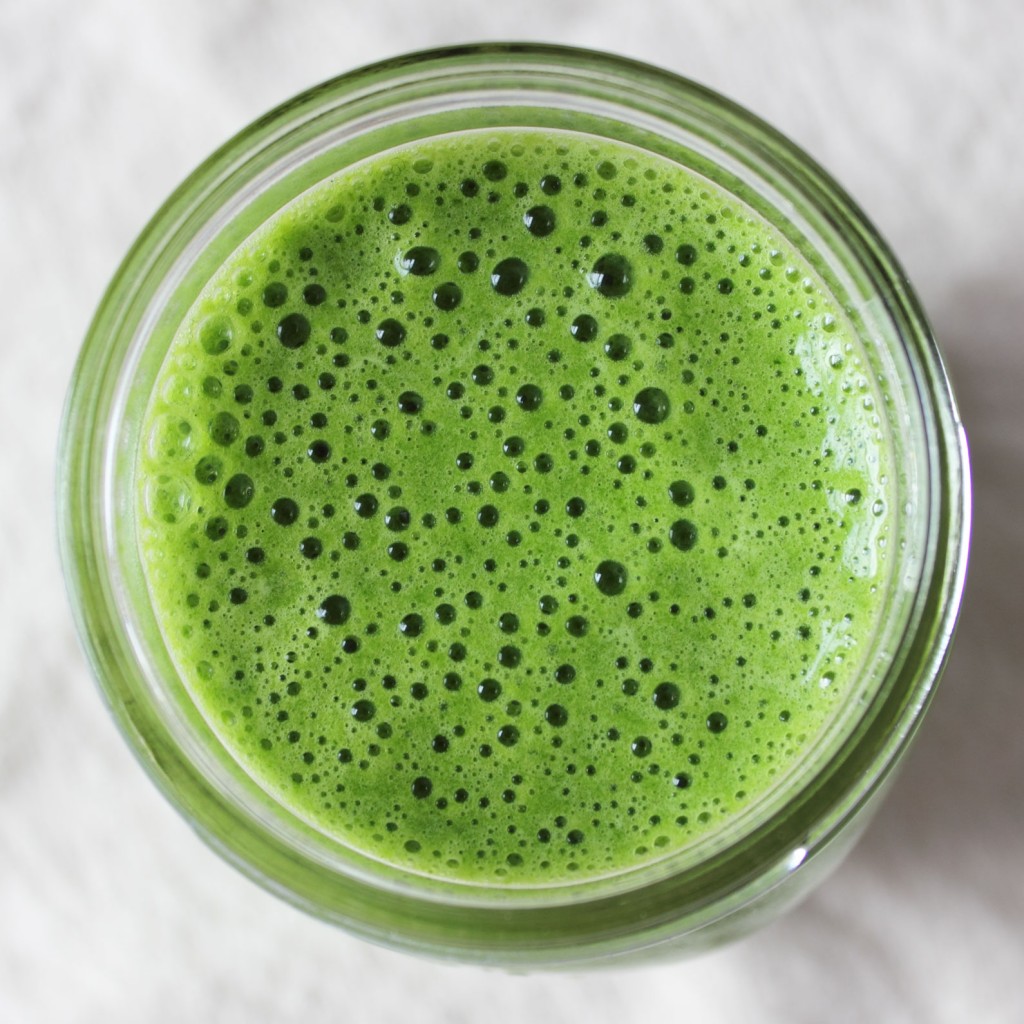
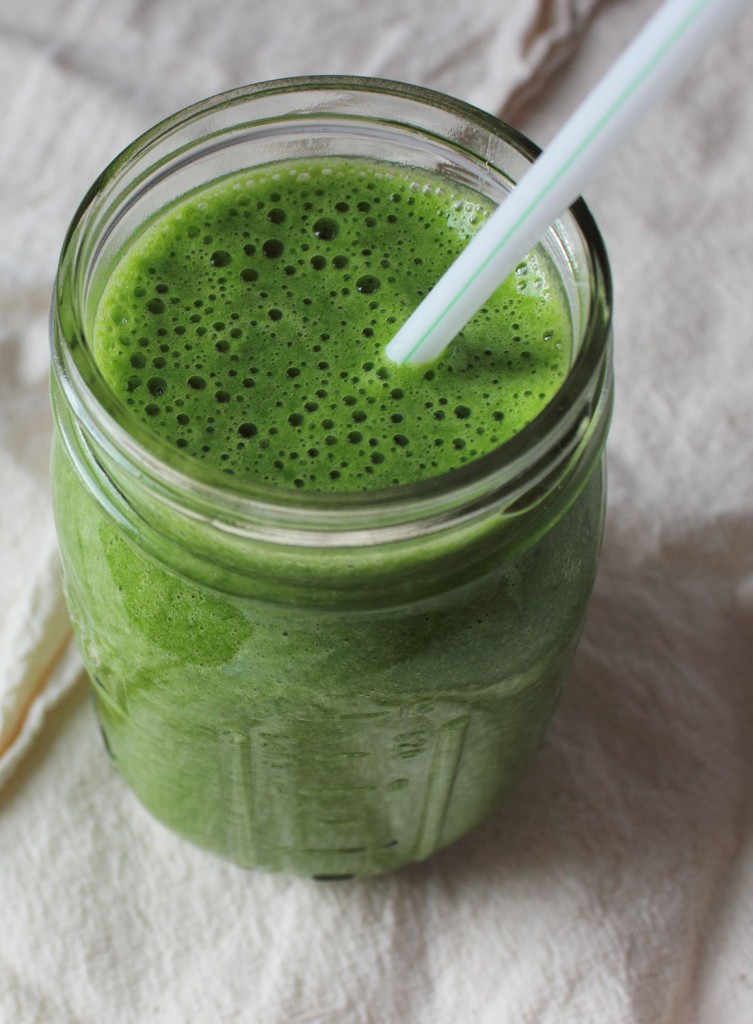
This green smoothie is the only one I make and it has proven to be the best way to get the greens out of the crisper and into my veins. My knowledge of science doesn’t extend much past the magic schoolbus, as you may have guessed from that veins comment, but my nutritionist sister says that vitamin C helps your body absorb the type of iron that is in green stuff. So this smoothie has two generous handfuls of greens (spinach and chard will result in a smoother final texture, but kale is great too), a cup or so of orange juice (that’s the vitamin C), and a banana. Pack it all in a blender and blend on high for a minute or so. It’s far from drinking pesto either. I’d say, it doesn’t even taste green. Think of it as a beginners green smoothie.

{ 17 comments }
Strawberry Picking: A Love Story

by autumn on June 11, 2012

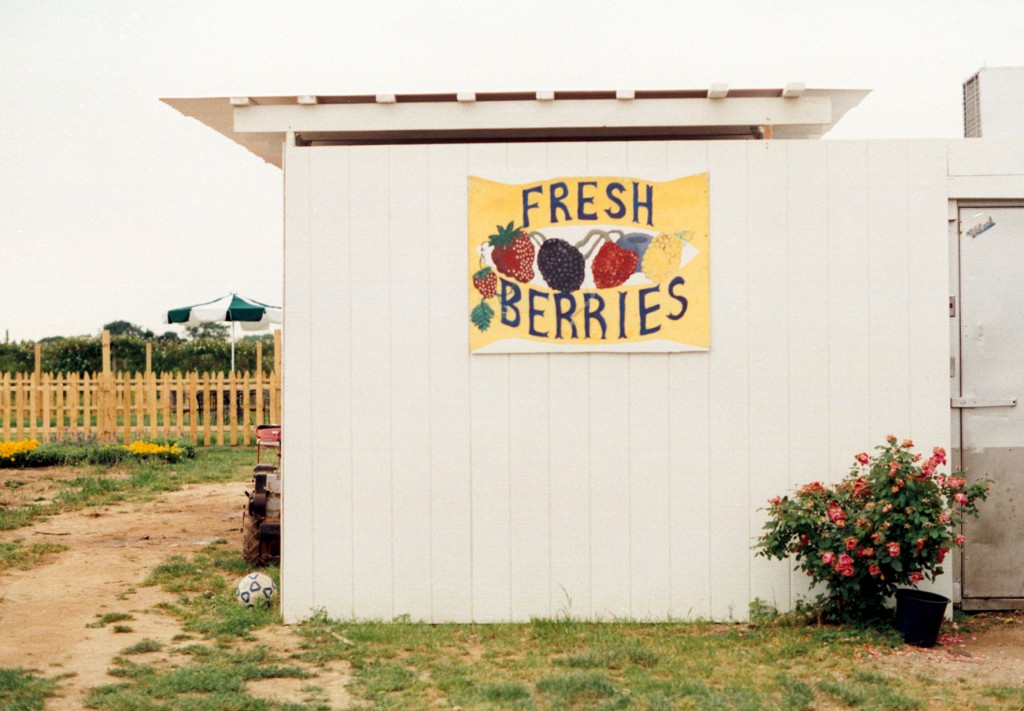
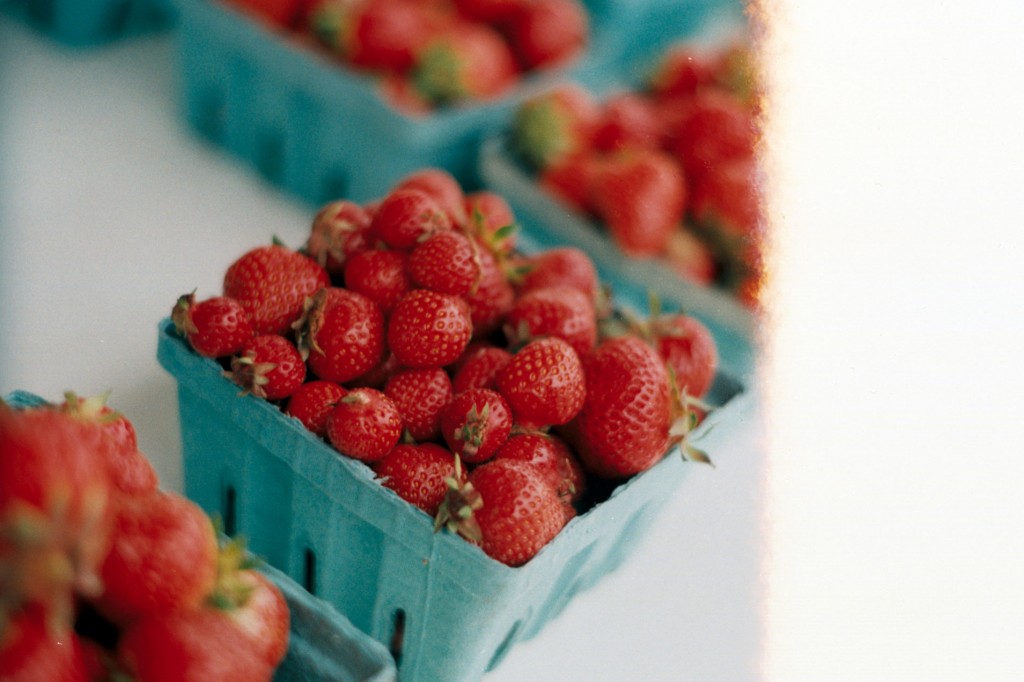
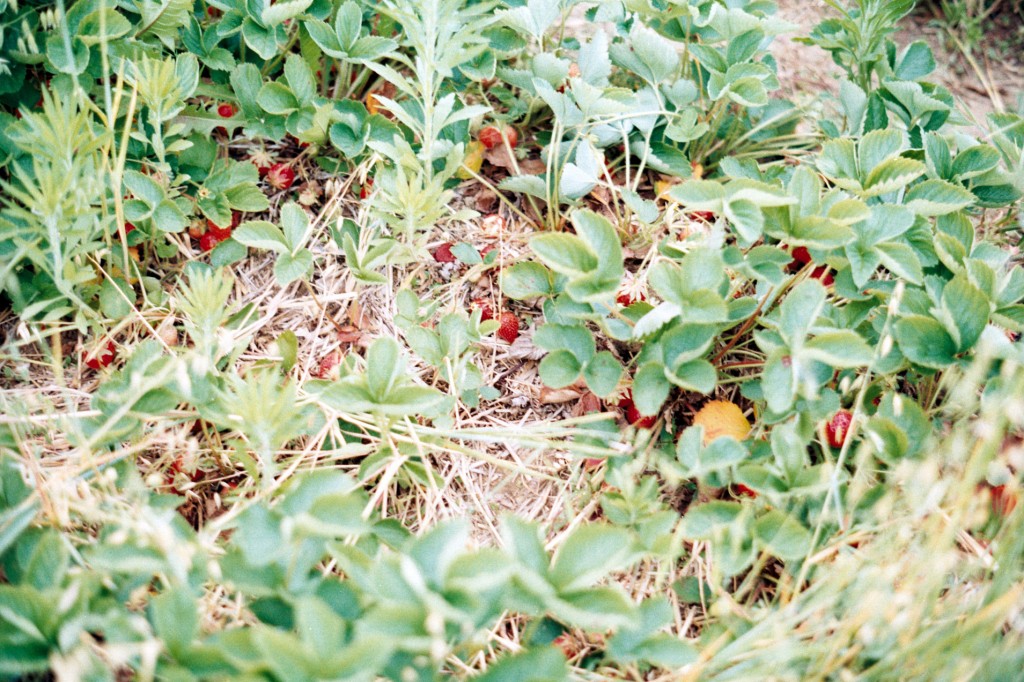
I picked strawberries on Long Island this weekend and it was damn near perfect. I mean, it was raining a bit and I was on the G train before 9 am on a Saturday, but still. Perfect. I was completely floored by the amount of open space on the North Fork. I knew in an abstract sense that there was farmland on Long Island, after all that’s where my CSA is from, but to encounter that much land that was just, well, land was pretty stunning. I find that the longer I live here the more I am captivated simply by space. I drank some Gewürztraminer, came back to Queens, and made a pinboard of things to do with strawberries. Until then, pictures from the day. (Thanks to Kathryn and Emily for having me as a road-trip companion.)

{ 14 comments }

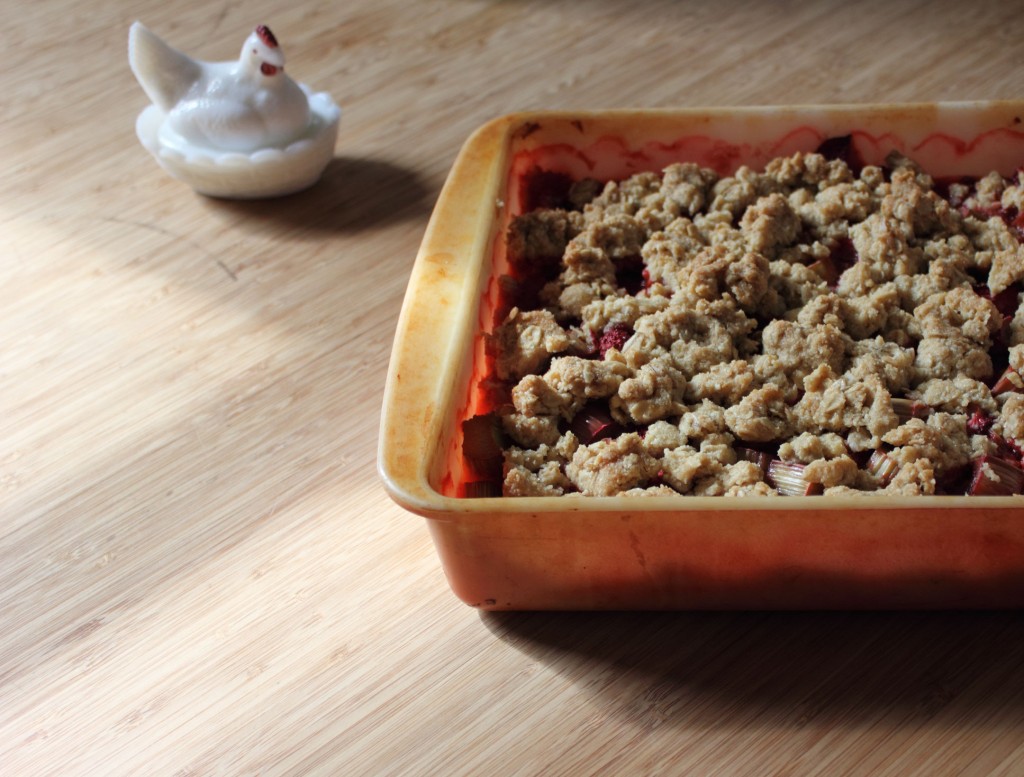
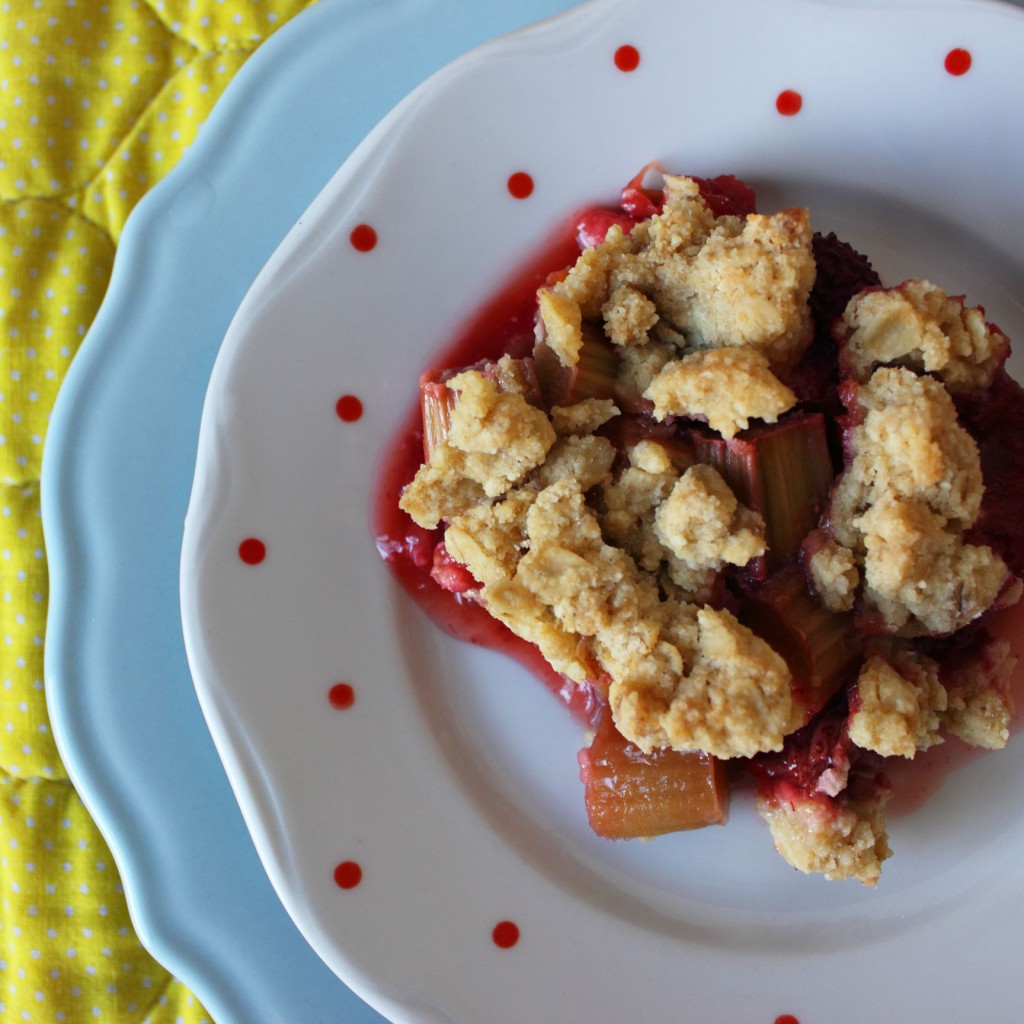
Gluten-free Strawberry Rhubarb Crisp

by autumn on June 6, 2012

As a kid, I was a huge fan of the lunch tray. Even at home, I required a plate that kept each type of food safely quarantined from its neighbor, avoiding any chance of contamination between the peas and—god forbid—the ketchup. I liked both peas and ketchup, but certainly not together. I felt similarly about strawberries and rhubarb until I made this crisp. I’m fully aware they’re a match made in seasonal-eater’s heaven, but I’ve always stopped short of combining them for fear of disappointment. I love them each so much on their own; how could I possibly love them even more together? I definitely wasn’t disappointed.

My justification for making this crisp three times in as many weeks is that I was on a mission to perfect an all-purpose gluten-free crisp topping before summer. This is it. It stays crispy even after a few days in the fridge, it holds together enough to make nice big crumbles, and (shh… don’t tell) it’s dairy-free too. It makes enough to cover an 8×8 inch square pan, so swap in your favorite fruit and consider this your go-to summer gluten-free crisp recipe.

Gluten-free Strawberry Rhubarb Crisp

Ingredients

  • 2 lbs fruit (I did 1 lb strawberries and 1 lb rhubarb), strawberries hulled and halved if large and rhubarb but into 1/2 in pieces
  • 1/4 cup sugar (I used organic cane sugar)
  • 1 T + 1 t corn starch
  • 1/4 cup sugar (I used organic cane sugar)
  • 3/4 cup gluten-free rolled oats
  • 1/4 cup gluten-free oat flour
  • 1/4 cup almond flour
  • 1/4 cup millet flour
  • 1/2 t baking powder
  • 1/2 t xanthan gum
  • 1/4 cup brown sugar
  • 1/4 cup Bob's Red Mill gluten-free all purpose flour
  • pinch salt
  • 1/4 cup + 1/8 cup (or 6 T) coconut oil (liquid)

Cooking Directions

  1. Preheat oven to 350.
  2. Combine the fruit, cornstarch, and the first 1/4 cup of sugar in a big bowl. Toss to combine and set aside.
  3. In a separate medium bowl, whisk together all the remaining ingredients except the coconut oil.
  4. When the dry ingredients are fully incorporated, mix in the coconut oil until well combined. Press the crumble dough together in the bowl. It should stick together.
  5. Give the fruit one final toss and spead it into an 8x8 square pan.
  6. Evenly distribute the crisp topping on top of the fruit. My favorite method for this involves breaking off a chunk at a time of the crisp dough (remember when I told you to press it together?) and gently break it apart on top of the fruit, leaving plenty of big crumbs.
  7. Bake at 350 until the crisp bubbles in the middle, about an hour.

Notes:

{ 4 comments }
Lovage simple syrup and a lovage cocktail

by autumn on May 28, 2012

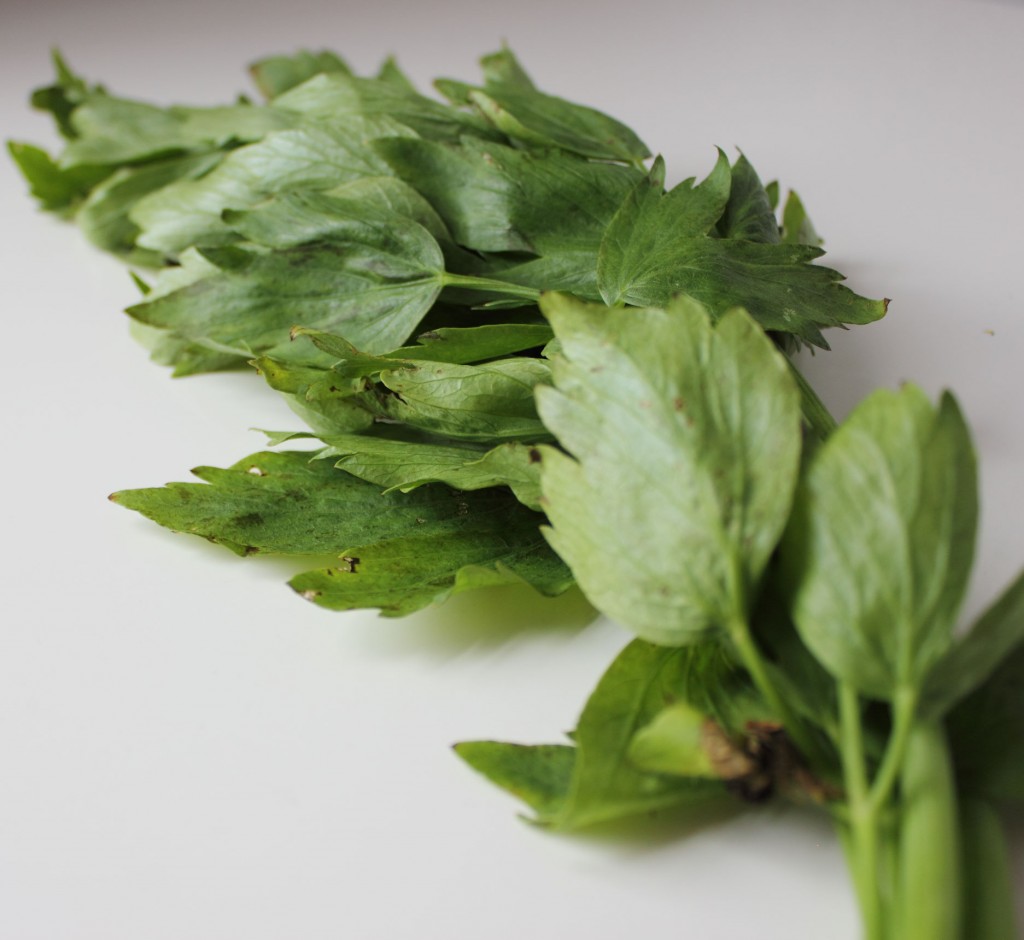
I feel a bit like I need a pitch for this, like I can’t just post a recipe for syrup that tastes remarkably like celery without selling it first. This might have something to do with the fact that I spent a fair chunk of yesterday, catching up on a certain tv show, but I’m ready to roll out a full-on publicity blitz for lovage. There will most certainly be bad puns because (wait for it) you’ll love lovage.

Hugh Fearnley-Whittingstall, who loves lovage enough to try to convince you to plant some, writes:

Lovage is native to western Asia and the Mediterranean, and was admired by the ancient Greeks and Romans for its medicinal as well as for its culinary properties – it was believed to cure everything from rheumatism to sore throats and indigestion. Medieval travelers tucked the leaves into their shoes because of their antiseptic and deodorising properties. Charlemagne was so smitten, he ordered it to be grown in all of his gardens. As the name suggests, it was also thought to be an aphrodisiac (we also used to call it “love parsley”).

Can you really say no to something called “love parsley?” In case you can, I’ll add that although celery is certainly a comparable taste to lovage, I really couldn’t care less about celery and I adore this syrup. Stirring it into some seltzer will be one of the more refreshing things you do for yourself this summer. This is the first week I caught it at the greenmarket here in the northeast, so now is an ideal time to seek some out.

Lovage Simple Syrup

Ingredients

  • 1 cup (200 g) sugar (I used refined white sugar for aesthetic reasons)
  • 1 cup water
  • 1 cup (20 g) lovage roughly chopped

Cooking Directions

  1. Bring all ingredients to a boil in a small saucepan over high heat.
  2. Remove from heat, cover, and allow to steep for 30 minutes.
  3. Pass through a fine mesh strainer to remove the cooked lovage and refrigerate the syrup.
  4. Makes just shy of 1 pint.

My Sweet Celery Cocktail

Yield: 1 cocktail

Ingredients

  • 1 1/2 oz vodka (I used Tito's)
  • 3/4 oz lovage syrup
  • 3/4 oz St. Germain
  • seltzer

Cooking Directions

  1. Combine everything except the seltzer in a tumbler with ice cubes.
  2. Top with seltzer to taste and stir.

Notes:

  • Adapted from Franny’s and the New York Times.
  • This cocktail is definitely on the sweet side. Cut it with some lemon juice or just add a little more seltzer if it’s too much for your taste.

{ 14 comments }