by autumn on February 1, 2012
Did you sweat over a pot of spitting strawberries in June? Did you ask yourself why a woman in her right would turn her tiny Queens kitchen into a sauna to put some fruit in a jar? February is why.
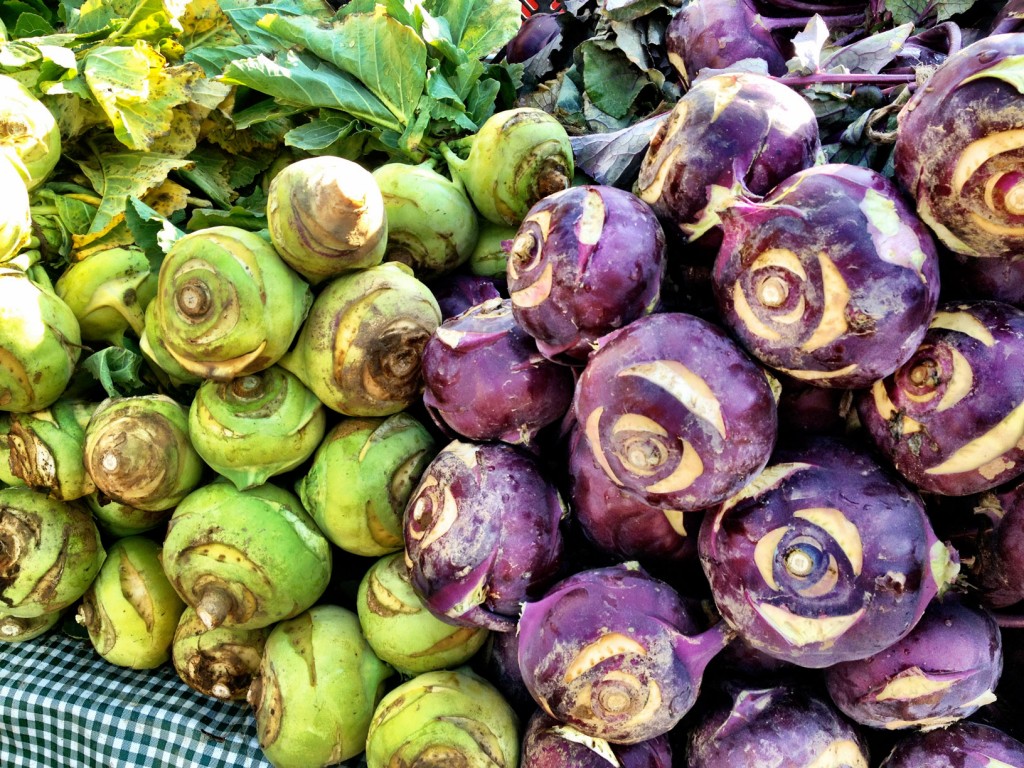
These are kohlrabi days. This may be the winter that got eaten by summer, but green stuff is still dwindling at the markets. It’s Tuesday and I’ve already had kohlrabi two days this week. I am not joking.

Still, I’m wearing my “I mean business” boots and heading out into the world on Saturday mornings to get more kohlrabi. I love the market too much to stop shopping there in the bare winter months. I could call myself a locavore, but my motivation is far less noble. It’s a simple love affair. Thus, kohlrabi,
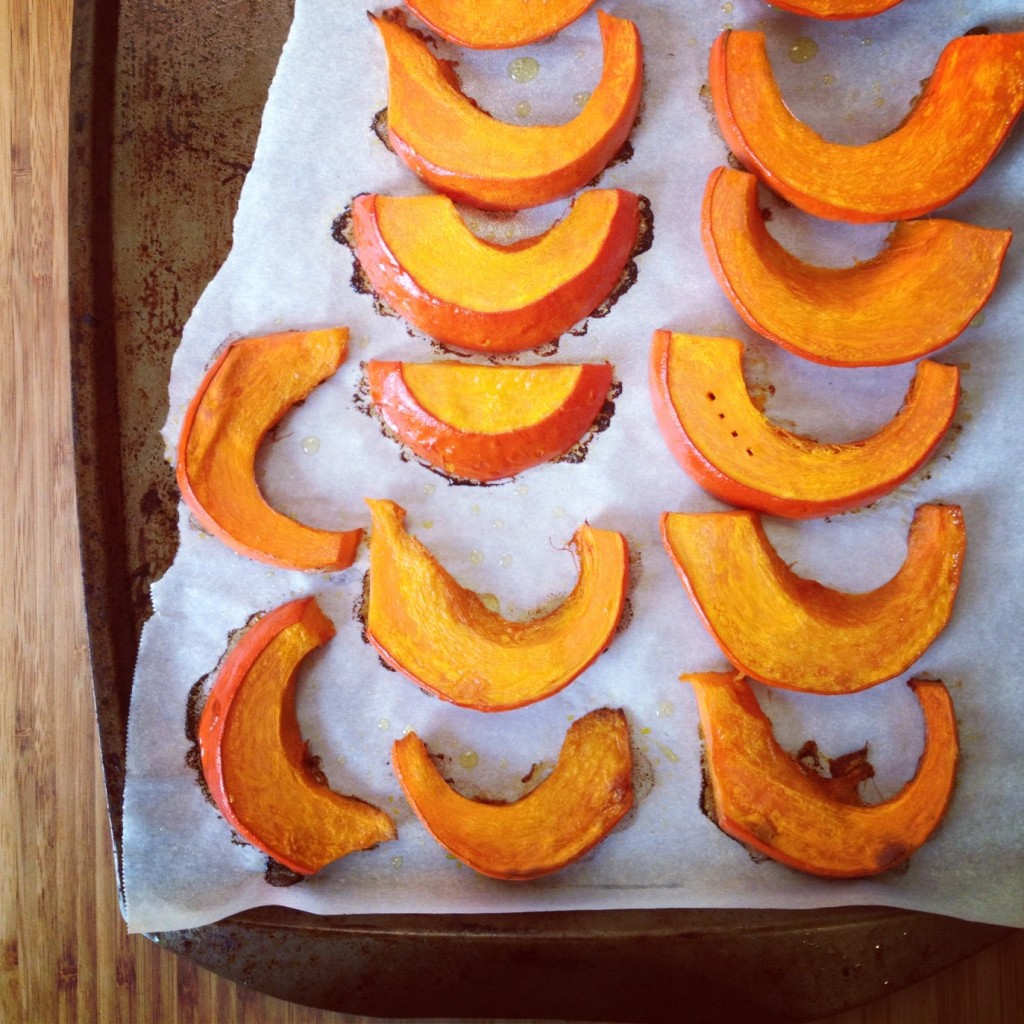
the sturdy squash (complete with fork stab),
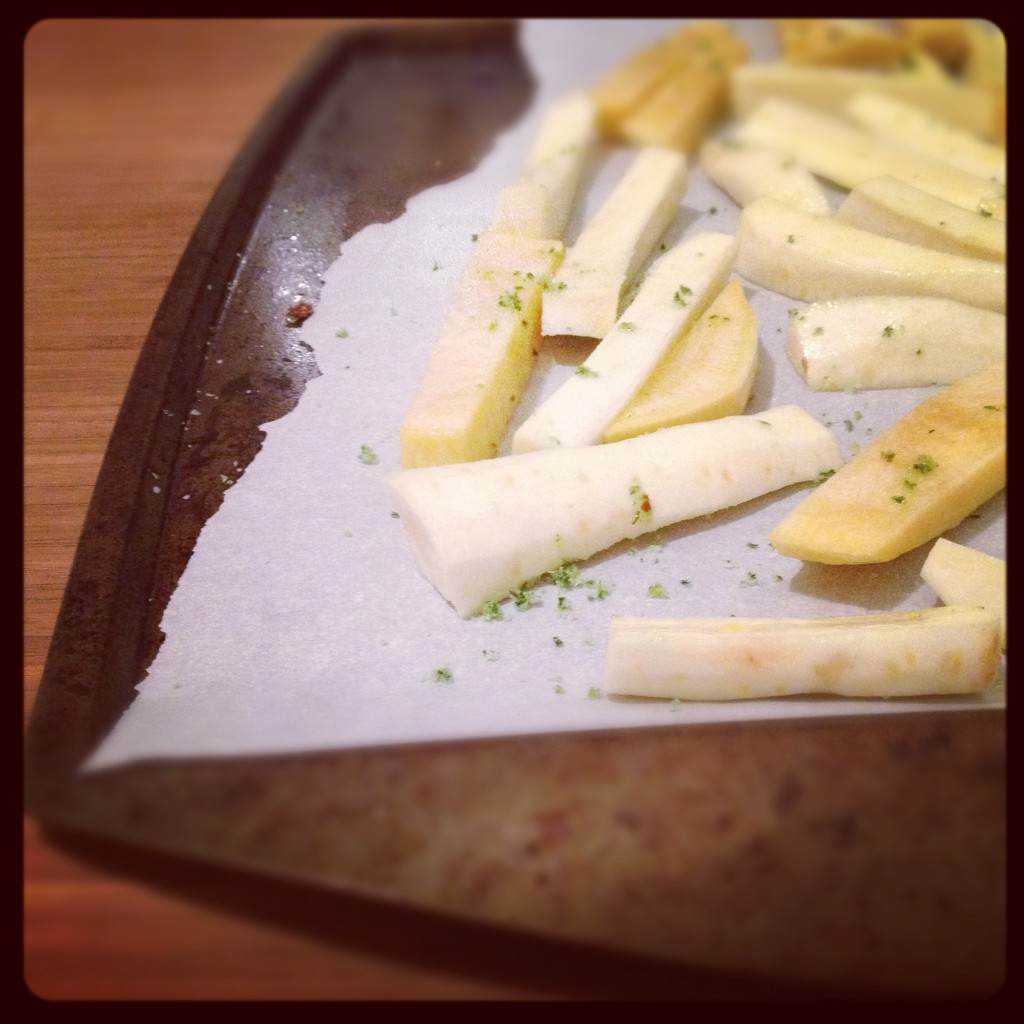
and turnip & rutabaga fries.
This is all to say that now is the time to enjoy the heck out of your summer strawberry jam. You’ll need the help of a good loaf of bread. I have updated my gluten-free whole grain oatmeal bread recipe and it’s the best its ever been. I learned a ton since I first met my breadmaker a year ago and this recipe reflects that.
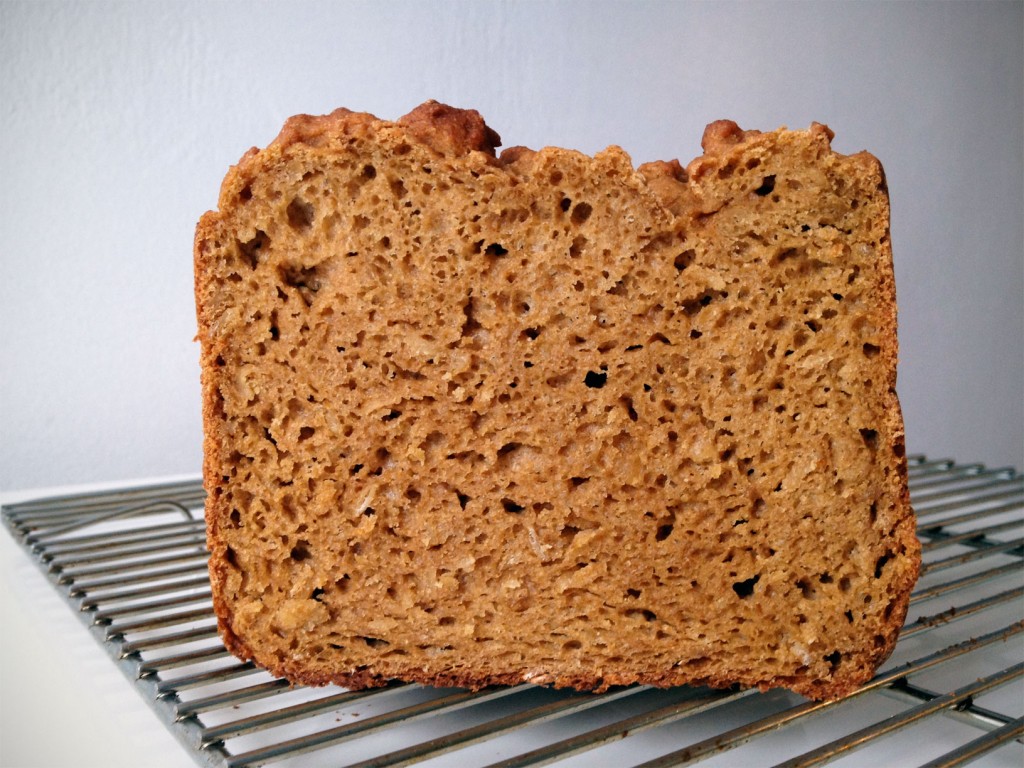
Gluten-free Whole Grain Oatmeal Bread
Ingredients
- 100 g millet flour
- 75 g teff flour
- 75 g gluten-free oat flour
- 100 g sorghum flour
- 50 g arrowroot flour
- 25 g potato starch
- 1 T xantan gum
- 1 1/2 t salt
- 1/2 cup gluten-free oats
- 1 1/2 cups water, brought just to the point of boiling
- 1/4 cup canola oil
- 1/4 cup agave or honey
- 1 T apple cider vinegar
- 1 T molasses
- 3 eggs, at room temperature
- 1 packet active dry yeast
Cooking Directions
- Put 1/2 cup oats in a large bowl. Pour the boiling water over the oats. Add the oil, agave or honey, cider vinegar, and molasses. Set aside to cool while you measure and combine the flours.
- Measure the flours. I tried to make nice round numbers so you can use one big bowl and measure them one on top of the other on the scale.
- Combine the flours with the xanthan gum and salt in a large bowl. Stir to thoroughly combine and set aside.
- When the water/oat mixture feels just warm to the touch (not hot), stir in the eggs.
- Pour the liquid ingredients into the bread maker pan.
- Without stirring, gently pour the dry ingredients into the pan, on top of the wet. Make a small well in the center of the dry ingredients and dump in a packet of active dry yeast.
- Process in a bread maker on the super rapid or gluten-free setting (if you have it). You're looking for a single long rise, or the closest thing to it. If you can select loaf size and darkness, use 2.5 lb and medium. Use a spatula to scrape down the sides near the end of the first knead cycle.
- Allow to cool completely and enjoy!
by autumn on January 22, 2012
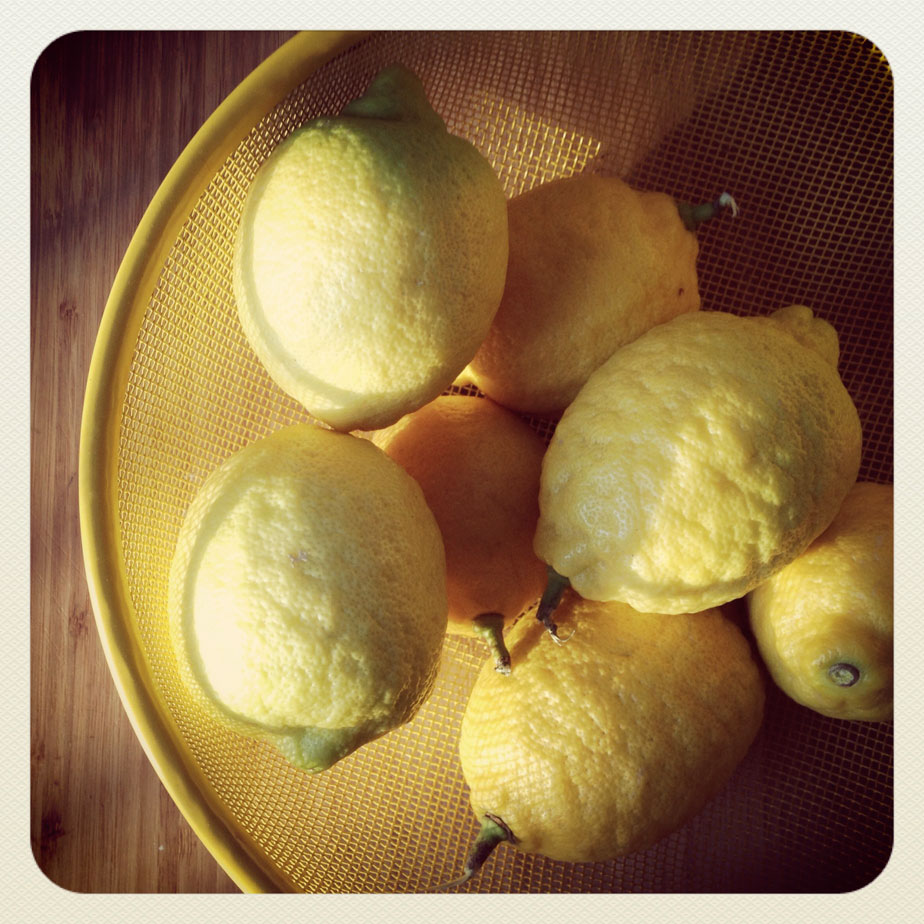
Whenever I get out of the city, one of the things I most look forward to is thrifting. Although I certainly have my favorites, thrift stores in NYC tend to be picked-over and over-priced. Some mothers and daughters get mani-pedis together, my mom and I go to “Half-price Fridays” at our hometown Salvation Army. Even though we spent our holidays elsewhere this year, we still had some quality time together at second hand stores.
My one good find was this lemony yellow bowl, which I was excited to bring home and pile high with produce. Alas, produce bowls don’t get much play in the Northeast in January, but thanks to a fateful gift from my boyfriend, my lemony bowl was filled with backyard-grown lemons.
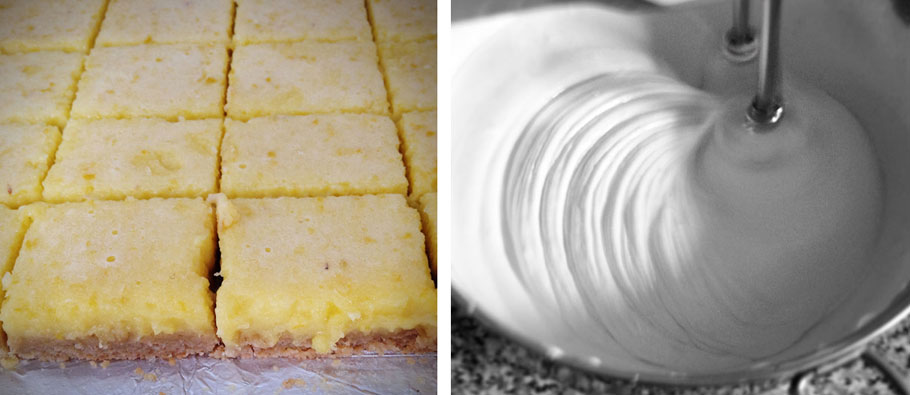
I’m going to share with you my recipe for lemon marshmallows. They’re an elegant and surprisingly easy way to try your hand at homemade confections. First, I want to round up recipes for what to do with lemons now. It shouldn’t surprise you that I’m partial to the frugal sort of projects that honor the preciousness of the fruit, by using the whole darn thing.
Whole Lemon Recipes:
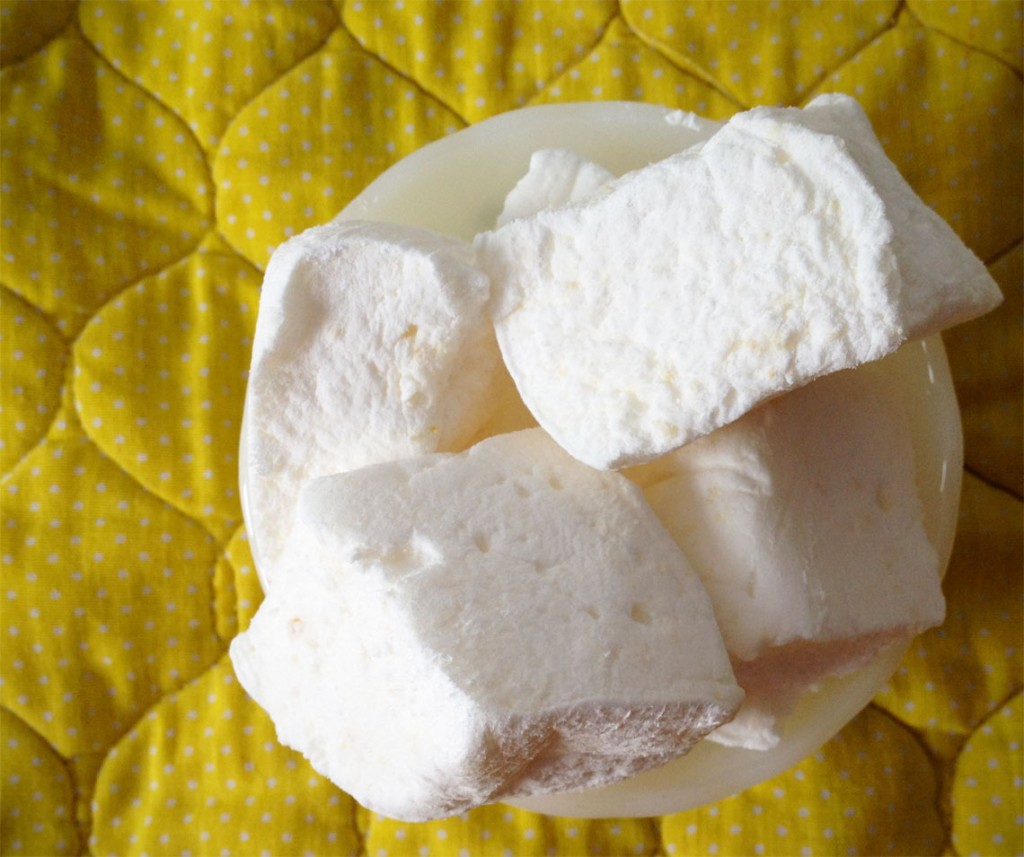
Lemon Marshmallows
Ingredients
- 1/4 cup lemon juice (about the juice of two lemons)
- 1/4 cup cold water
- 3 packets knox gelatin
- 2 cups sugar
- 2/3 cup light corn syrup
- 1/4 cup water
- 2 lemons worth of lemon zest
Cooking Directions
- Line an 8x8 pan with plastic wrap and oil the plastic wrap. Set aside.
- In a large bowl (or in the bowl of a stand mixer if you are using one) sprinkle the gelatin over the 1/4 cup lemon juice and 1/4 cup cold water. Let this set while you do step #2 below. A gelatin tip: Try to evenly distribute the gelatin over the surface as much as you can. This will help the gelatin dissolve evenly and prevent you from getting little gelatin clumps in your final product.
- While the gelatin is dissolving, heat the sugar, corn syrup, and water in a saucepan, stirring occasionally. Bring to a boil and let boil for 1 minute.
- Remove the syrup from the heat and carefully pour into the gelatin.
- If you are using a stand mixer, use the whisk attachment to beat on high for 12 minutes.
- If you are using a hand mixer (I did!), be careful of hot splatters. I started my hand mixer on low and increased the speed gradually, stood back, and didn’t get much splashing at all. I also used a bowl with high sides. Beat the mixture on high for 12 minutes. At the very end of the mixing process, stir in the lemon zest.
- Pour into the oiled, plastic wrap lined 8x8 square pan.
- Oil another piece of plastic wrap and press it on top of the marshmallow. You want the wrap touching the surface of the marshmallow. Allow to set for a few hours or up to overnight.
- Mix equal parts cornstarch and confectioner’s sugar in a small bowl. Start with a little and make more if you need it. I began with 2 T of each and didn’t need a lot more than that.
- Sprinkle a sheet of wax paper (or Silpat mat, if you’re fancy) with the sugar/cornstarch mixture. Remove the top layer of plastic wrap. Unmold the marshmallow, upside down, onto the wax paper, by lifting up on the plastic wrap that lines the pan.
- Remove the sheet of plastic wrap that was lining the pan and spread some sugar/cornstarch mixture on top of the marshmallow.
- Use a knife to cut into your desired marshmallow size and dredge the remaining sides of the marshmallows in the excess sugar/cornstarch mixture that is on the wax paper. Add more if needed.
- Store in an airtight container.
Homemade marshmallows are a favorite project of mine. If you’re not as psyched as I am about citrus, this recipe is just a very slight variation of my Rosewater Marshmallows and Pomegranate Vanilla Bean Marshmallows.
by autumn on January 16, 2012

I don’t have to tell you that New York City has a reputation for debauchery. People are also fond of saying that you can find anything you want in NYC, particularly when it comes to obscure ingredients. So imagine my surprise when I set out to make homemade bitters for the first time and learned that Everclear—the preferred high-proof alcohol for infusing and drinking out of coolers at house parties—is illegal in New York.
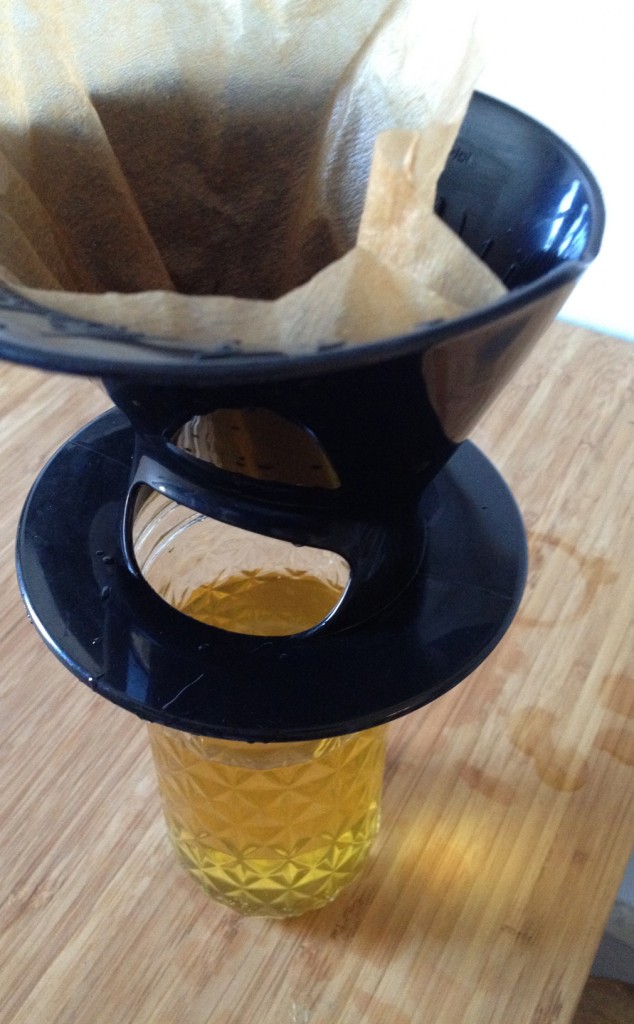
I forged ahead and, as I promised last week, here’s the report on my bitters experiment. I used this recipe as a guide and because I couldn’t get my hands on any Everclear, I used vodka. (After chatting with Sarah for the podcast, I learned that the preferred brand of vodka for the Everclear-less is the high proof Devil Springs.)Â
There are some fairly labor intensive bitters recipes out there, but this one is dead simple so it’s a great place to start. It’s also particularly timely since it makes use of citrus peels and citrus is now at its peak.
I chopped up the peel of one organic grapefruit (with the pith on), added one tablespoon of juniper berries, put it all in a quart jar, covered it with vodka (it took about 1 1/2 cups), and let it infuse for a week. When it’s ready to drink, pour it through a fine mesh strainer, then through a coffee filter.
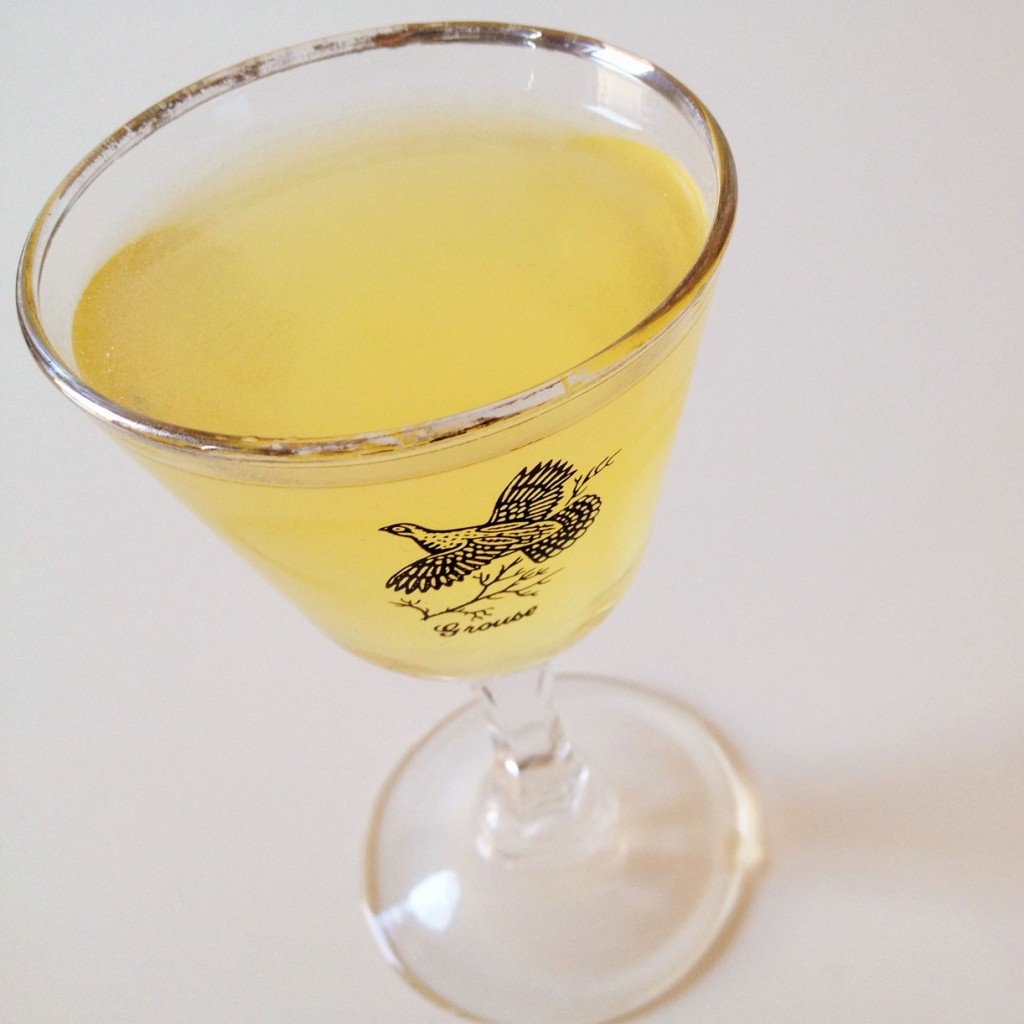
The resulting bitters were simple, pleasingly bitter, and begging to be mixed with gin. I obliged. The cocktail I made to honor my inaugural batch of bitters is The January Morning.
The January Morning
Ingredients
- 1 1/2 oz Henrick's Gin
- 3/4 oz Grapefruit Juniper bitters
- 3/4 oz Art in the Age Rhuby
- 1 teaspoon honey
Cooking Directions
- Combine all ingredients in a cocktail shaker with ice.
- Shake until chilled and well-combined. Strain into a martini glass and serve.
Notes:
- I just love Art in the Age products and especially Rhuby, their spicy little rhubarb spirit. More info on it here.
- There’s some great information, including a recipe, on bitters experiments from The Peche.
- There’s also plenty of bitters recipes over at Punk Domestics.
by autumn on January 9, 2012
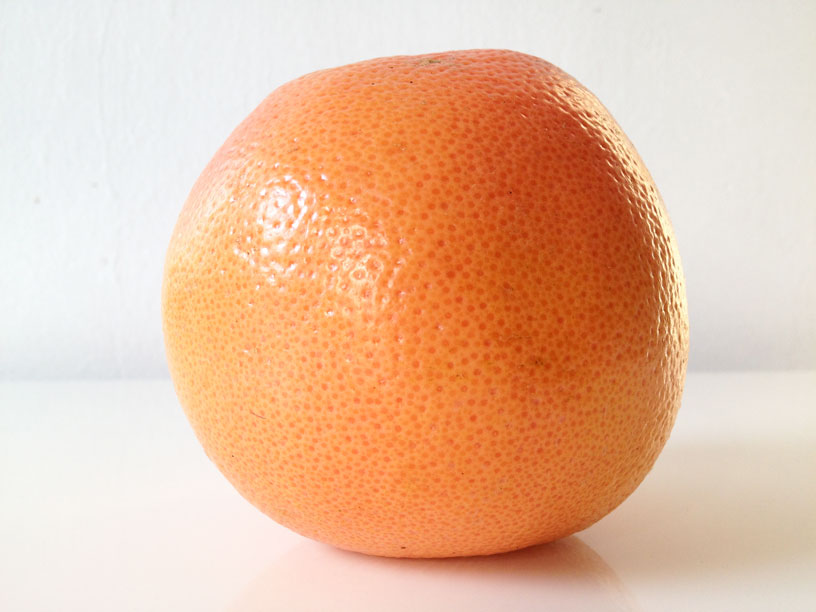
Last week, I saw this stunning Orange Cardamom Curd that Marisa posted over at Simple Bites and I realized I hadn’t taken proper advantage of citrus yet this winter. In the Northeast, eating in season has such urgency in the summer that in the winter it’s easy to forget that there are things that are at their best when we’re the coldest, even if they’re not right in our backyards.
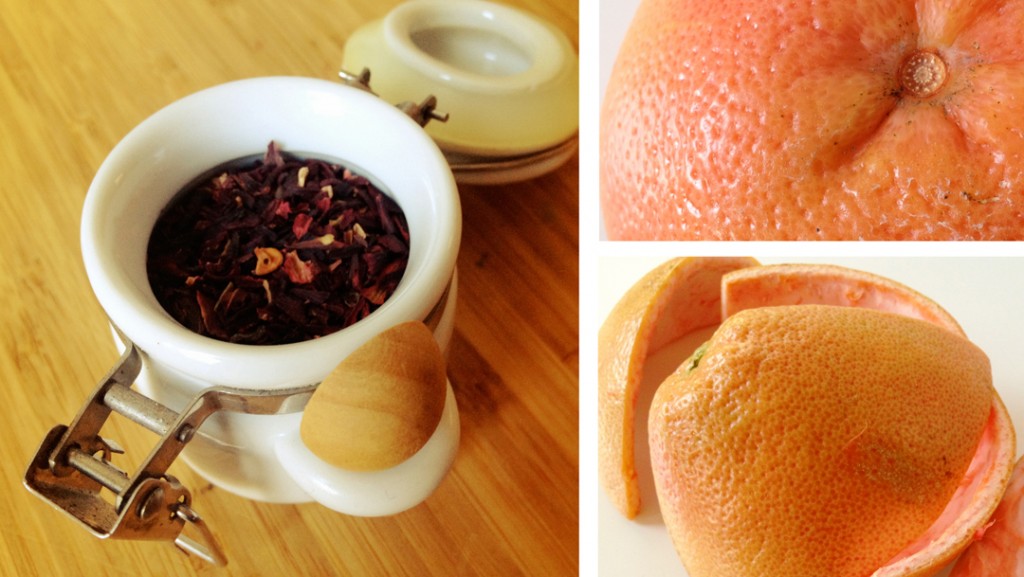
I paired a pink grapefruit with hibiscus to help retain the pretty color in my final product. My egg yolks were super orange and I still ended up with a rosy curd: success! Hibiscus is known by many names and has cultural and medicinal uses all over the world. Here it provides color and little extra sour kick. In addition to being a lovely hue,  I was happy that the curd retained a very slight bit of the grapefruit’s bitterness.
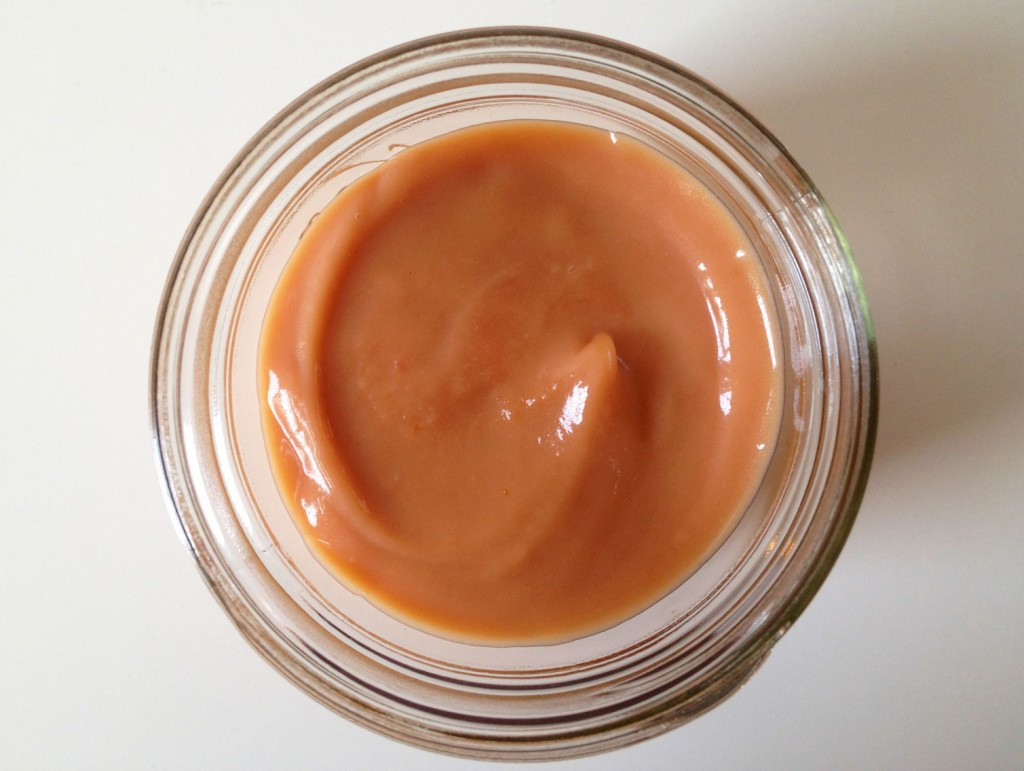
I followed David Lebovitz’s method for lemon curd exactly, just made adjustments to the ingredients. I love this recipe because it’s no-fuss and I’ve had great success with using it for lemon curd in the past. I know I can’t improve on his description of the process, so I’m going to give you my slight adjustments to the ingredients and send you over to him for the rest of the instructions.
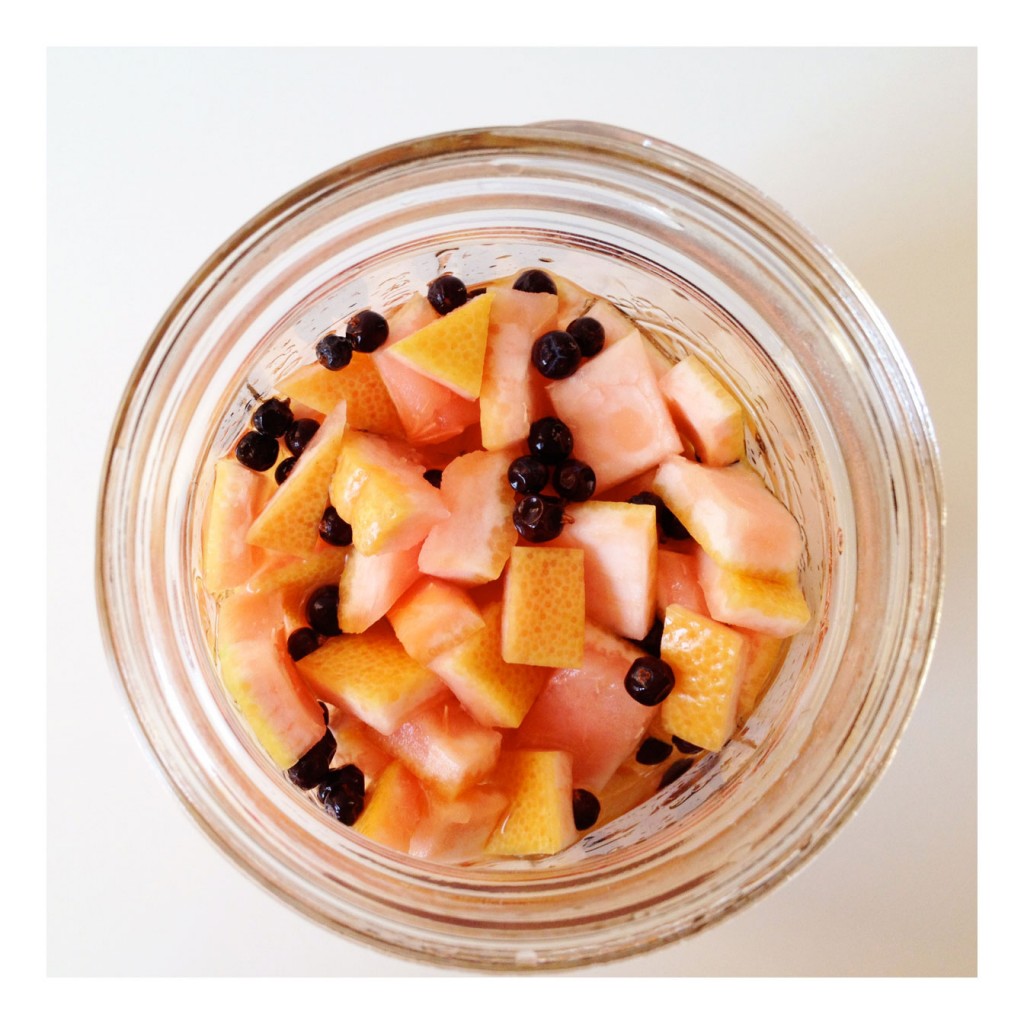
PS: Be sure to save your grapefruit peels with the pith on. I’ve got a little grapefruit juniper bitters experiment going and I’ll share the results with you in about a week.
Grapefruit Hibiscus Curd
Ingredients
- 1/2 cup (plus a bit more) freshly squeezed pink grapefruit juice (about 1 grapefruit)
- 1 T dried, chopped hibiscus flowers
- 1/3 cup sugar
- 2 egg yolks
- 2 eggs
- pinch salt
- 6 T butter, cut into about 1 T pieces
Cooking Directions
- Squeeze 1/2 cup of grapefruit juice and reserve any extra. I had an average size grapefruit and it gave me just enough juice for the recipe.
- Pour the 1/2 cup of grapefruit juice into a small saucepan. Add the hibiscus flowers and heat over low until it's just warm to the touch (just a couple minutes).
- Remove from heat and allow to steep for 5 minutes.
- Strain through a fine mesh sieve, pressing the hibiscus flowers to extract as much liquid as possible.
- Measure the resulting liquid and add additional grapefruit juice if necessary to make 1/2 cup.
- Follow steps 1-5 in David Lebovitz's Lemon Curd Recipe replacing lemon juice with the infused grapefruit juice.
by autumn on January 2, 2012
I always feel a little self-conscious about the amount of traveling I’ve done, which is to say I haven’t done that much. I’ve had my fair share of off-kilter trips (Alaska for Christmas! The Northwest Territories!), but never the grand ones that involve a passport. I suppose there are plenty of draw-backs to this, but there’s certainly an upside: I am extra enchanted with even the smallest things a new place has to offer. There was a lot of this during my holidays in Charleston (Grapes growing in someone’s yard?! A sideporch!)
There’s a lot of amazing food happening in Charleston too. Food like Emily talked about in the most recent episode of Alphabet Soup that updates a classic just enough to get our attention, yet keeps the comfort we crave. In that spirit, I came home from the south and cooked up some unconventional grits.
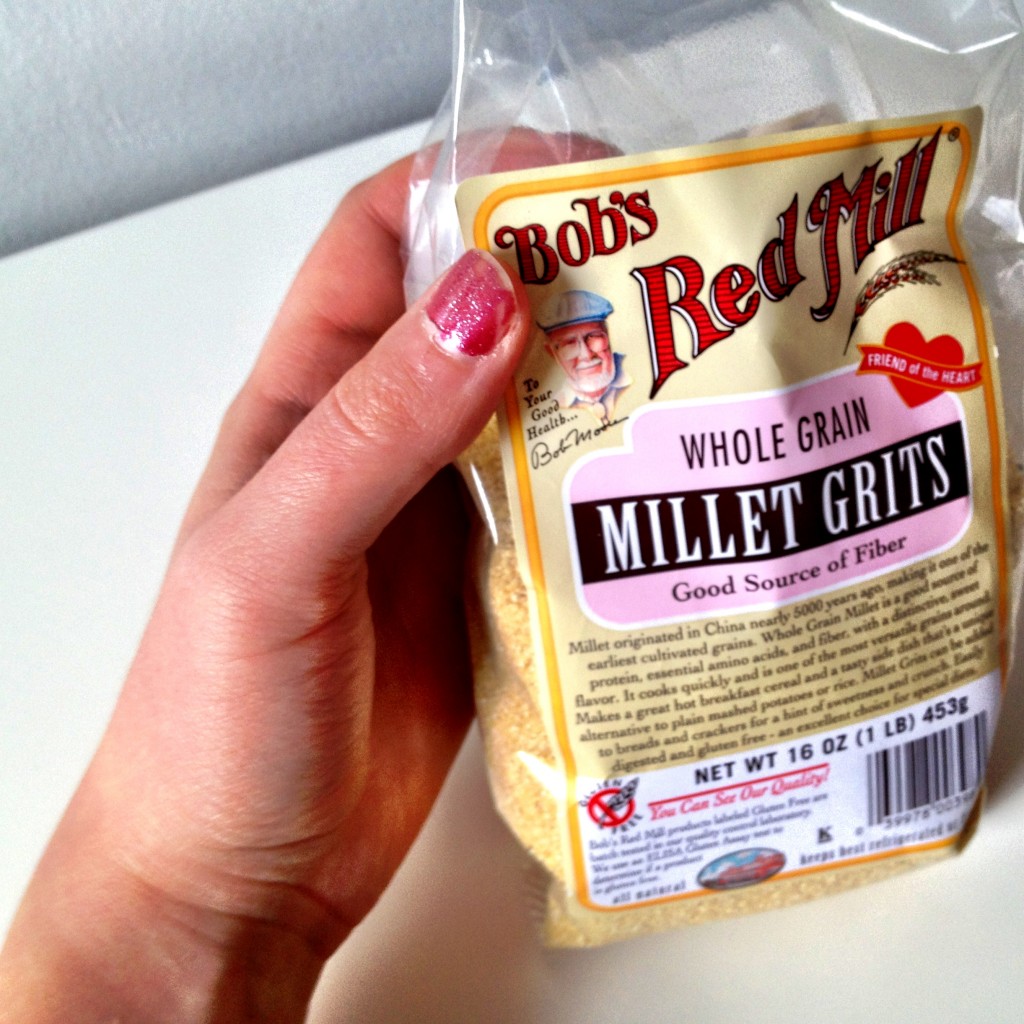
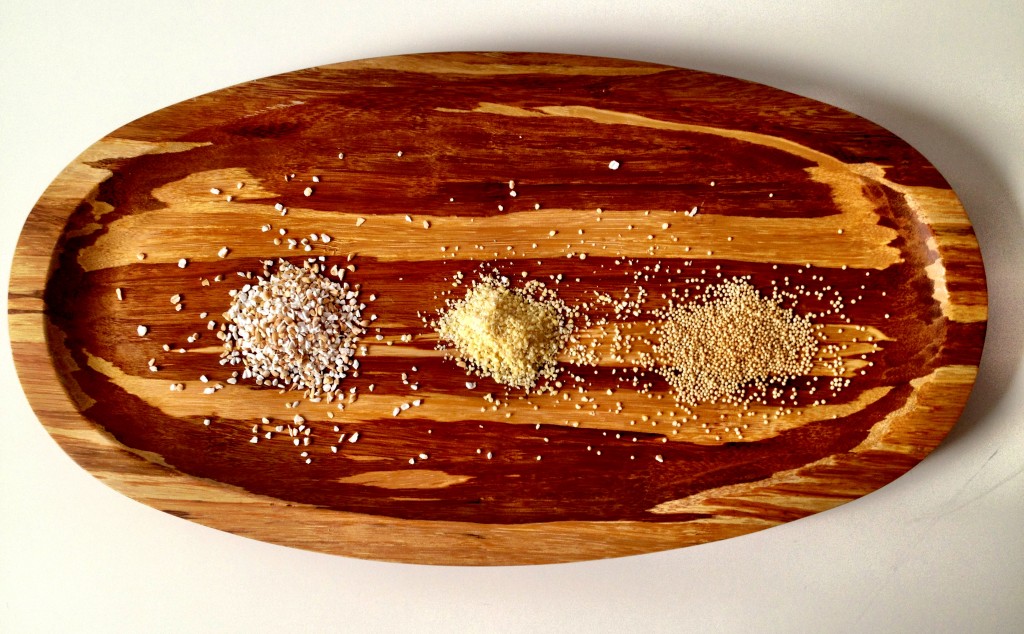
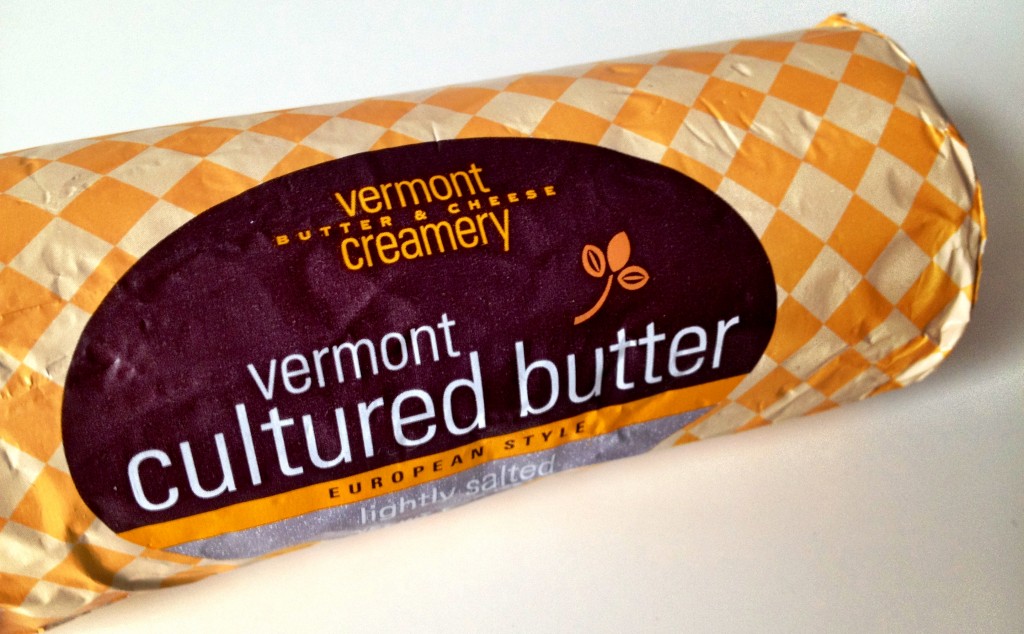
Before the holidays, Bob’s Red Mill sent me some of their new millet grits to try (PS: I loved receiving this gift, but my opinions are all my own). I am always on the look-out for more gluten-free whole grains, so I was really excited about these. I paired them with buckwheat and amaranth to make three-grain grits. I know this is the time of year when folks feel obligated to be extra-virtuous, but I’m a big fan of balance so I brought plenty of fancy butter to this whole grain party.
These cook up quick and will work for any meal. I kept these very, very simple, but they’re far from bland. I eschewed stock and didn’t season too much, so the unique flavors of each grain could shine through. This means they’re also a perfect palette for big flavors: top this with maple syrup for breakfast or serve it alongside some bitter greens for dinner.
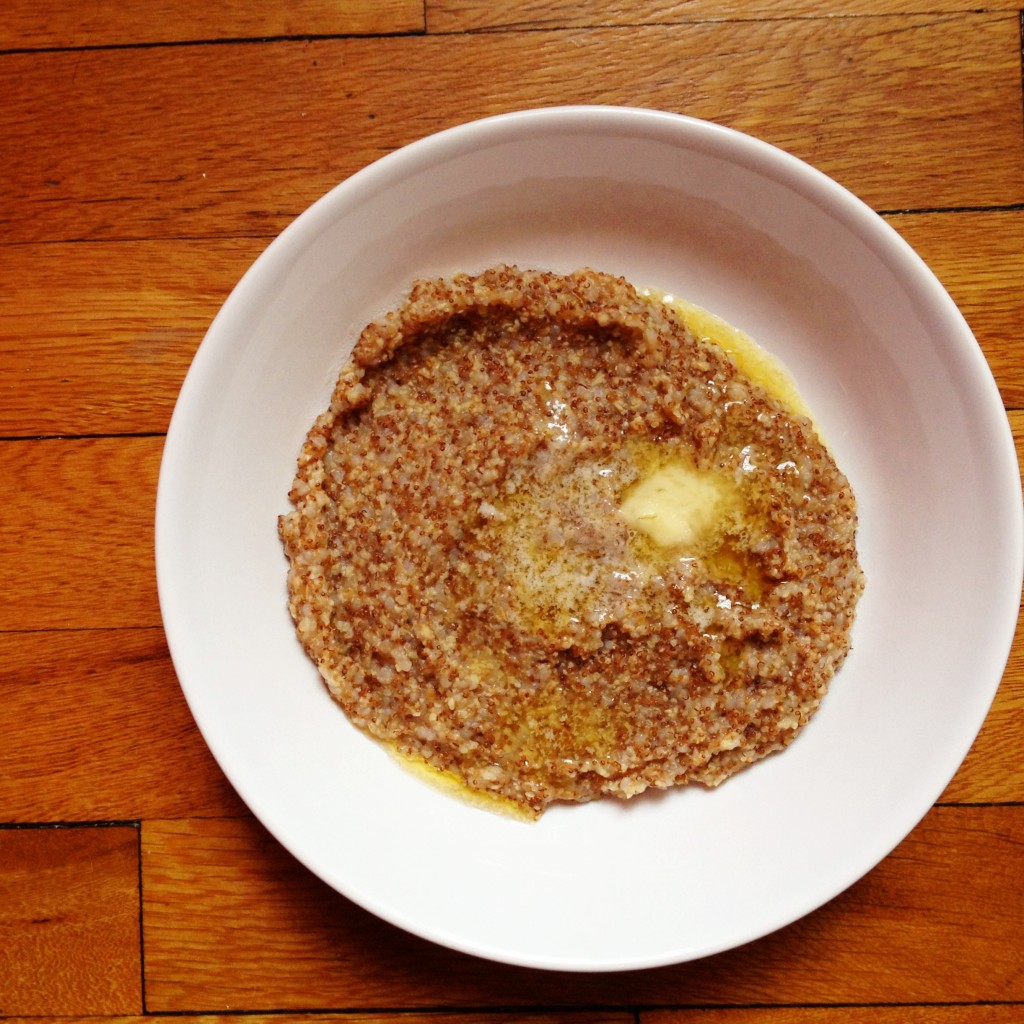
Three-Grain Grits
Yield: serves 2
Ingredients
- 1/8 cup amaranth
- 1/8 cup millet grits
- 1/8 cup buckwheat (medium granulation)
- 2 cups water
- to taste butter
- to taste salt
Cooking Directions
- In a small stainless saucepan over medium-low heat, heat the amaranth until many kernels pop and those that don't pop toast and become a golden brown, stirring constantly. Not all the kernels will pop and you may need to adjust the heat a bit to avoid burning.
- Add the water and bring to a boil. Reduce to a steady simmer and cook for about 5 minutes.
- Add the buckwheat and millet grits and reduce heat to very low.
- Simmer, stirring intermittently, until mixture thickens and grains are tender, about 12-15 minutes.
- Season with salt to taste and top with butter.
Notes:
- If, like me, you’re strictly gluten-free, make sure your grains haven’t been cross-contaminated. If you’re buying Bob’s Red Mill products, look for a red gluten-free seal (see the bag of millet grits above).
- Buckwheat is sold in different granulations, which just means that it’s ground up (or not). Medium granulation works best for this recipe.
by autumn on December 7, 2011
My family is rearranging. Instead of going home to Montana for the holidays this year, I’m going to Charleston. Pretty different, right?! I’m doing my best to be a grown-up and focus on the inevitable oysters in my future, but the truth is I’m still trying to wrap my head around a Christmas without snow.
Last time I was in Charleston, I caved to my obsession with community cookbooks and picked up Charleston Receipts. Published by the Junior League of Charleston, it is the oldest Junior League cookbook in the country. It’s a historical document as much as it’s a cookbook, to say the least. There’s a decent-sized section of drink recipes, including a “Lazy Man’s Old Fashioned,” which I found particularly charming.
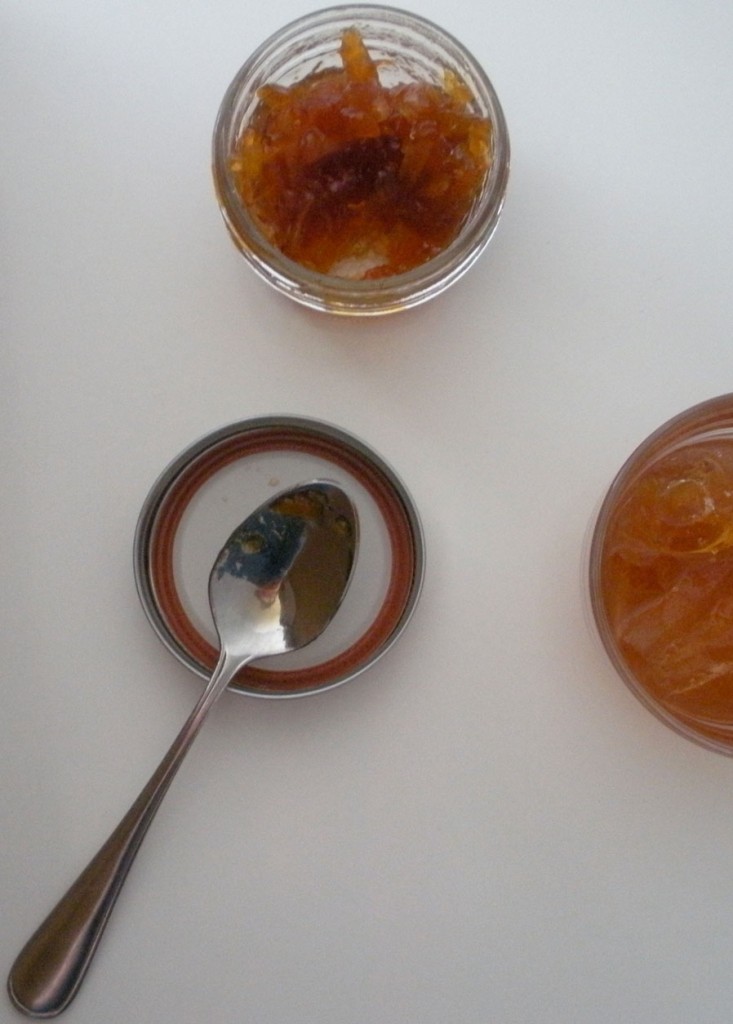
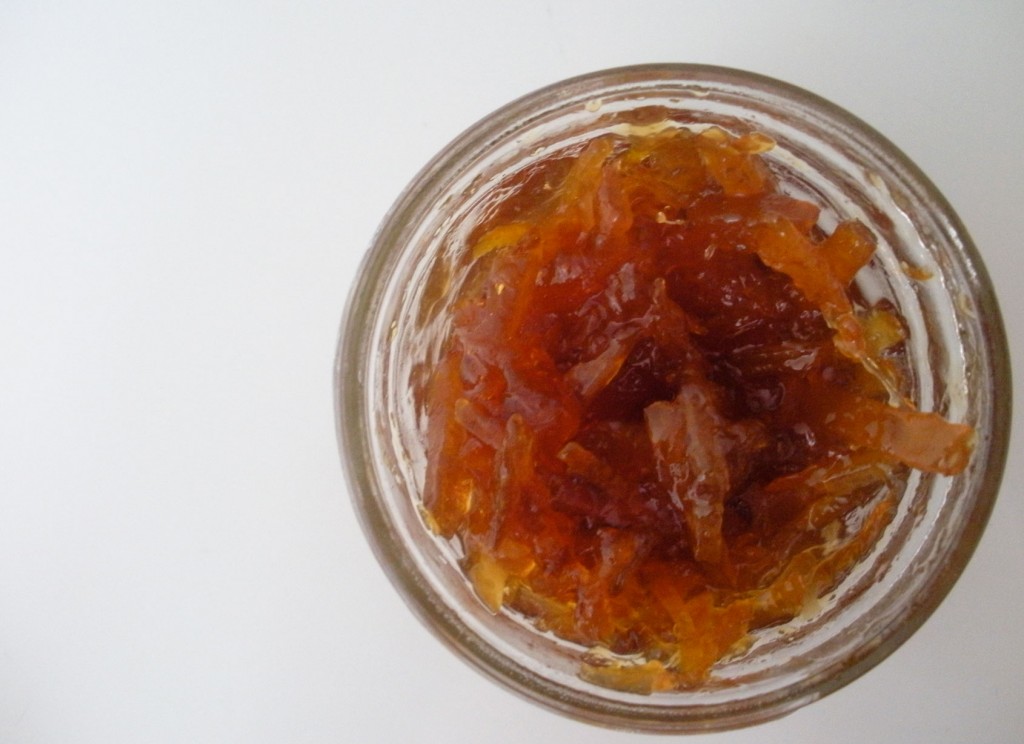
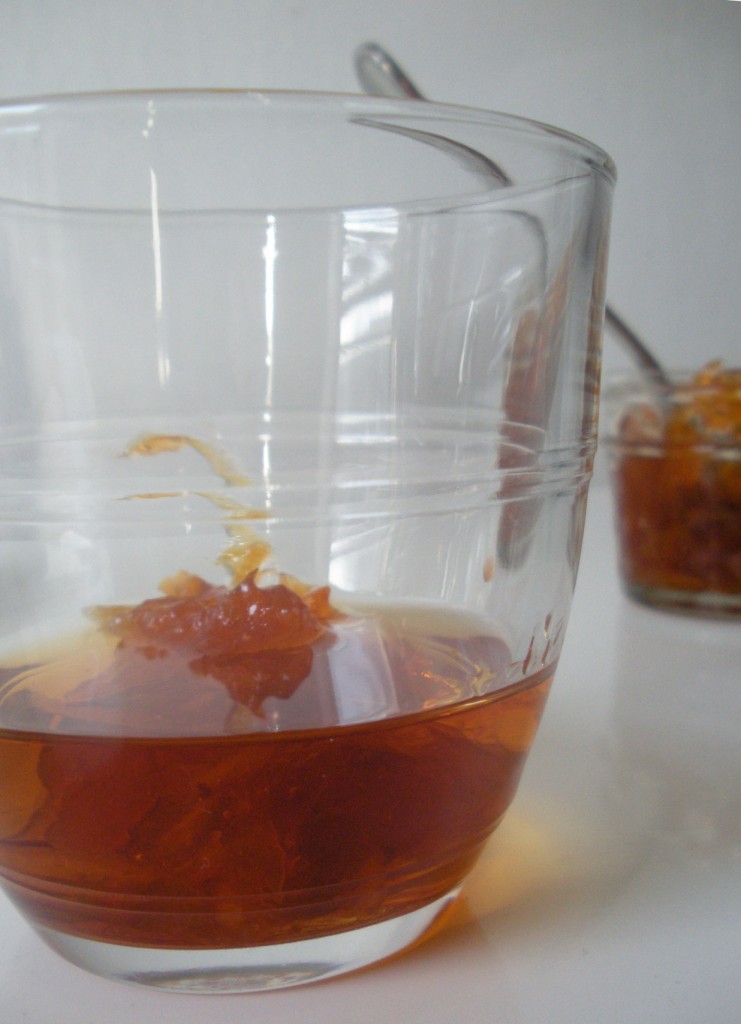
The Lazy Man’s Old Fashioned is simply a spoonful of orange marmalade, three dashes of angostura bitters, and a finger’s worth of bourbon. To my delight, the original recipe notes that the finger should be measured horizontally, not vertically. I made it two fingers, used some of Marisa’s three citrus marmalade that I made last winter, and the Lazy Lady’s Marmalade Old Fashioned was born. Initially, I was a little concerned about having chunks of orange peels floating around in my glass, but after one taste of the bourbon-soaked candied orange rind that awaits at the bottom of this drink, my reservations disappeared.
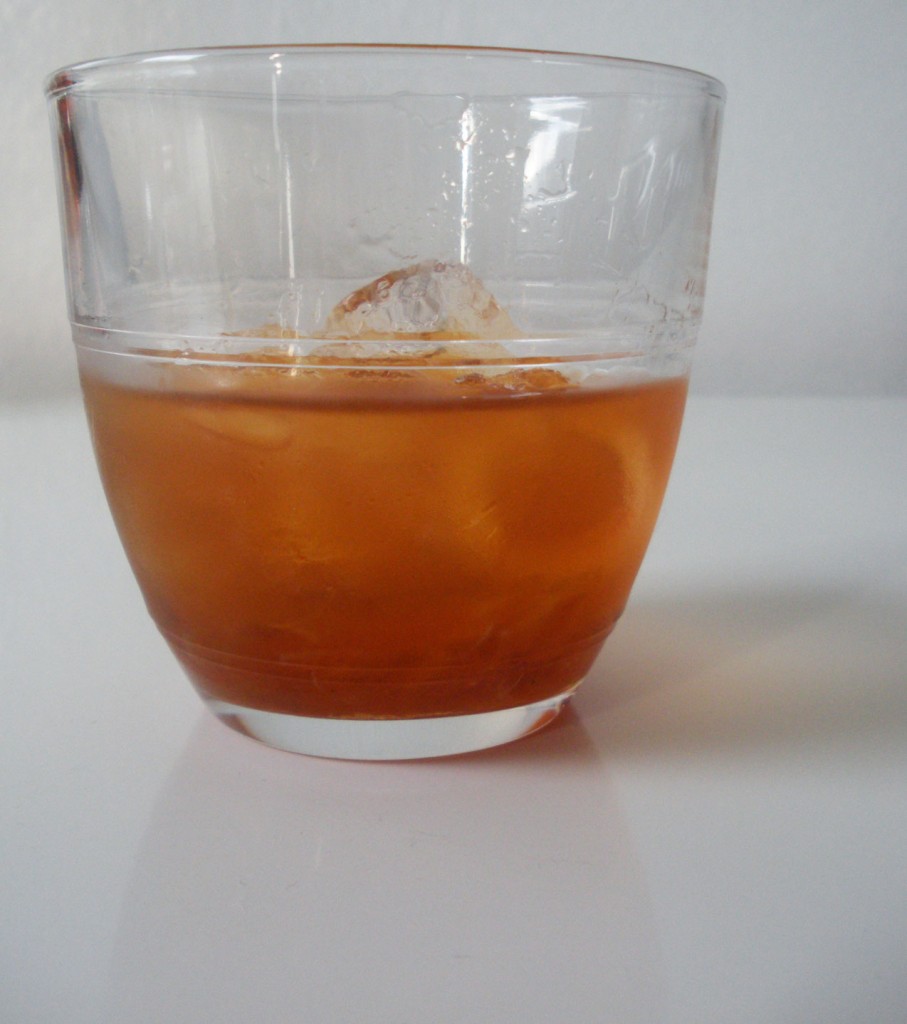
Marmalade Old Fashioned
Ingredients
- 1 heaping teaspoon marmalade
- 2 fingers bourbon
- 3 dashes angostura bitters
- ice
Cooking Directions
- Put the dollop of marmalade in your favorite bourbon glass.
- Dash 3 dashes of angostura bitters on top of the marmalade.
- Add two fingers of bourbon and stir.
- Top with as much ice as you'd like and enjoy.
adapted from Charleston Receipts.
Notes:
by autumn on December 4, 2011
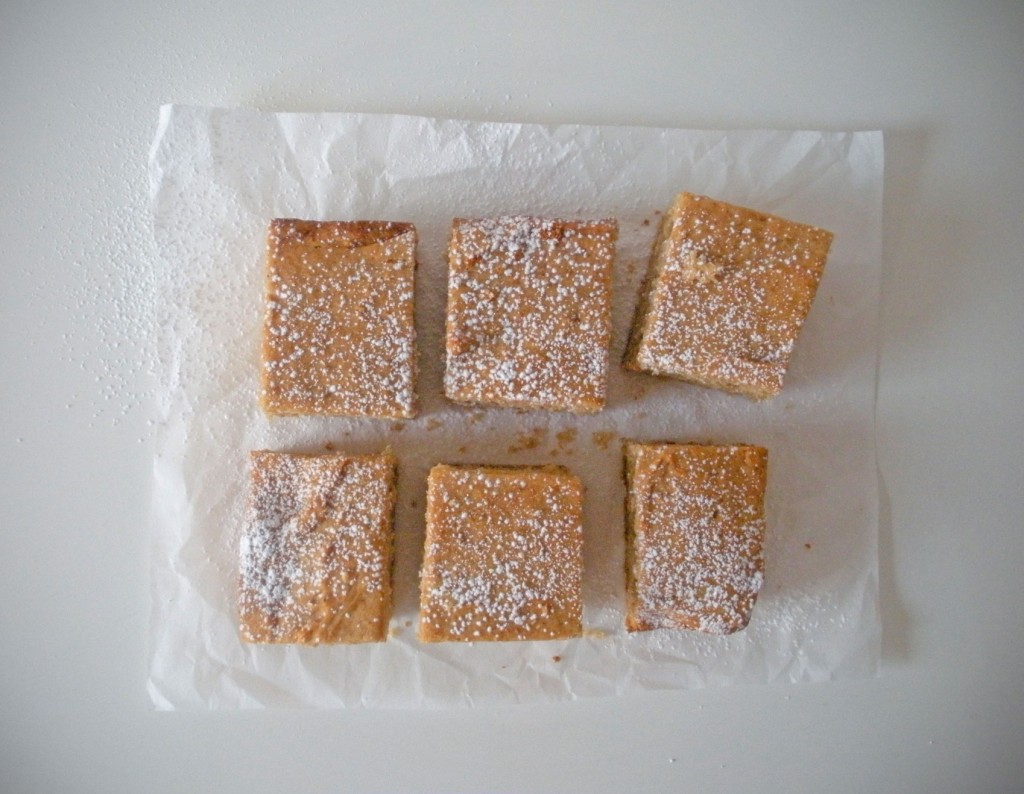
I’m not great at middle ground. Either I’m going to say screw it and have macaroni & cheese and french fries for dinner or I eat a plate full of green stuff and whole grains. So, when I think of cake, I need layers, sprinkles, and big frosting or something that barely wants to be called a cake at all. I lean toward the former and this is the latter, but this cake didn’t last 48 hours in our house.
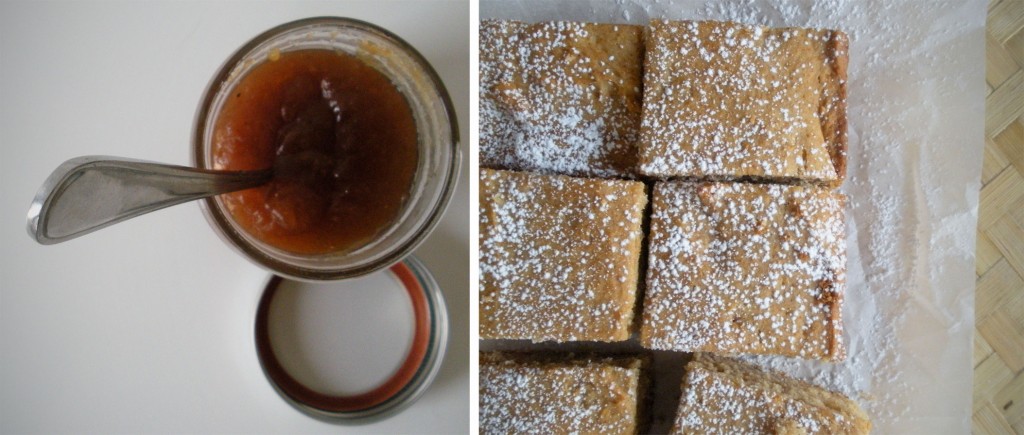
I made some apple butter from some crabapples and other apple odds and ends that were hanging out in the fridge too long. It turned out a little too sweet, so I didn’t can it, but knew it’d be great for baking. I found this spiced applesauce cake from smitten kitchen and because all the measurements were in grams, it was super easy to make gluten-free and dairy-free. (The weights of different types of gluten-free flours vary greatly, so the only reliable way to convert recipes is by measuring weight.)
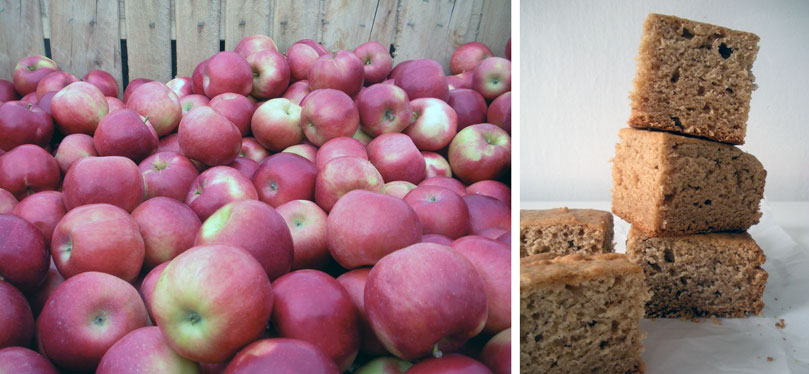
This cake is springy, snack-able, and not too sweet. It’s completely acceptable for breakfast and if you’re the sort of person who totes a little treat around to get you through the day, then this is for you. Without frosting, it’s more portable, but you could top it with a simple glaze (maple would be awesome) or cream cheese frosting if that’s your thing.
Apple Butter Cake
Ingredients
- 250 grams superfine brown rice flour blend*
- 2 t baking powder
- 1/2 t baking soda
- 1/2 t salt
- 1/2 t xanthan gum
- 113 grams Spectrum organic shortening, room temp
- 1 t vanilla
- 2 eggs
- 365 grams apple butter
Cooking Directions
- Preheat oven to 350 and line a 8 x 8 square pan with parchment paper.
- Combine the dry ingredients and set aside.
- Cream the shortening until fluffy. Add eggs one at a time, beating after each. Add vanilla and beat until completely combined.
- Beat in the apple butter.
- Add the dry ingredients and beat until fully combined. The batter will be very thick.
- Spread it into the parchment-lined pan and bake until a toothpick inserted into the center comes out clean, about 45 minutes.
*I used Cybele Pascal’s flour mix, which is described here.
Notes:
- Adapted from here.
- I relied on the spices in my apple butter to season the cake, but feel free to play around with more cinnamon, nutmeg, ginger, or a little bit of clove.
- I didn’t add any sugar beyond what was in the apple butter. If you find the cake is not sweet enough, I’d dress it up with some frosting rather than adding additional sugar to the cake.
by autumn on November 15, 2011
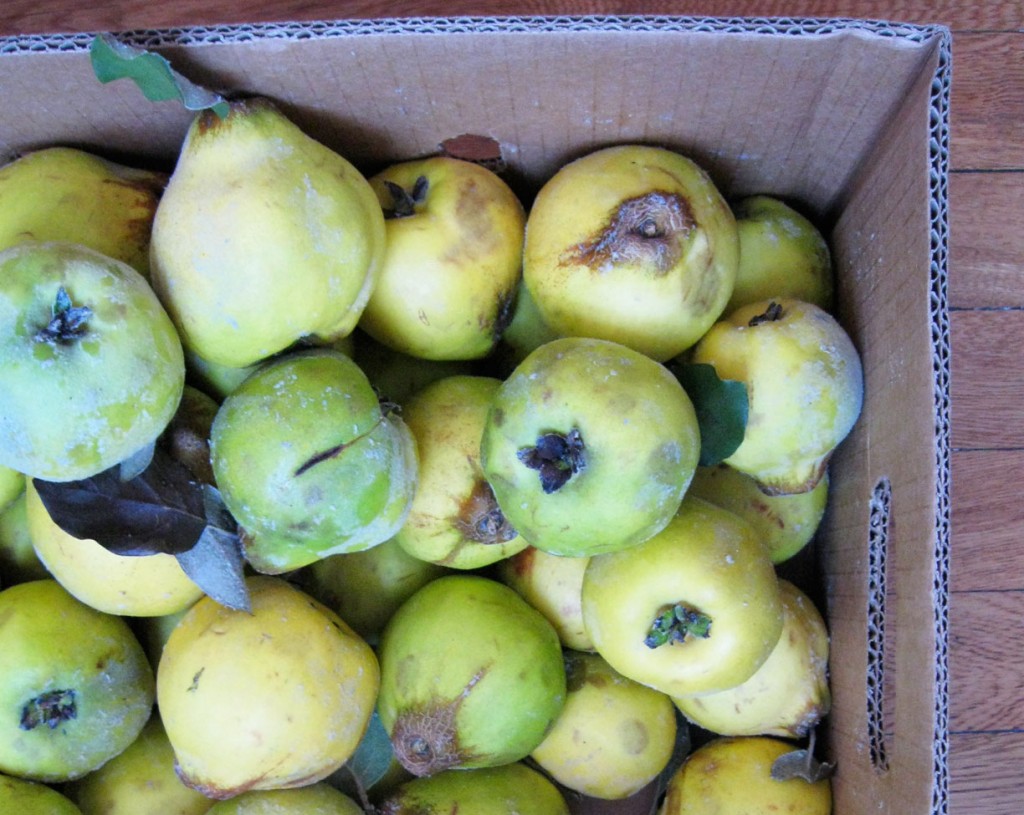
I am not an impulse buyer. I stew, evaluate, and compare. Yet, somehow, I came home last week (or, more accurately, my boyfriend did… he’s the one who carried them) with a box of 15+ pounds of quince that I certainly hadn’t planned to buy.
This was far from a rash decision though, I’d say the stars aligned. The price was right; these local Red Jacket Orchards  quince were half the cost of what I’ve paid elsewhere this season. We were at our neighborhood greenmarket and I had my quince-carrier in tow, making in much easier to answer the city-dwellers age-old dilemma: how the heck am I going to get this home? Finally, most importantly, I adore quince. They’re an endearing mix of intoxicating floral scent and pre-historic good looks.
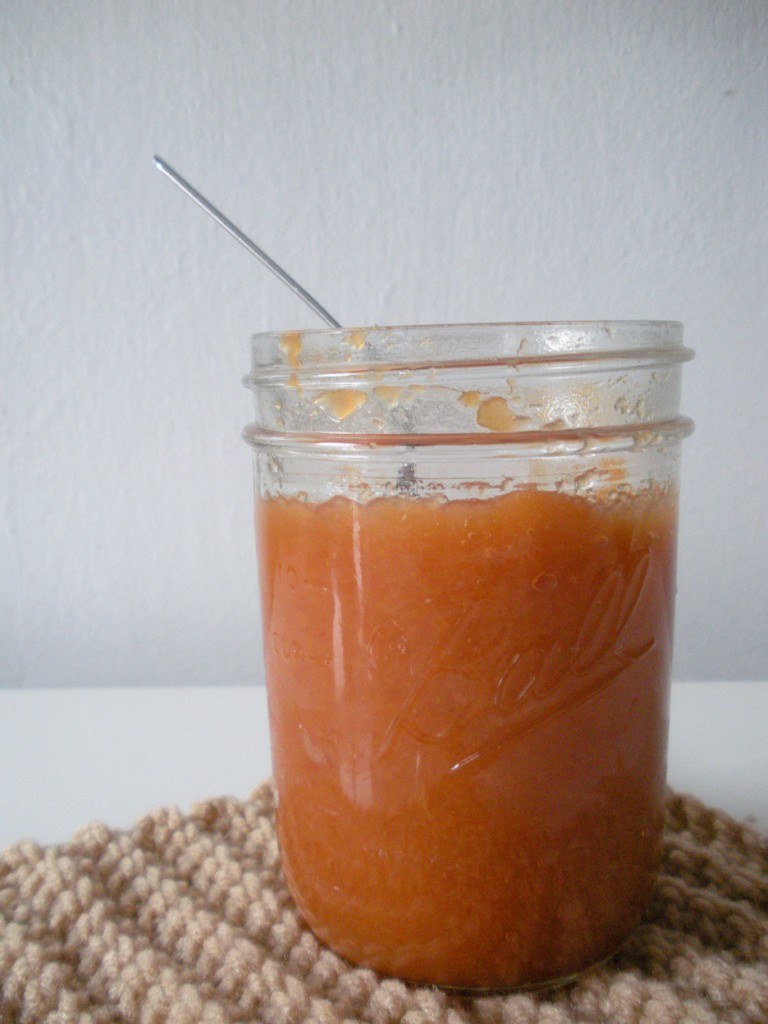
I am the first one to dress up jams, preserves, and butters with fancy flavors, but the flavor of quince is so striking that I let it stand alone here. This recipe comes from the Lane County extension, a fantastic resource on food preservation. Do check out their guide to making and canning fruit butters, which I used here. I didn’t end up canning mine because I was mid-dinner preparation when it finished cooking (of course!), but Lane County has directions on how you could put up quince butter.
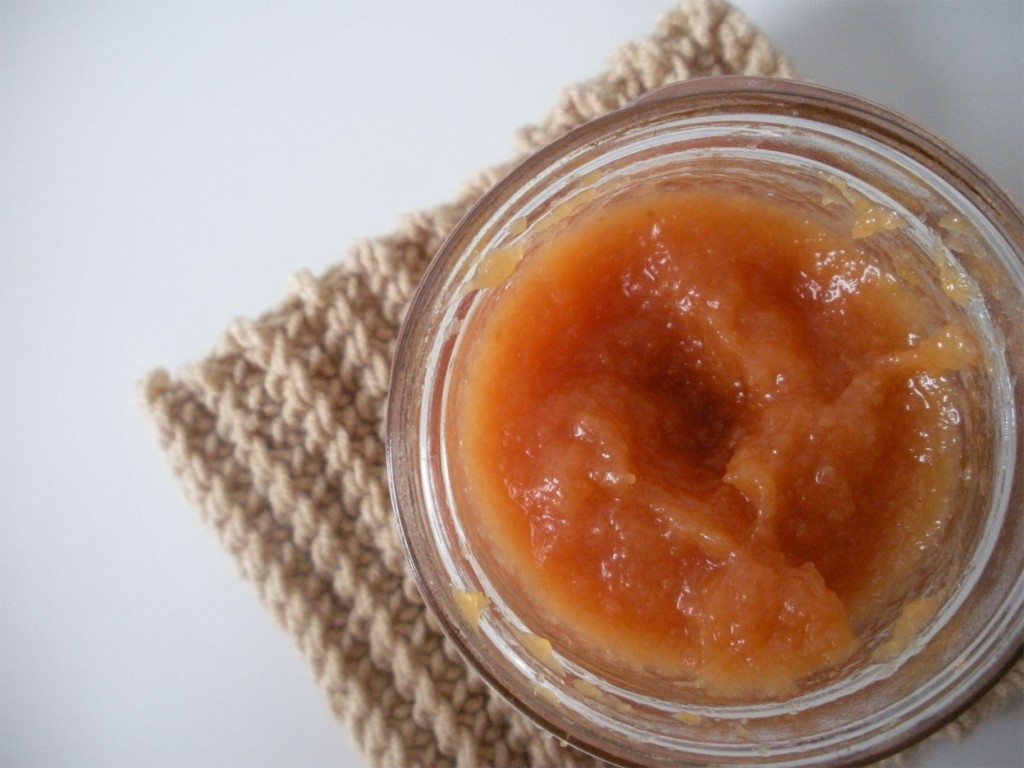
Quince Butter
Ingredients
- 3lb quince (for 4 cups pulp)
- 2 cups sugar
- to taste lemon juice
- as needed water
Cooking Directions
- Wash the quince, rubbing them as you wash to remove their fur.
- Remove the stem and blossom ends. Core the quince and remove any gritty parts.
- Place them in a large pot with half as much water as fruit.
- Bring to a boil then reduce heat to medium and cook until the quince can be pierced easily with a fork.
- Run through a food mill and measure 4 cups pulp. Return to high heat and add sugar and lemon juice.
- Once mixture boils, reduce the heat to very low and cook until the mixture no longer weeps juice around its edges when placed on a plate or until it mounds slightly on a spoon.
- Store in the fridge.
Notes:
- Julia over at What Julia Ate made a super-helpful video about cutting quince. Definitely heed what she says about removing those little white parts. Even for a butter, which typically utilizes the whole fruit, I found the fruit surrounding the core to be a bit gritty so you’ll definitely want to leave them out here.
- Makes about 3 half-pints.
by autumn on November 12, 2011
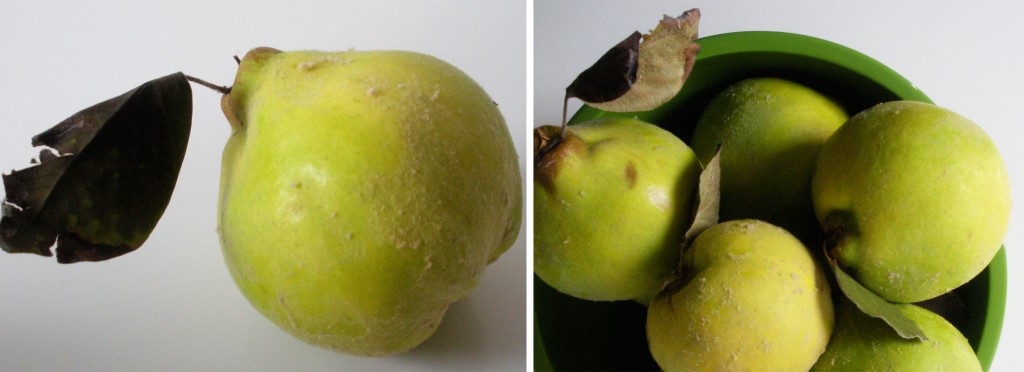
I need to talk to you about ugly good. A mess of burnt potatoes, oozy egg, and ketchup on your plate first thing in the morning is ugly good. Have you ever had celery root? That’s totally ugly good. Those pumpkin muffins that you still ate even though they made like amoebae all over the pan are ugly good. Quince is ugly good and a gluten-free quince cream cheese danish that went into the oven looking pristine and came out a hot, delicious mess is the absolute ugly best.
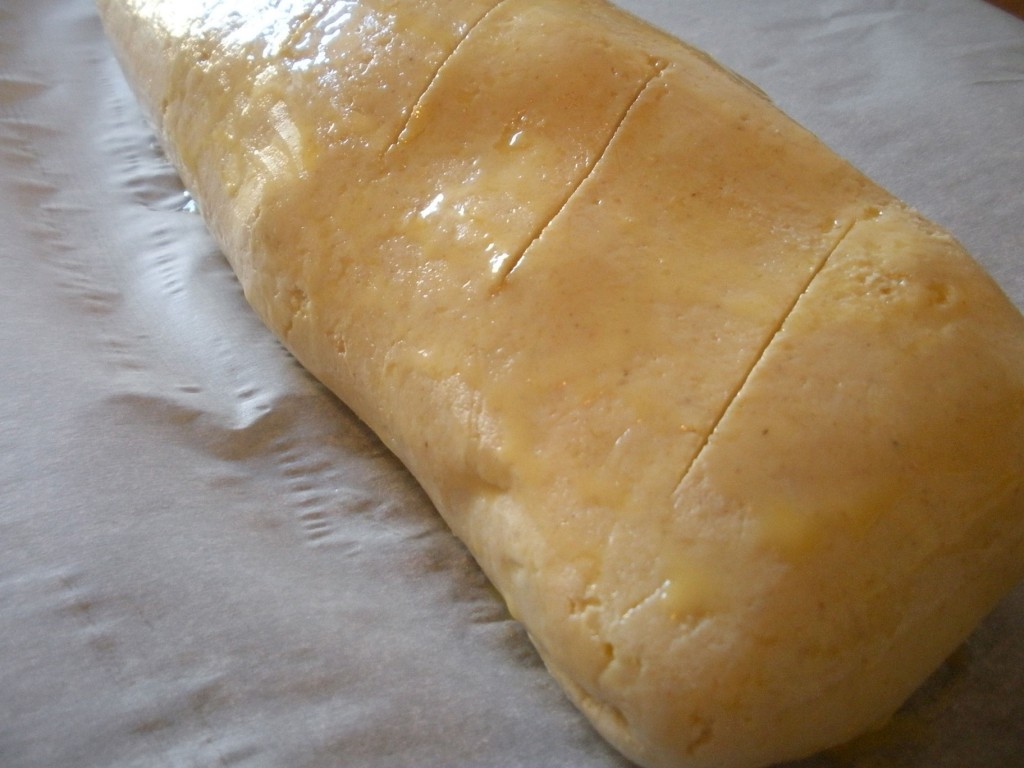
Loving the ugly stuff isn’t easy. I’m a perfectionist-and-a-half when it comes to baking because I don’t want people to think gluten-free treats suck. (BECAUSE THEY DON’T!) So when I peeked in the oven and saw that my danish had undergone some sort of tectonic shift and busted a valley down the middle, I quickly declared it a failure.
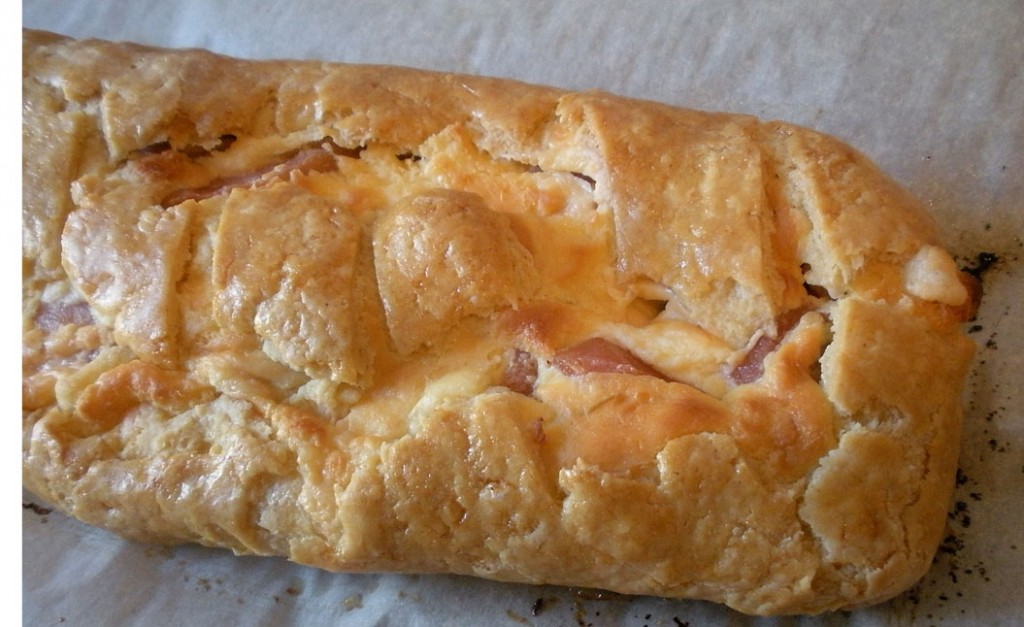
Then it came out of the oven all golden and flakey with bits of pink poached quince peeking out. I swooned. It looked like it was made with the clumsy fingers of stressed-out lady who likes to make delicious things with weird fruits, butter, and love.  That’s ugly good.
PS: Now’s probably a good time to admit that I bought 15+ pounds of quince last weekend, so you’ll be seeing a lot more of the wonkiest of fruits here in the coming days.
Quince Cream Cheese Danish, Gluten-free
Ingredients
- 1/2 batch poached quince*
- 3 oz millet flour
- 1 oz tapioca flour
- 1 oz potato flour
- 1 oz oat flour
- 1/2 t xanthan gum
- 4 oz (one stick) cold butter, cut into 6-8 pieces
- as needed ice water
- 8 oz (usually one package) cream cheese, room temperature
- 2 T powdered sugar
- pinch salt
- 1 egg, beaten for egg wash
Cooking Directions
- Prepare the poached quince as directed. Strain and reserve the poaching liquid.
- Mix the millet, tapioca, potato, and oat flours with the xanthan gum in a large bowl. Cut the butter into the dry ingredients using a fork, pastry blender, or your two hands (my preferred method, but work quickly) until it is well incorporated, but visible flakes of butter remain. (You're making a basic pie dough here.)
- Add ice water one tablespoon at a time until the dough comes together. It shouldn't be tacky, but should be just wet enough to hold together.
- Form the dough into a short, stout log, wrap in plastic wrap, and refrigerate for at least 20 minutes.
- While the dough chills, whip the cream cheese with the powdered sugar, a pinch of salt, and 2 T of the quince poaching liquid until no lumps remain. Set aside.
- Tape a piece of lightly greased saran wrap to the counter. When the dough is ready, place it on the plastic wrap, cover it with another sheet of plastic wrap, and roll it out getting it mostly rectangular (don't stress about this, you'll see mine is not especially rectangular).
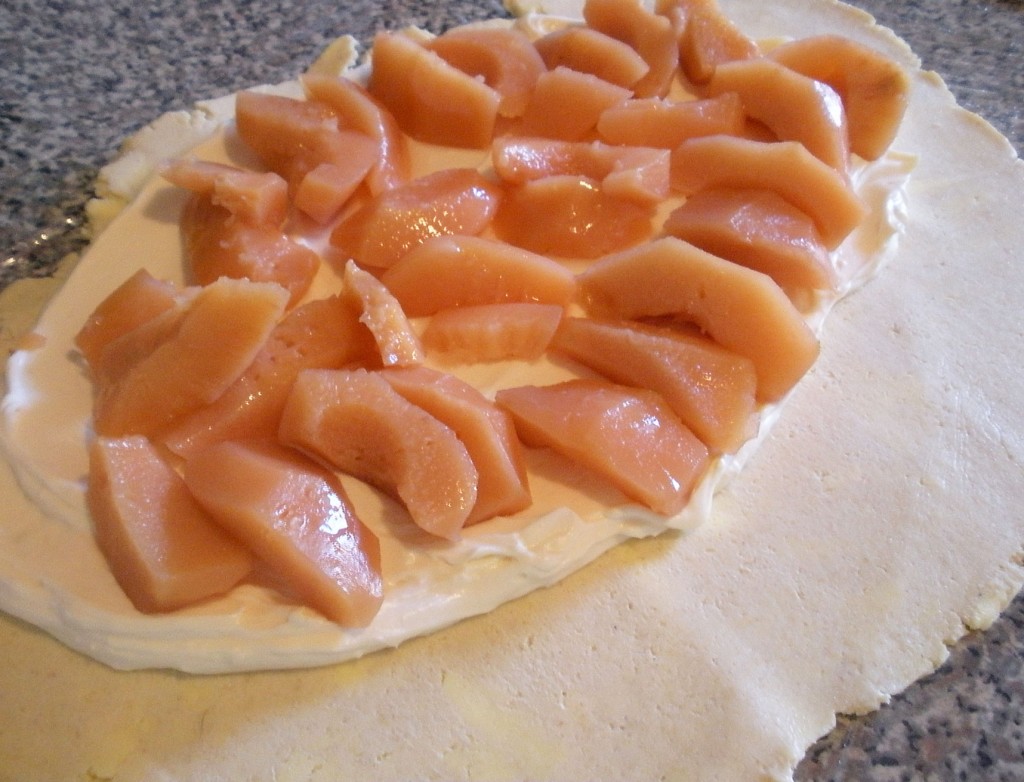
- Spread the cream cheese within about an inch and a half of all the sides, except for the long side closest to you. On this side leave a bit more room too seal the danish (see pic above).
- Lay the poached quince slices in a single layer on top of the cream cheese mixture.
- Now un-tape the furthest two corners from you and using gravity and the saran wrap, roll the danish, applying pressure to seal the seam. Once rolled, use the same method to seal the ends.
- Use the plastic wrap to lift the roll and place it on a parchment-lined baking sheet with the long seam facing down.
- Brush the surface with the egg and score the top.
- Bake at 375 until outside is golden brown, about 45 minutes.
* Use 1/2 batch of this David Lebovitz poached quince recipe. I cut them into a bit smaller, 1/2 inch segments to make them more manageable to roll into the danish.
Notes:
- My saran wrap rolling method, which really makes working with gluten-free doughs very easy, came from Manifest Vegan.
- As always, if you’re not gluten-free, you can replace the dough with your favorite recipe for a single pie crust.
- I realize this isn’t strictly a danish, but the only other thing I could think to call it was “pie roll.”
by autumn on November 3, 2011

I am reluctant to announce the end of preserving season because, well, it’s kind of a big ol’ lie. I am so looking forward to marmalade-making and it’s a good thing apples will be around all winter because I’m going to need more apple butter to get me through. But. It is true though that high time for putting stuff in jars is coming to a close.
If you’ve been hanging around this space with me for a while, you know that I just properly learned to can and preserve at the end of last summer (from these fine ladies). I fell in love fast because it spoke to all my little obsessions: thrift, self-sufficiency, and good food. Plus, as a person with a super-fun autoimmune disease, it behooves me to know just exactly what I am shoving in my face. As with any good love, I quickly felt like canning was something that I wanted to be a part of my life for a long time.
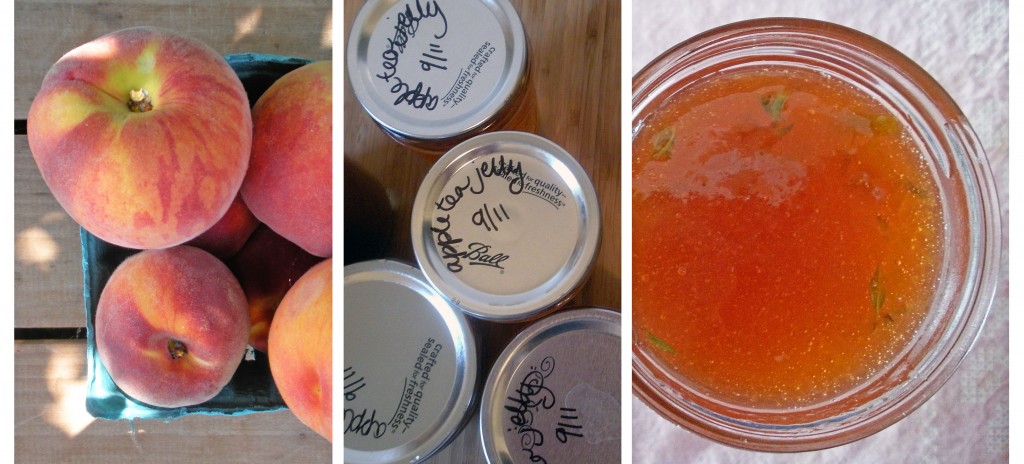
This year, although I had a full season’s produce at my disposal, I was (am) a complete amateur. I want to share some of my successes and proud moments from this year and some goals for the future.Â
Highlights and Successes:
- A successful no-added-pection jelly: Enough said.
- Pick your own: I found that, even carless, U-Pick was a viable and relatively affordable option. We tacked on orchard stops to every trip we took outside the city this summer! I picked at the following placess in the Northeast this year: Linvilla Orchards, Greig Farm, Lewin Farms, and Fishkill Farm. Thanks, Zipcar!
- A good method for getting jars: Like many things in the city, there’s a calculus to finding affordable jars. I feel good that I’ve found a method that works for me
- Maceration: I learned what it was and saw what great things it can do for jams and preserves. Check out Mes Confitures: The Jams and Jellies of Christine Ferber
 Â if you want to hop on the macerating bandwagon!
 if you want to hop on the macerating bandwagon!
Stuff I learned and goals for the future:
- Test for doneness: I am fully prepared to blame this on my $3 IKEA digital thermometer, but I learned that (for me) the best way to test for doneness with jams and preserves is the spoon-in-the-freezer method. If I cook things to 221 degrees I get something closer to hard candy than jam.
- Pomonas Pectin: I love it for jellies. I made the Rhubarb Jelly from Put ’em Up!
 Â with Pomonas and was so happy with how it turned out. For jams and preserves, it sort of drives me nuts. I’ve gotten weird gelatinous sets and icky fruit float. Does this happen to you?
 with Pomonas and was so happy with how it turned out. For jams and preserves, it sort of drives me nuts. I’ve gotten weird gelatinous sets and icky fruit float. Does this happen to you?
- Preserve in shifts: Next year, for big projects like tomatoes, I want to preserve what I need bit by bit, rather than all at once. This totally bit me in the butt this year. I waited too late to do all of my tomatoes and didn’t get to do any at all.
- Make more basics: I really love making jams and preserves and experimenting with their flavors. Rhubarb Lavender Vanilla Bean Preserves? Yeah, I made that. However, I have found that kitchen staples like ketchup, salsa verde, and pickles are perhaps a bit more useful than the fanciest jam that I dream up. I hope to spend a bit more time on the basics next year.
Favorite creations: These passed the test and I’m definitely making them again next year.
Your turn! What was your biggest accomplishment this season? Did you discover a recipe or book that you’re going to be using for years to come?Â
a year ago and this recipe reflects that.


